Repotting Succulents: A Succulent Repotting Guide in 16 Steps
Quick answer
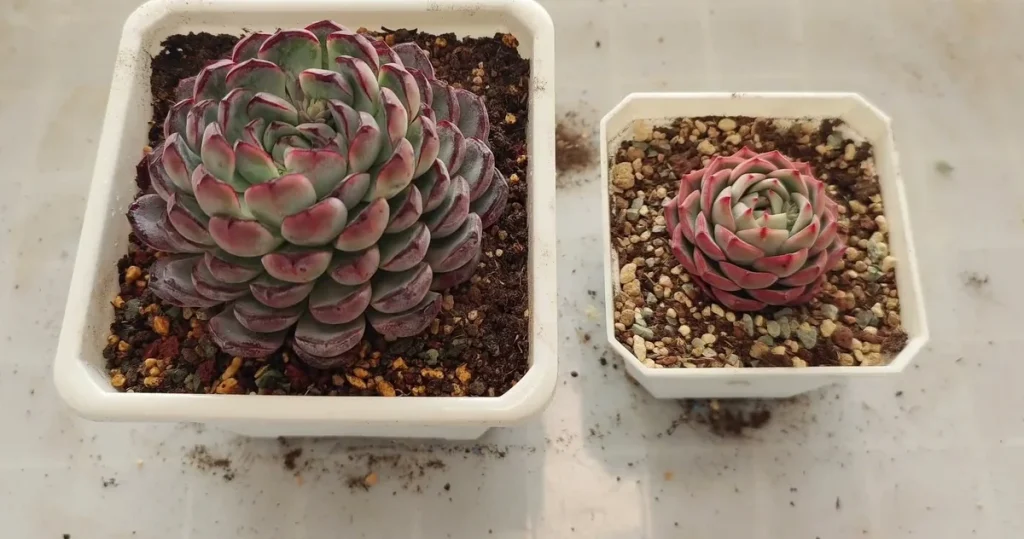
Repotting succulents means getting the plant out of tired soil, cutting long roots back to about 1 in (2–3 cm), setting it in a pot with about 0.5 in (1–2 cm) of room around it, and holding back water for about a week. The 16 steps below fit into one sitting and suit rosettes and other soft-leaved succulents, whether yours came in a nursery pot or bare root in the mail. Most of the job forgives rough hands, but watering too soon doesn’t.
On my roof in Huizhou I go through this routine with whole rows of small square pots, and the steps follow my working order.
After them come the first weeks of care, the conditions that make a new pot worthwhile, and the mistakes that cost the most. If your plant has spines, my guide on how to repot a cactus deals with handling it safely.
What to lay out before repotting a succulent
Everything here should be within reach before the plant comes out, because bare roots shouldn’t wait on the bench while you hunt for scissors. Most of it is already in a kitchen drawer.
- Thin gloves: they keep old soil out of your nails and give you a better grip on a root ball.
- A tray: old soil, dead leaves and root scraps all land here.
- Forceps or long tweezers: these reach dead leaves tucked under a rosette.
- Small scissors: wipe the blades with rubbing alcohol first.
- Window screen: a small piece covers the drainage holes, and you can cut it to fit.
- A pot with drainage holes: the sizing comes up in Step 10.
- Gritty succulent mix: best soil for succulents is where I go through bagged options and grit ratios.
- A plastic cup: it pours mix into tight gaps better than a big scoop does.
- A long-spouted squeeze bottle: this puts water exactly where you aim it.
- Optional extras: systemic insect granules and slow-release fertilizer, covered in Steps 12 and 13.
How to repot a succulent in 16 steps
With the bench ready, the work runs in four stages: freeing the plant, trimming the roots, rebuilding the pot, and giving the first water.
Steps 1 to 5 split by how the plant reached you, and both routes meet again at Step 6.
Free the succulent from its old soil
Step 1: Check how the plant arrived. A bare-root plant has had its soil removed by the seller, so go to Step 3 and then on to Step 6. A plant in a nursery pot starts at Step 2 and skips Step 3. Don’t drop the whole plug into a bigger pot, even though it’s quicker. Plants from a long greenhouse cultivation carry many dead hair-fine roots, and only bare roots can reveal mealybugs or rot.
Step 2: Potted plants: lift out the root ball. Hold the plant at the base of its leaves and ease it up out of the nursery pot. A dry plug usually comes out in one piece, still shaped like the pot.
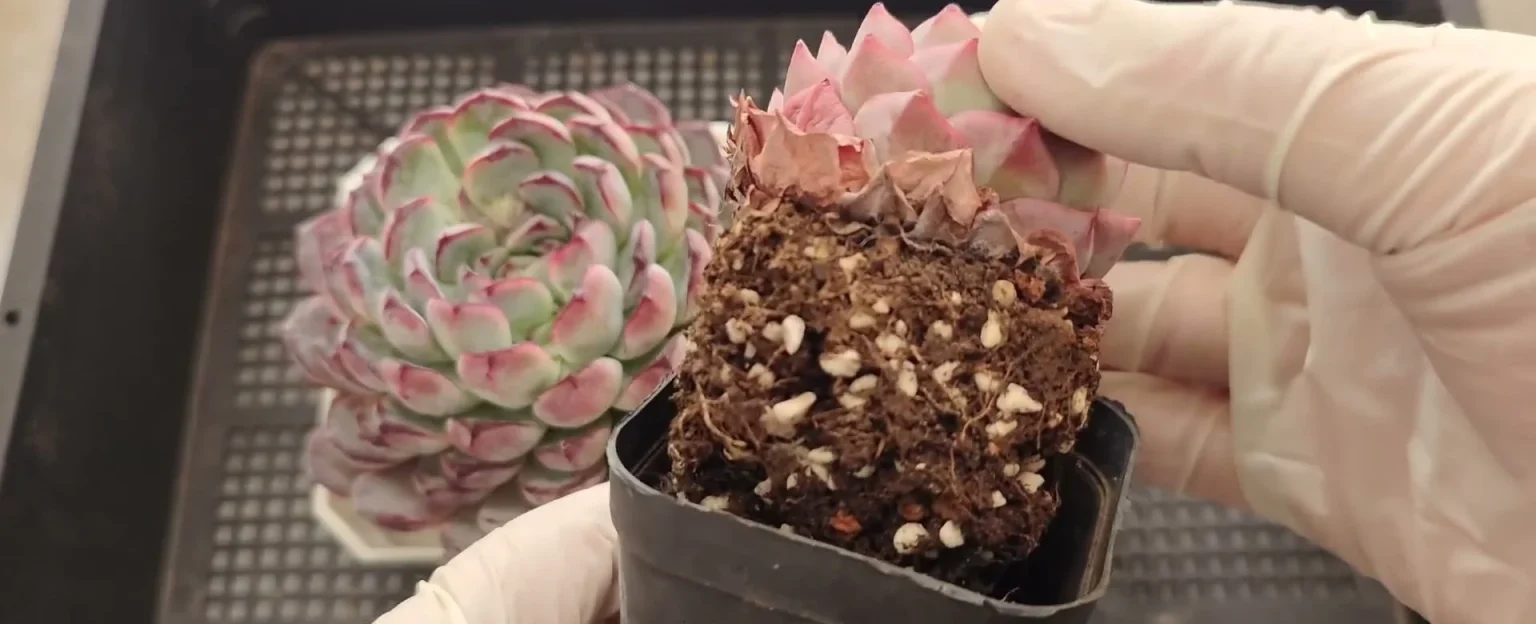
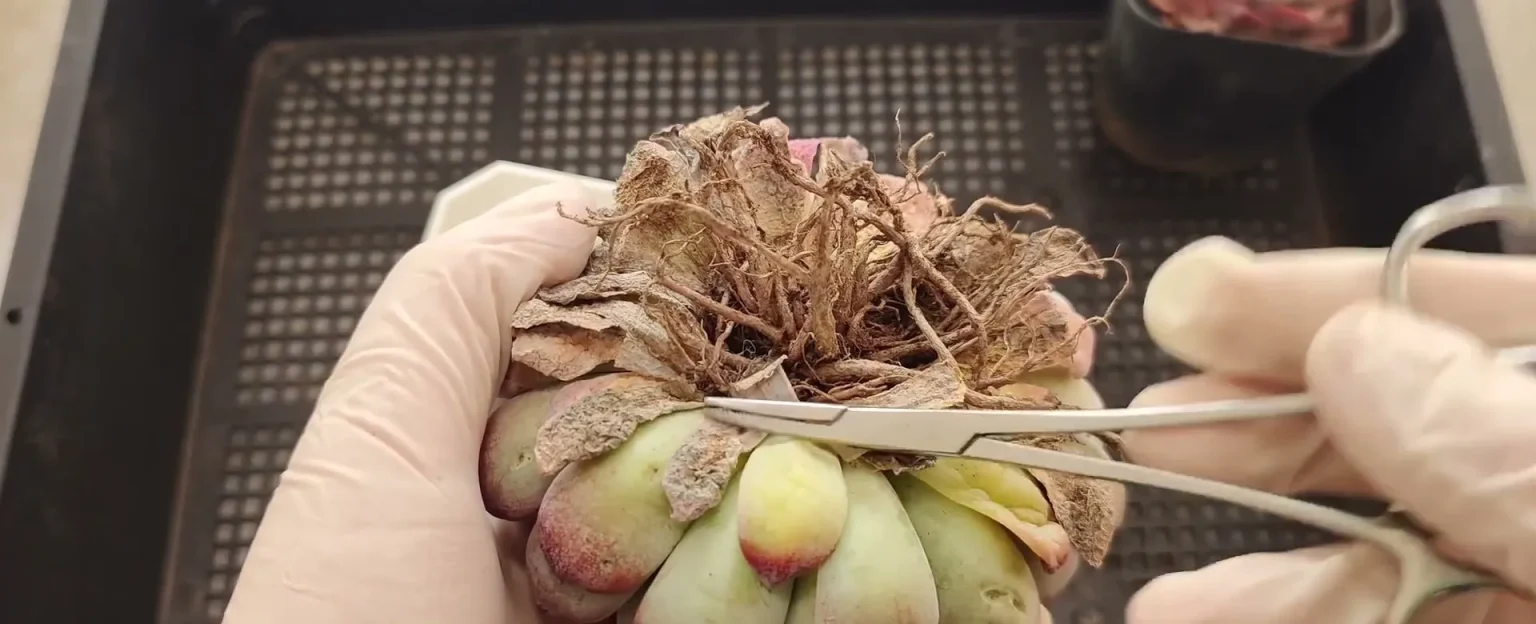
Step 3: Bare-root plants: clear the dead leaves. Turn the plant upside down in one hand and pick the dried leaves from around its base. Forceps get a cleaner result than fingers here, since they reach the leaves pressed against the stem.
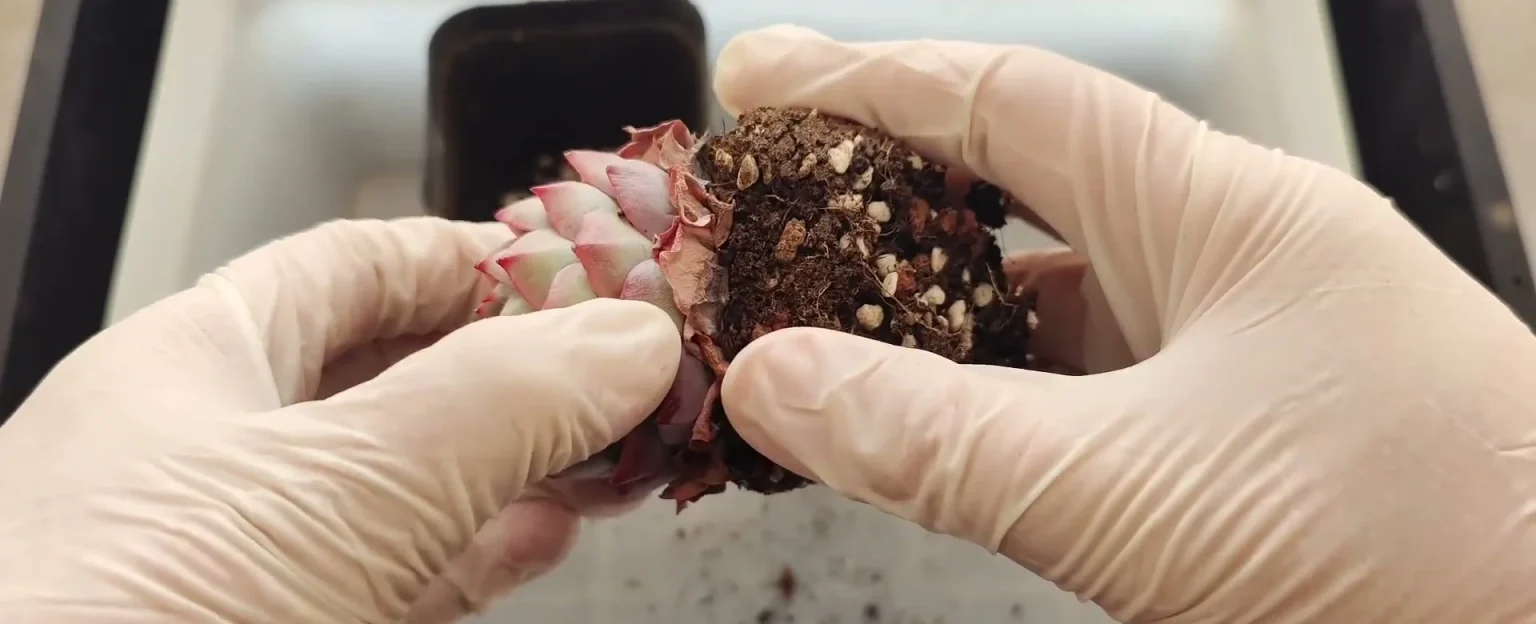
Step 4: Potted plants: squeeze the root ball. Don’t pull it apart. Press the plug gently between your fingers and work around it until the soil starts to crumble. A very dry, hard plug needs extra patience, because the roots inside are brittle and snap under force.
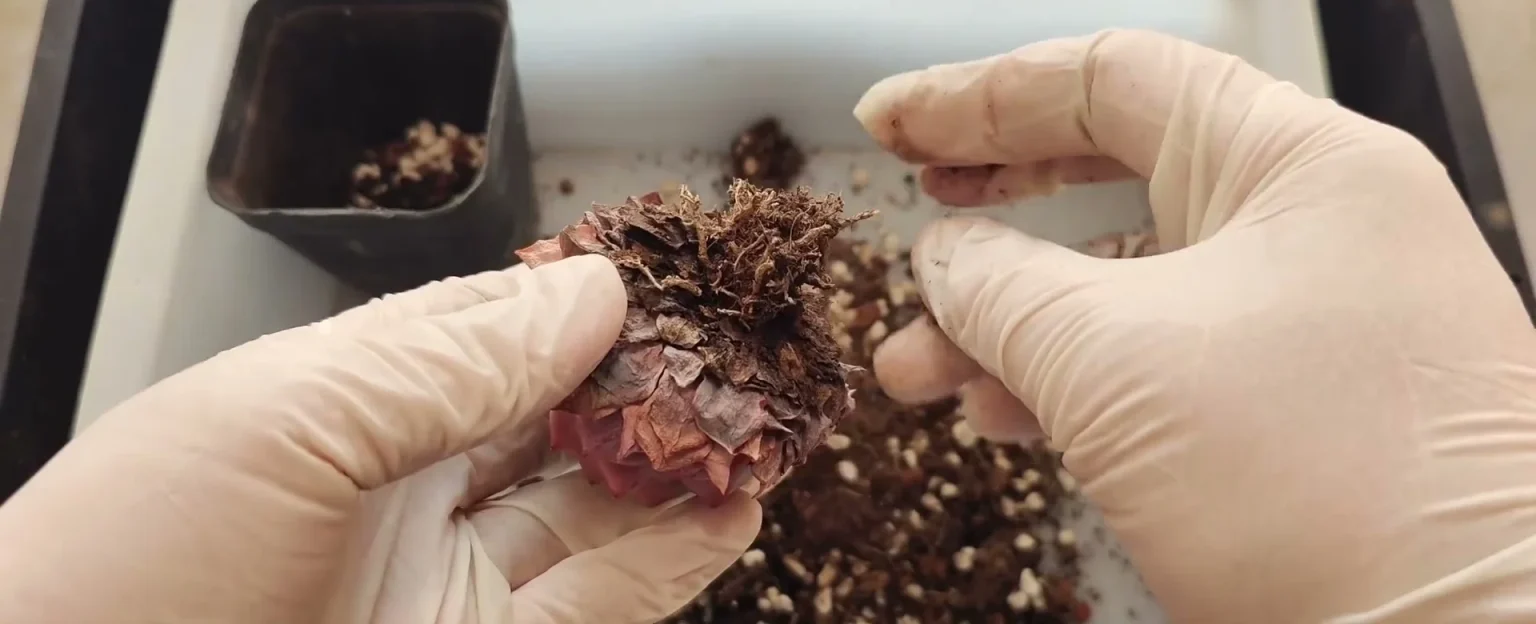
Step 5: Potted plants: shake off the old soil and read the roots. Keep squeezing and let the soil fall into the tray, then strip the dry leaves as in Step 3. Look over the roots for white mealybugs and dead patches. Fresh, thick roots need the trim in Steps 6 to 8. A plant whose roots have dried into a brown mat has almost nothing to cut, so it can go straight to Step 9.
Trim succulent roots to about 1 in (2–3 cm)
The roots are in plain view now, so this is where you decide what stays. Work from the weakest roots to the longest.
Step 6: Pull off dry, overly fine roots. Tug lightly at the thin, dry strands. If a root comes away with a light pull, it was dead or loose. A strong, living root won’t budge under the same tug, so that test sorts them for you.
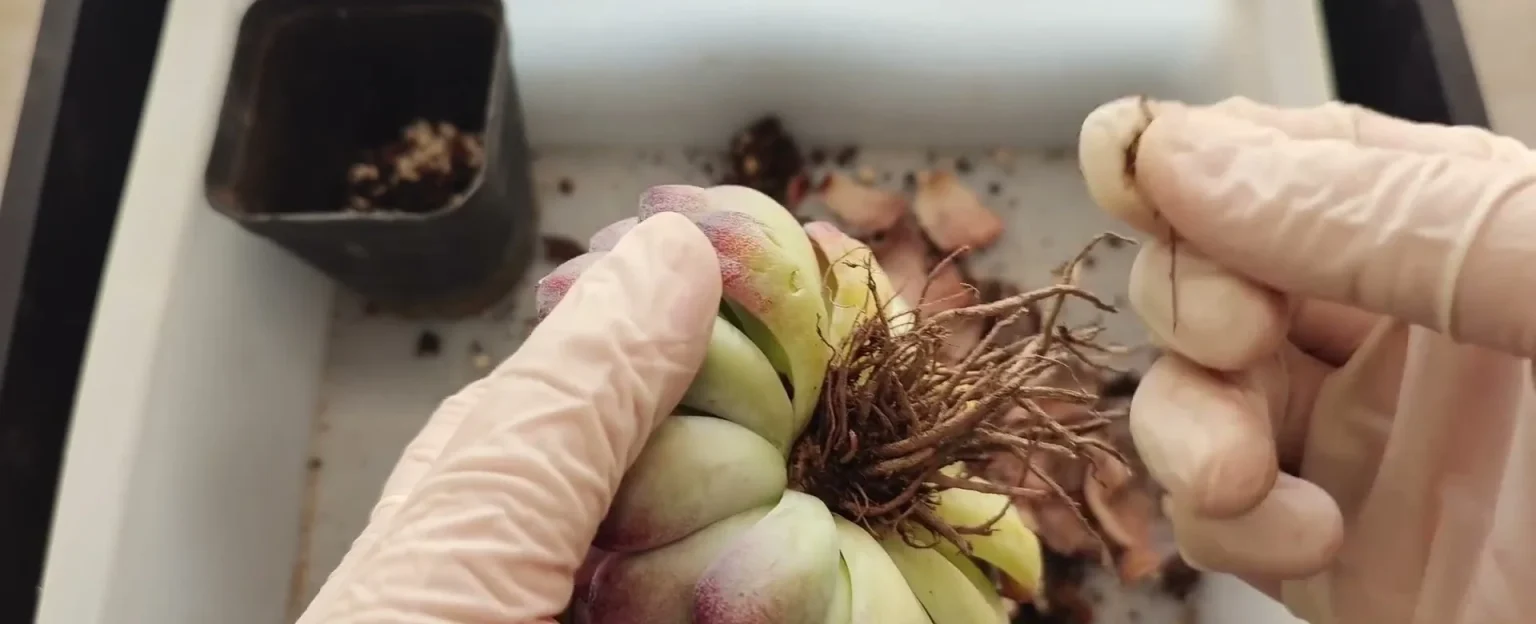
Step 7: Cut long roots back to 1 in (2–3 cm). Hold the plant upside down and snip the long roots across, keeping the healthy ones at about that length. Very short isn’t the goal, and neither is long. A long root folds into a ball when it goes into soil, and a balled root is slow to put out replacement roots.
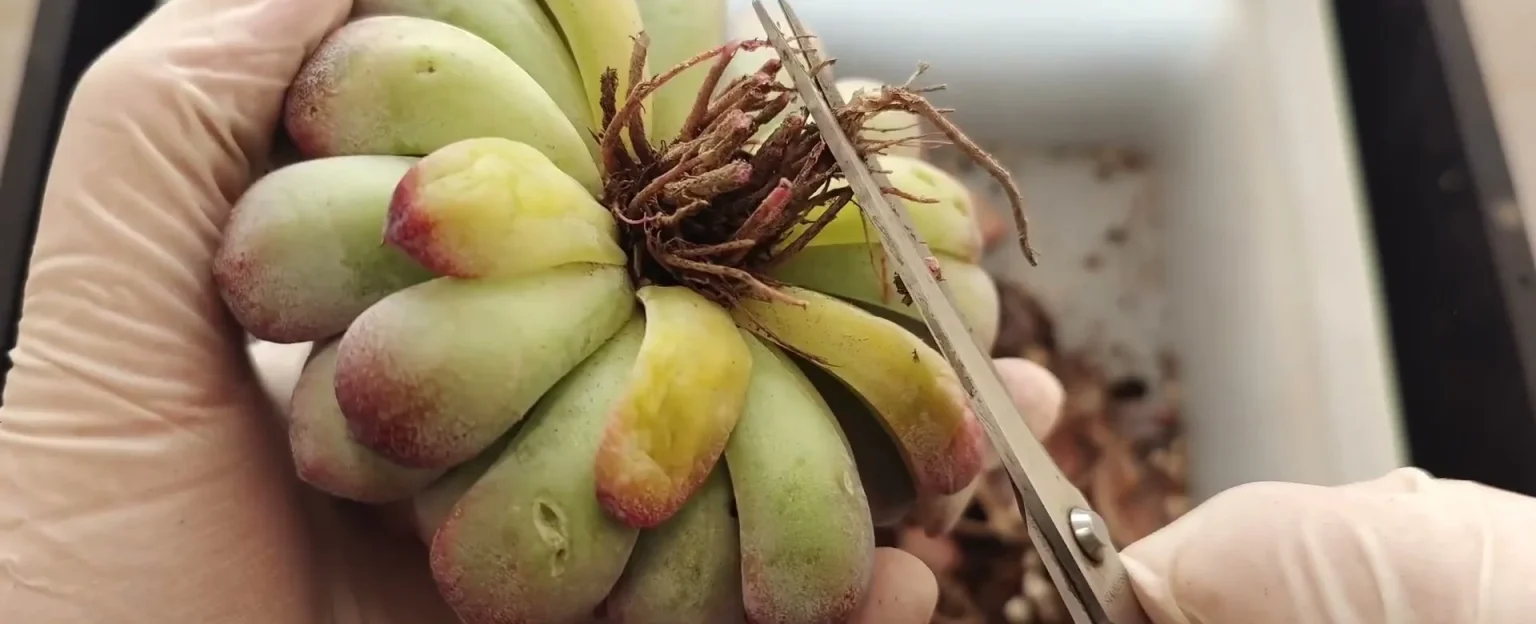
Step 8: Check the finished trim. Turn the plant over and look at it from below. You want a short, tidy tuft of healthy root with the dead material gone. If a healed scar shows on the stem, it can stay, as long as it’s dry and firm.
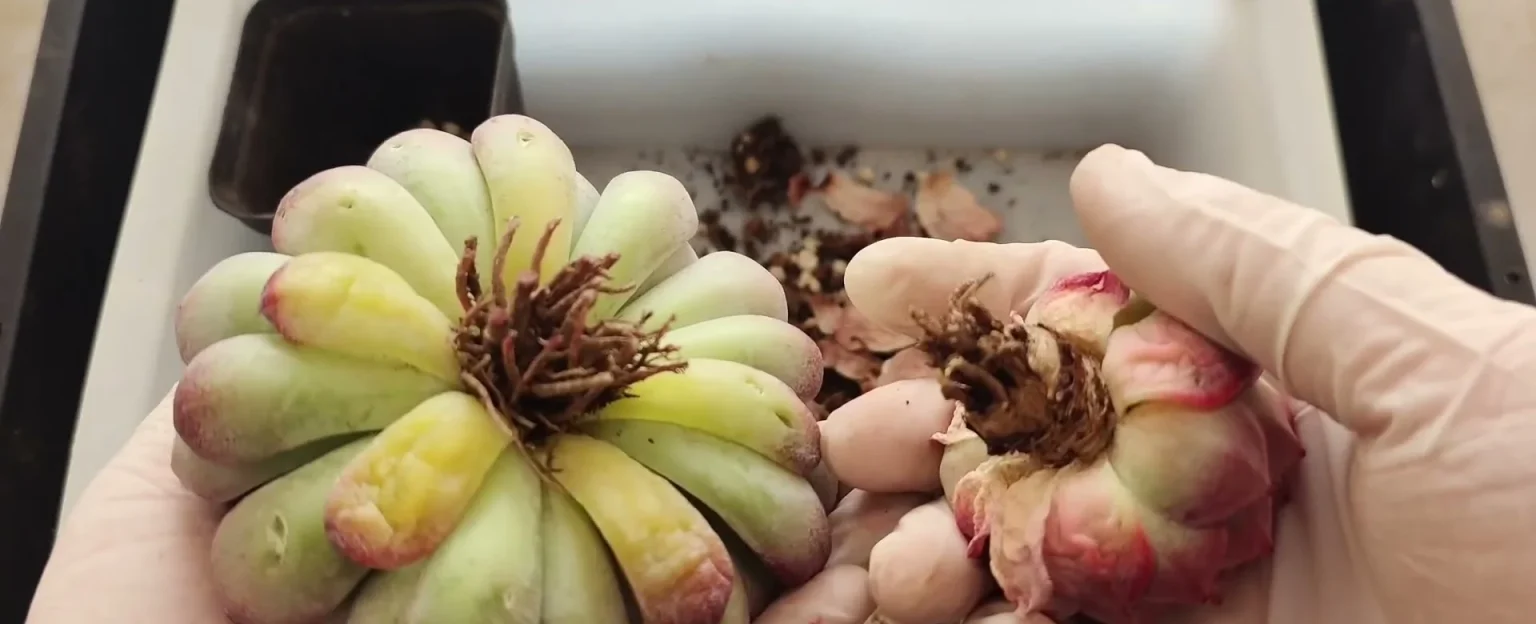
Step 9: Decide whether to air the roots. You have two safe choices, and the decision depends on the plant’s condition. For a firm, older plant, you can plant right away or the next day, then wait at least 5 days before any water. For a soft, plump plant, leave it out of soil for 7 or 8 days first, because a fresh cut on a watery plant turns black quickly once it meets water. Air the plant somewhere bright and out of direct sun.
Rebuild the pot around the plant
Airing or not, the plant is ready for its new home, and the pot gets built from the bottom up.
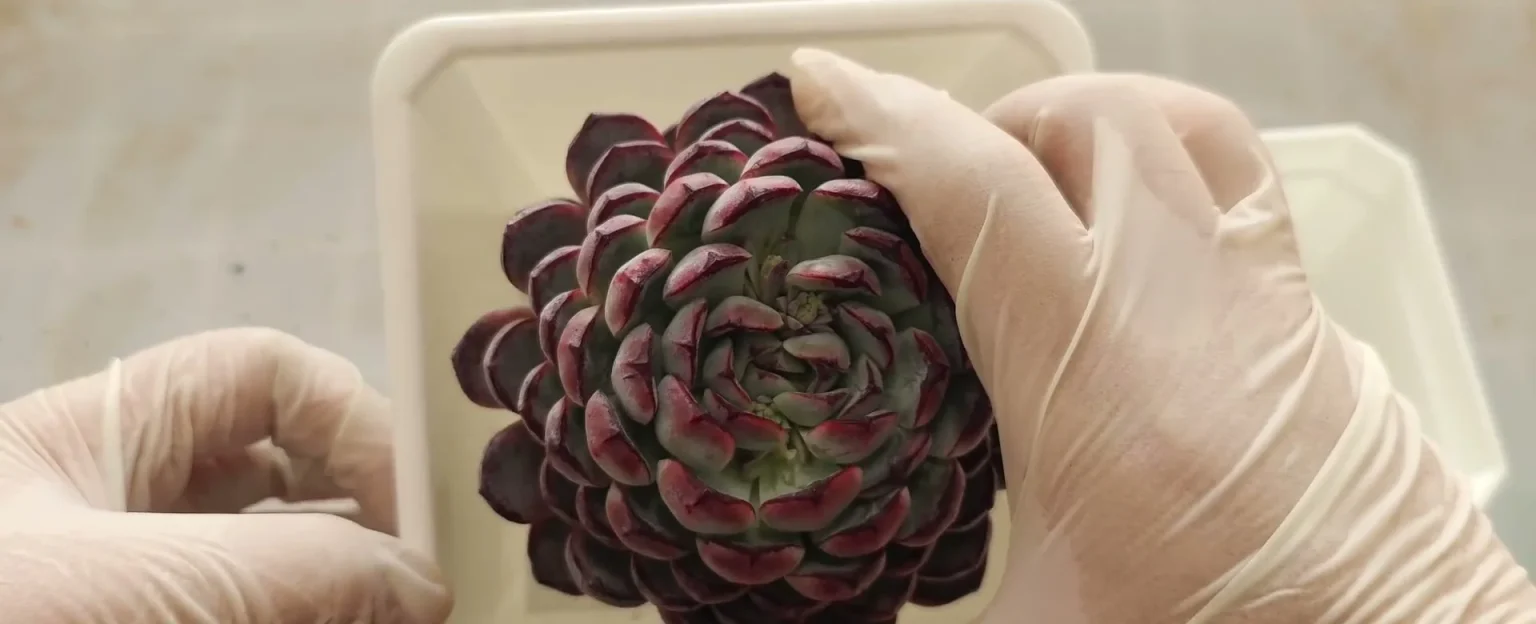
Step 10: Choose a pot that suits the plant. Hold the rosette over the pot opening and look straight down. Size the pot to the plant, not to what’s on your shelf, and leave about 0.5 in (1–2 cm) of space around the leaves as room to grow. If a plant already looks squeezed in a small pot, go up to the next size that gives it that gap. I use plastic because it’s light and simple, though terracotta dries faster if you tend to overwater.
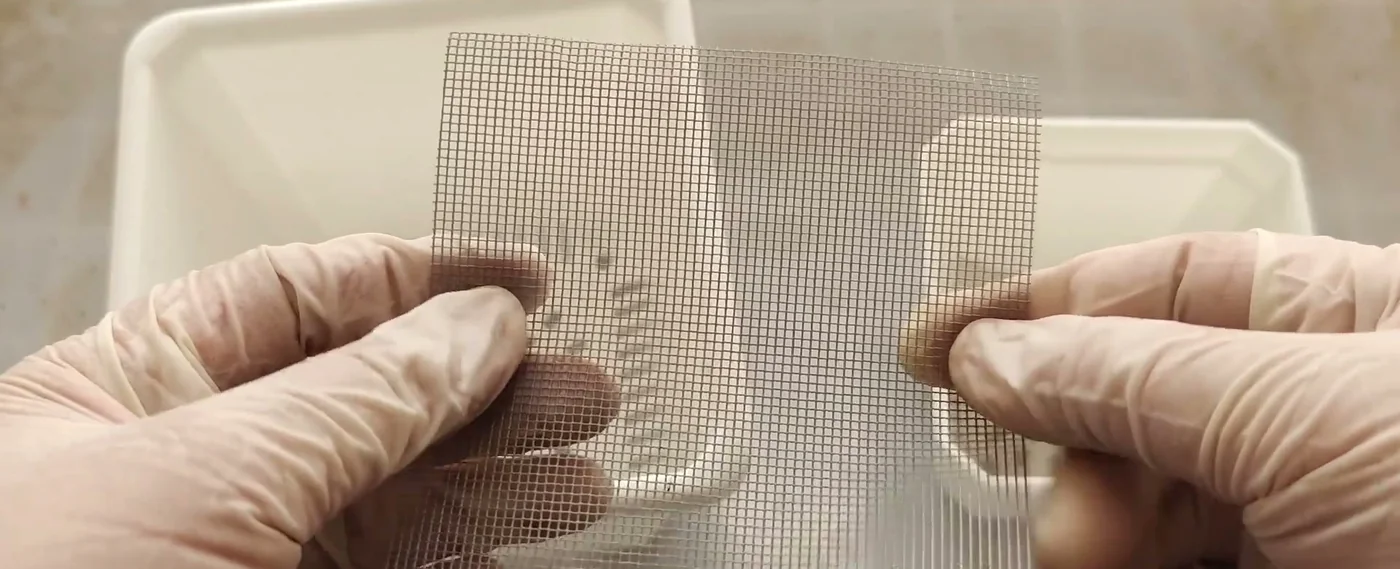
Step 11: Cover the drainage holes with screen. Cut a piece of window screen to the size of the pot base and lay it flat over the holes. It costs far less than ready-made pot mesh. Some growers add a layer of clay pebbles here to use less soil, and that’s fine in a big pot. In a small pot I don’t bother.
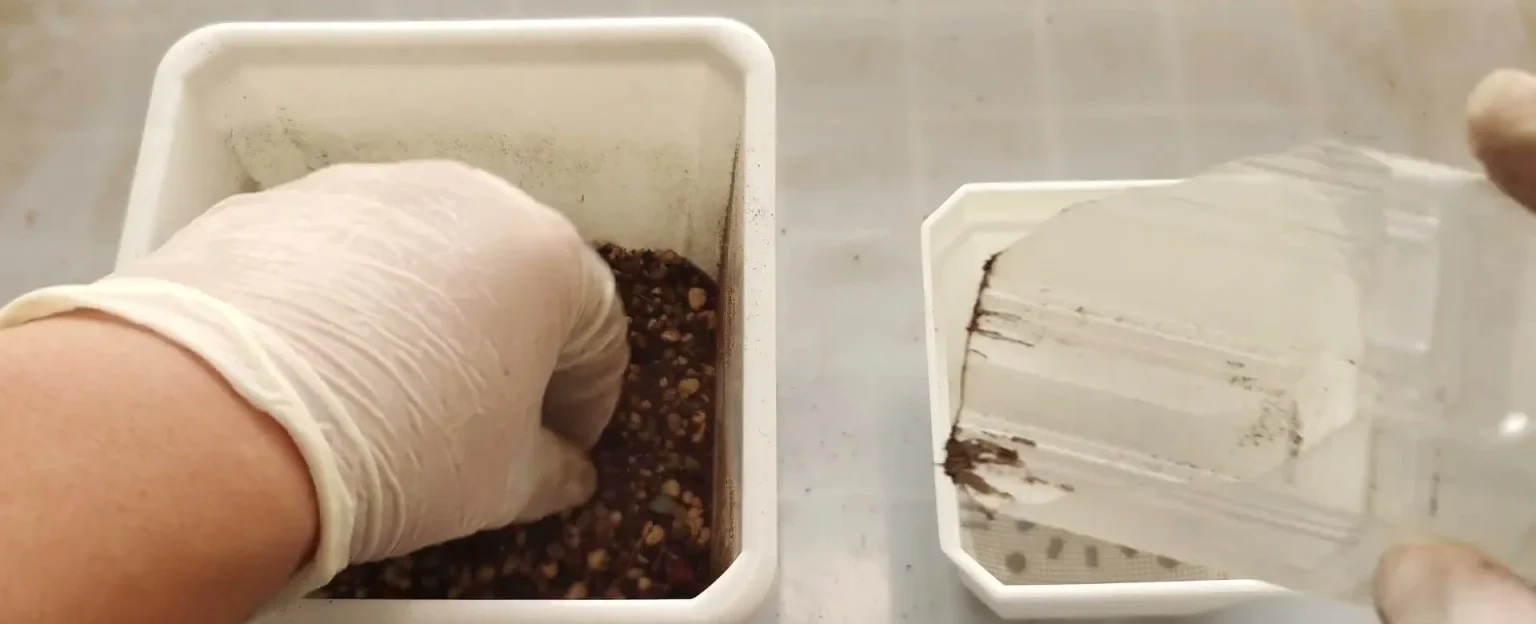
Step 12: Fill the pot about halfway. Tip in the first cup of mix slowly so it pins the screen and stops it sliding. Keep pouring to roughly the halfway mark, press the layer lightly, and give the pot a shake to level it. This is also the moment for slow-release fertilizer if you have a small plant you want to bulk up. I leave fertilizer out, because a new repot doesn’t need it and lean plants hold their color better.
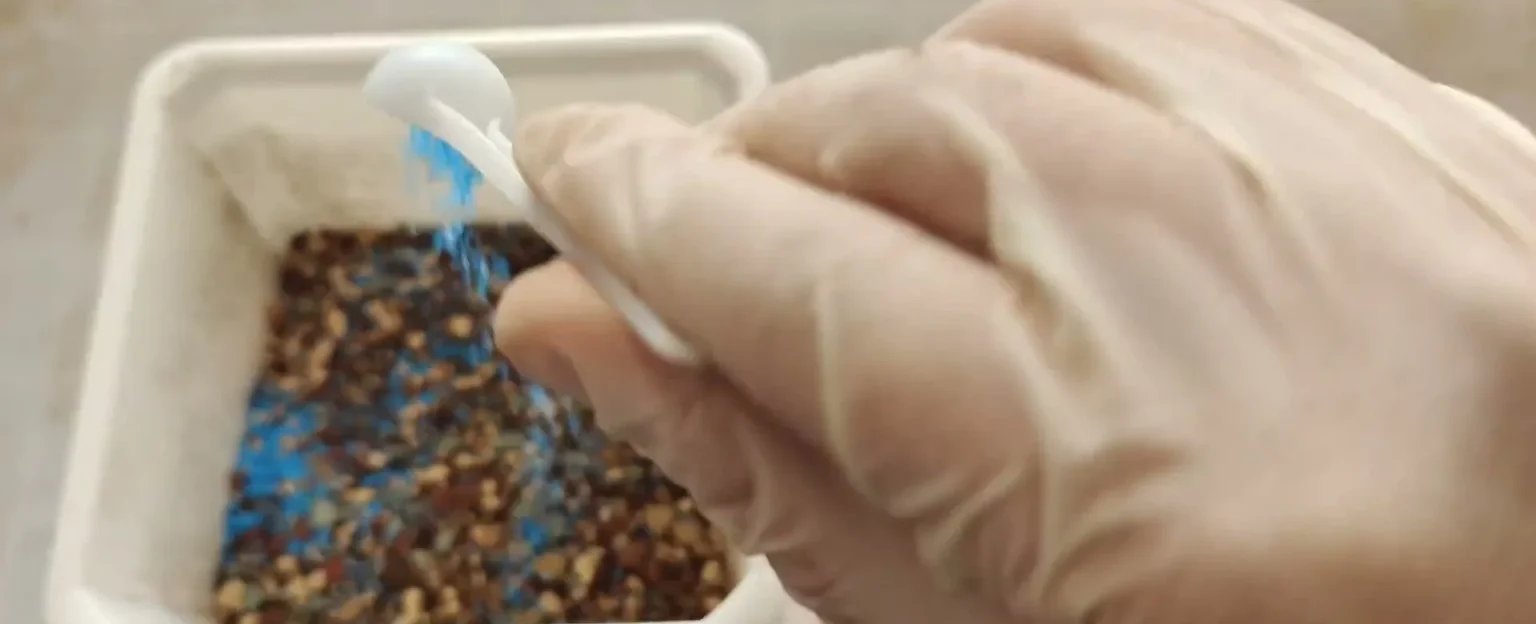
Step 13: Add optional granules, then seat a plant with almost no roots. If you’ve had mealybugs, you can scatter systemic insect granules over the mix now. The roots take up the active ingredient with water, which makes the plant itself toxic to sap feeders. Choose a product labeled for potted ornamentals, follow the label’s application rate, and keep it away from pets, children and flowers that bees visit. With clean roots, skip it.
A plant with hardly any roots needs very little from here. Fill the pot to the top, make a small dip in the middle with a finger, and set the plant in it. That plant is finished, so go to Step 15.
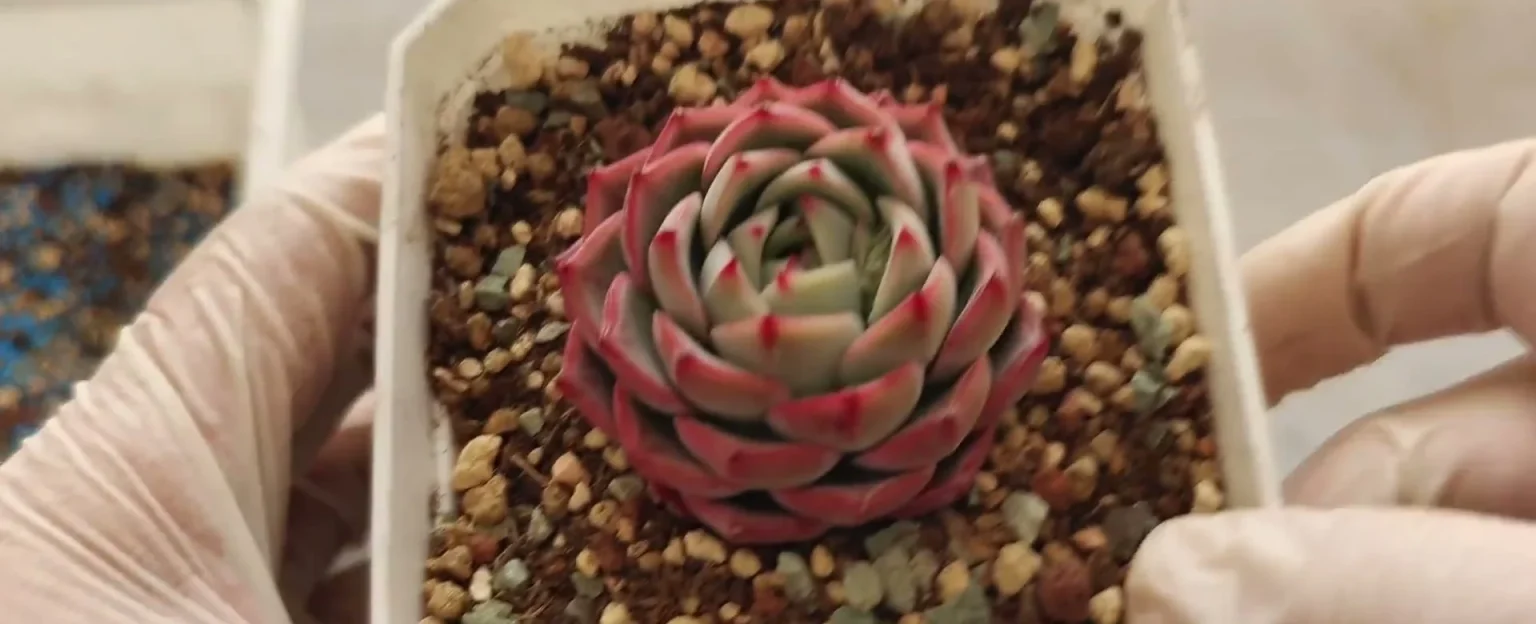
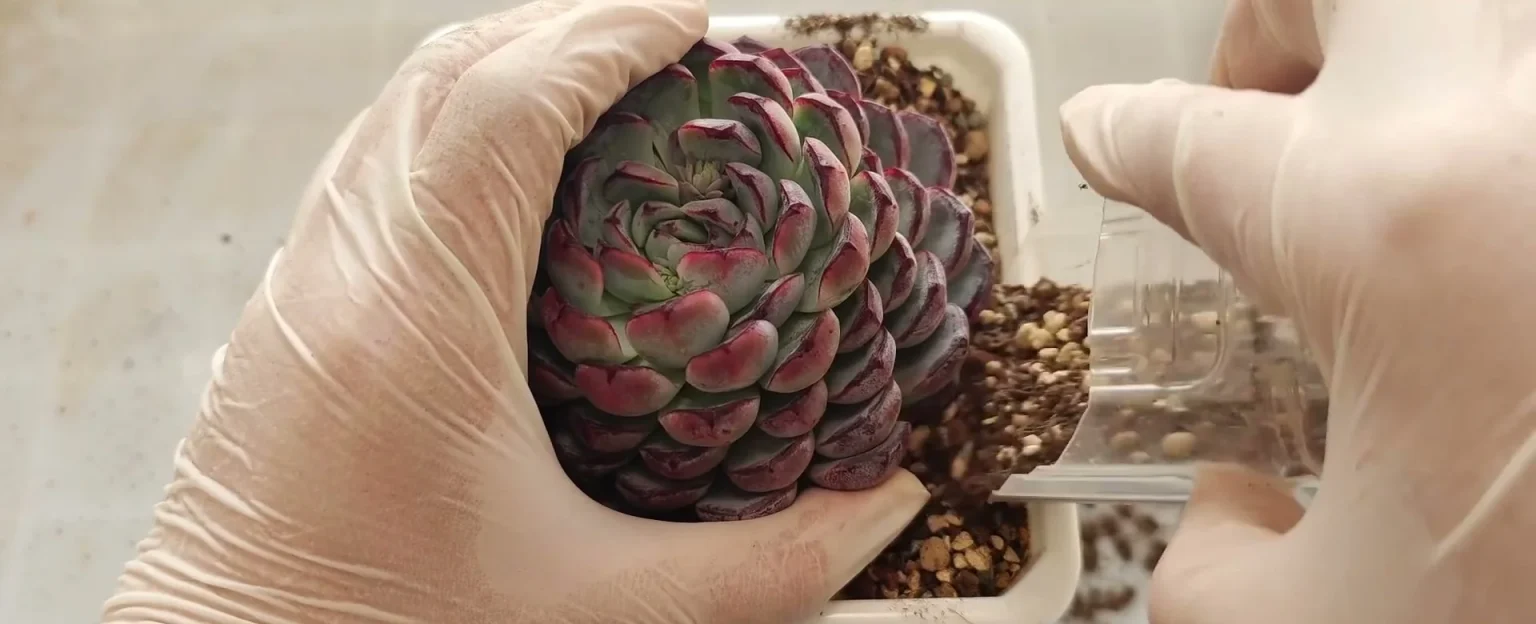
Step 14: Hold a rooted plant in place and fill around it. Keep the plant in one hand at the height you want it, with its roots hanging free over the base layer. Pour mix along the four sides first, then turn the pot and fill until the plant stands by itself. Roots spread out naturally this way, whereas pushing them into a hollow would bunch them up. A top layer of fine grit is optional, and I usually leave the mix as it is.
Give a repotted succulent its first water
A filled pot isn’t finished until you’ve settled how it gets its first water, and there are two ways to do it. Your choice depends on what happened to the roots.
Step 15: For a light tidy or aired roots, give a quick shallow dip. Pour about 0.75 in (2 cm) of water into a tray and stand the pot in it for 30 seconds to 1 minute, then lift it out. You only want the mix slightly damp, so don’t let it soak through. My succulent care guide covers how hard you trim deciding when you water, and after a heavy trim use Step 16.
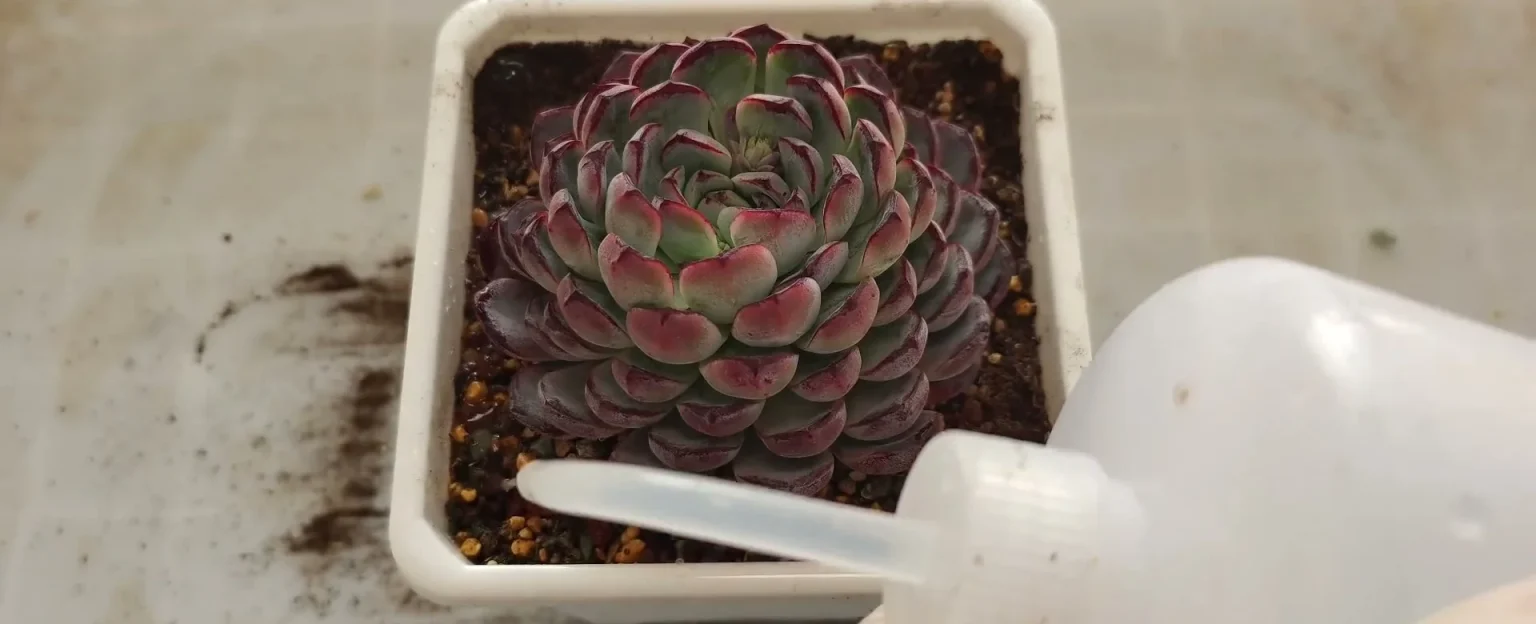
Step 16: For freshly cut roots, wait about a week and water along the edge. Keep the pot dry in bright, indirect light for that week. Then take a long-spouted squeeze bottle, start at one corner, and trace the pot wall with a thin stream. Two laps past all four corners is plenty. The water seeps in from the edge and stays off the rosette.
How to care for a repotted succulent in the first weeks
That first drink starts a quiet stretch, and a repotted succulent needs less attention than it seems to. Root development runs faster in spring than in winter, so a plant repotted at colder temperatures can sit still for much longer before any recovery shows, and that long pause on its own isn’t a reason to add water, move the pot or dig the plant up to look.
- Light: put the pot where it gets sun that isn’t strong. It does still need light, so aim for bright shade or soft morning sun, and keep it out of harsh midday sun.
- Water: after the first drink, go back to normal watering once new growth shows. My guide on how to water a succulent covers top watering, soaking and rim watering.
- Fertilizer: skip it for now. Fresh mix gives a succulent everything it needs for a season.
- Color: a plant can look dull for a few weeks after repotting, and I wouldn’t move it or water it more to fix that.
When repotting succulents is worth doing, and when to wait
Knowing how a plant recovers tells you when to put it through this. Mild conditions are best, with temperatures of about 59°F to 77°F (15°C to 25°C), and in most places that points to spring or early fall.
Summer rules itself out for me. Warm nights above about 68°F (20°C) send me back to other jobs until autumn, and I’d also hold off through the coldest months, when new root growth is slowest and a trimmed plant spends a long time waiting in dry mix.
These are the signs a plant is due for repotting:
- Roots are growing out of the drainage holes or pushing the plant upward.
- The plant has outgrown its pot, with leaves hanging over the rim.
- Soil compaction has set in, and water runs off the surface.
- It’s been in the same mix for one to two years.
- You’ve just brought it home in dense, damp nursery soil.
Succulent repotting mistakes and what to do instead
Good timing won’t rescue a plant from these habits. Each one has a simple fix, and most come from rushing.
- Potting the whole plug into a bigger pot: take the old soil off first, as in Steps 4 and 5, so you can see the roots.
- Pulling a hard root ball apart: squeeze it gently and let the soil crumble away.
- Leaving long roots long: cut them to about 1 in (2–3 cm) so they don’t ball up.
- Choosing a pot that’s far too big: leave about 0.5 in (1–2 cm) around the plant, because extra mix stays wet longer.
- Forcing long roots into a small hollow: use the hollow only for plants with almost no roots, and fill around everything else.
- Watering on repotting day after a hard trim: wait about a week, or at least 5 days, so soft plants don’t turn black at the cut.
Repotting succulent plants: common questions
What kind of soil should I use to repot succulents? Choose a coarse mix with good drainage that lets air reach the roots. A bagged mix with extra pumice or perlite works, and the mix I use is mostly coarse granules.
Can I repot succulents indoors? Yes. Work over a tray on a table, then keep the pot by a bright window without harsh direct sun. In a heated room, don’t air a plant for long, because dry indoor air can shrivel one that would be fine outdoors in high humidity.
How do I replant a succulent without roots? Fill the pot, make a small dip at the center, and sit the plant in it as in Step 13. A stem with no roots at all is a cutting, and how to root a succulent takes you through the whole process.
How do I pot up a rooted leaf? Lay the leaf on its side on top of the mix, so its new roots can reach down into the soil. Then move it to a small pot of its own in good time, since it can’t keep growing in open air forever.
Why do people put cinnamon on succulents? Some growers dust it on fresh cuts as a home remedy against fungal infection. I can’t say for sure how much it helps, and I don’t use it, because keeping the pot dry after a repot has been enough for me.
How long can a succulent stay out of soil? Longer than most people expect. A firm, older plant in humid air can sit out for days or weeks, and one of mine managed over a month, though dry air can kill a plant much sooner.
The plants I rush are still the ones I worry about, and the ones I leave alone usually turn out fine.
More of what I’ve learned on the roof is on the Succulent Primer homepage.