How to Repot a Cactus Without Killing It or Getting Stabbed
Quick answer
How do you repot a cactus without getting stabbed or killing it? Grip the plant through a strip of soft foam, slide out the root ball, clean and trim the roots, replant in dry gritty mix, then leave it unwatered for about a week. It’s a beginner-friendly job that fits into one short sitting, and the 16 small steps below suit any round cactus you can hold in one hand.
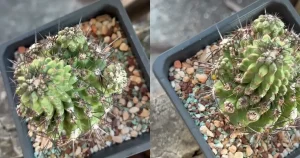
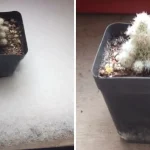
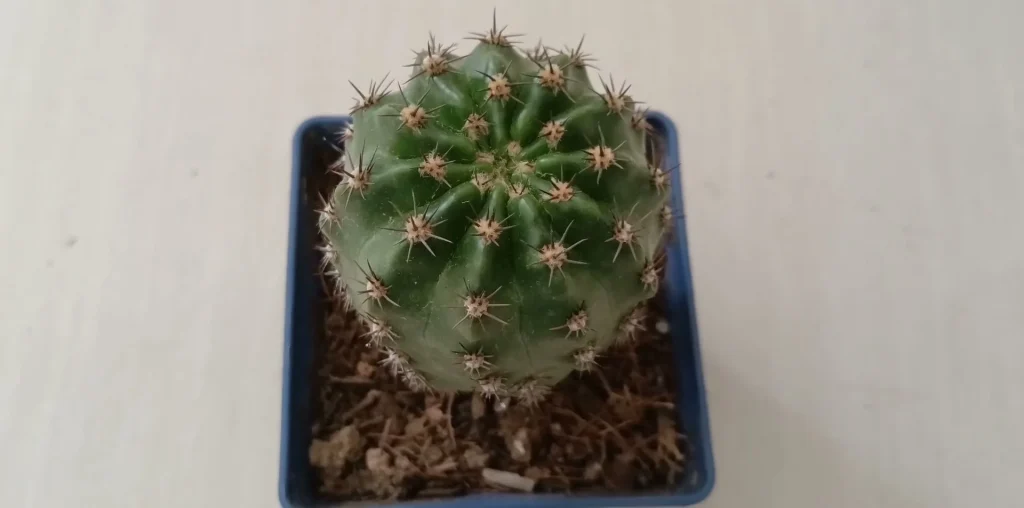
I’m working here with a round cactus in a square blue plastic pot, and it goes back into that same pot, because this repot is a root inspection and a soil replacement rather than a move to extra room. After the steps, I cover aftercare, when a cactus needs repotting, and how to choose a bigger pot if yours has outgrown its home.
What you need to repot a cactus
Lay everything out before you touch the plant, because you won’t want to go hunting for scissors with a cactus in your hand.
- A strip of soft foam: it should be thick enough that the spines can’t reach your fingers. Kitchen tongs, a folded band of newspaper or thick gloves also work.
- A tray: it catches the loose soil and gives you a place to work on the roots.
- A clear plastic tub: it holds the old soil, and you’ll mix the new batch in it.
- Small pointed scissors and rubbing alcohol: these are for the roots.
- Bent-tip tweezers: the curved end reaches between roots where fingers can’t.
- A scoop: I cut a plastic bottle in half and use the neck end.
- A thin tool: a chopstick or wooden skewer is fine.
- Dry cactus mix: I also stir in pine needles, but they’re optional.
- A pot with drainage holes: the same pot is fine if the plant hasn’t outgrown it.
I’m not giving a soil ratio here, because I measured this batch by eye. For real numbers, my well-draining cactus mix recipe has the ratio I use and how plant size and root type change the grit.
How to repot a cactus, step by step
Once the tools are in reach, the job falls into three stages: getting the plant out, cleaning its roots, and rebuilding the pot around it.
Get the cactus out of its pot without touching the spines
Step 1: Wrap the cactus in foam. Bend the strip into a U around one side of the cactus and hold it there with one hand. Steady the pot with your other hand. Press just hard enough to feel the plant through the foam, since squeezing harder only drives spines into it.
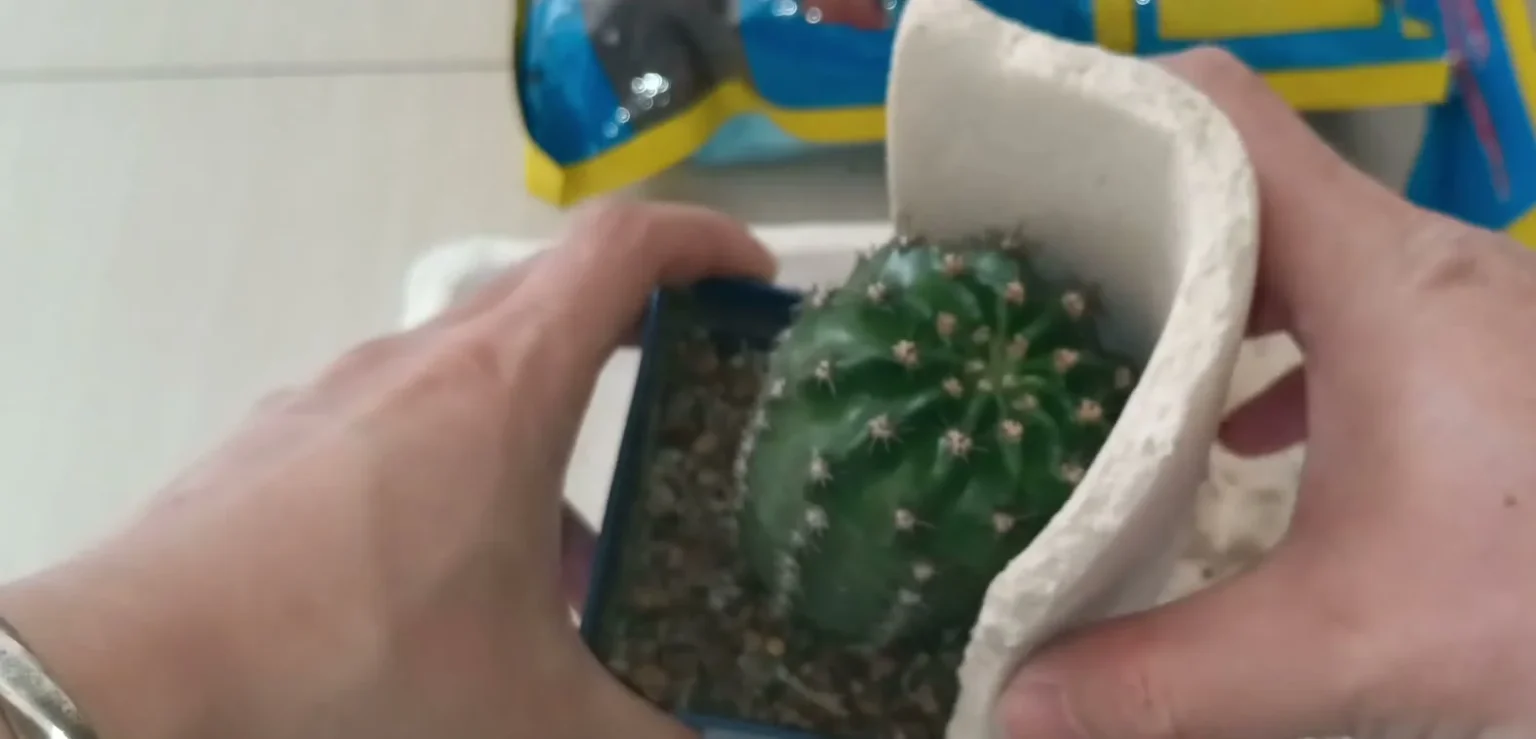
Step 2: Tip the pot and slide the root ball out. Lay the pot on its side over the tray, keeping your grip on the foam. Pinch the plastic walls with your free hand and walk the pot backward off the soil, a little at a time. Let the pot come off the plant, and don’t yank the cactus out by its body.
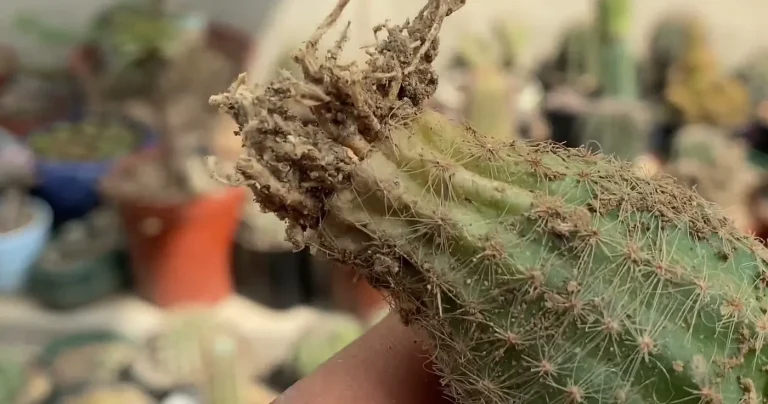
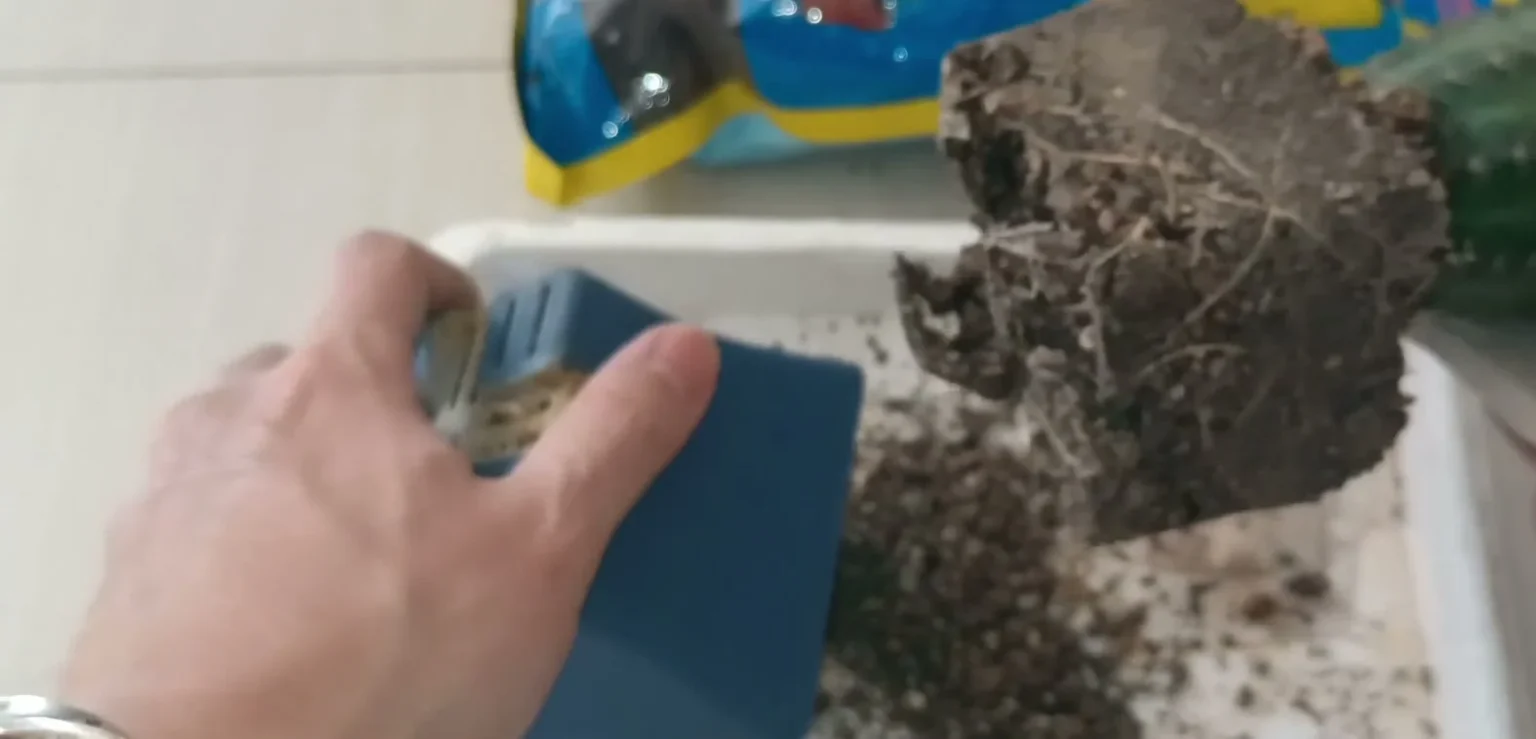
Step 3: Lift the pot away and read the roots. Set the empty pot down and look over the soil block. A plant that’s been in one pot for a while comes out holding the pot’s shape, with fine roots showing on the outside.
Clean and trim the roots so fresh soil can reach them
Step 4: Wipe the scissors with alcohol. Rub both blades of the small scissors with rubbing alcohol and let them dry. Then lay them beside the tray, ready for Step 6.
Step 5: Tease the old soil out with tweezers. Hold the root ball against the tray with one hand. Slide the bent tip of the tweezers into the gaps between roots and flick the soil outward, working around the block until the fine roots stand clear.
Step 6: Trim the roots and check the size. Cut any black, soft or hollow roots back to firm tissue, then snip away the dead, straggly ends. I can’t tell you how many cuts to make, because that depends entirely on what you find. Hold the root ball over your open palm to judge it. On this plant I stopped once it was narrower than my palm, which left plenty of room for new soil in the pot.
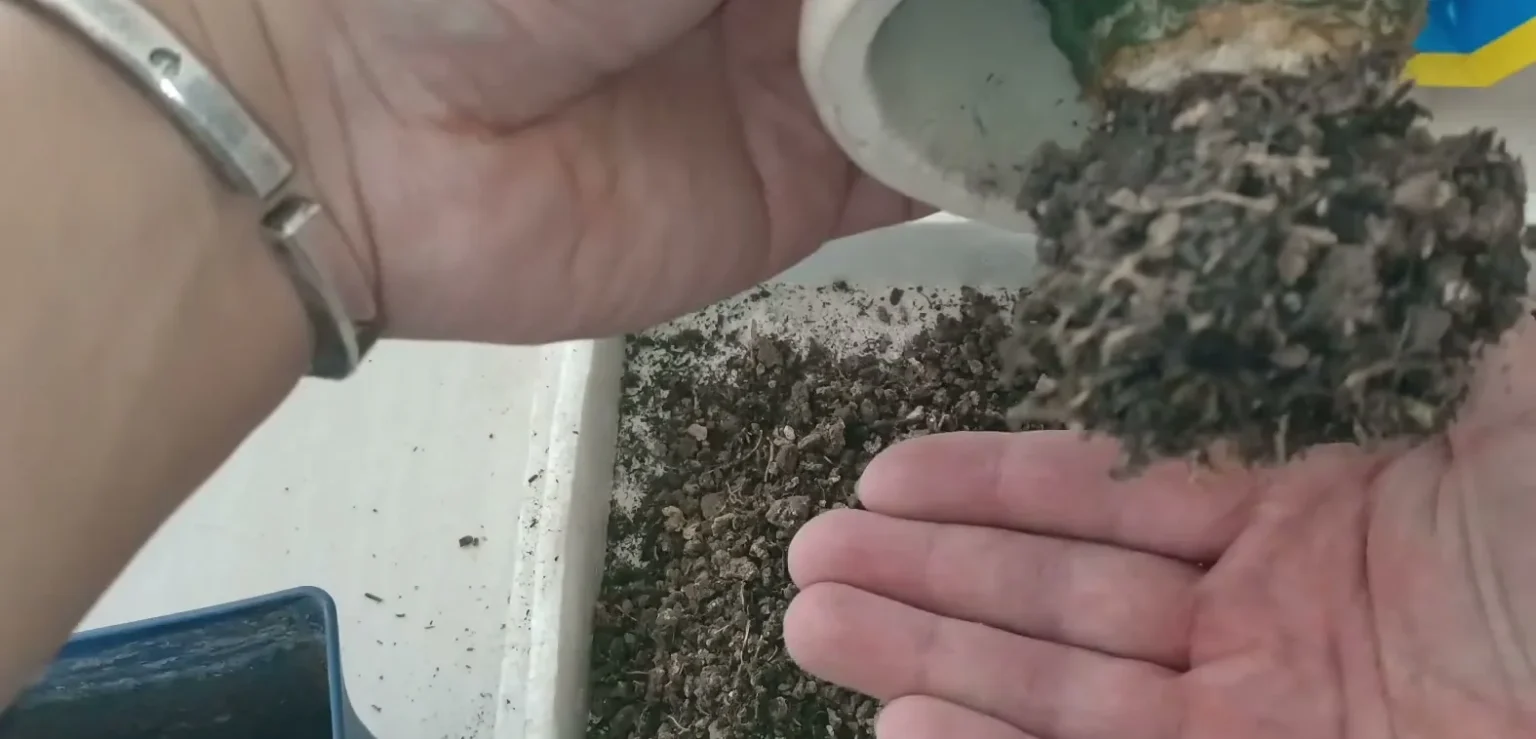
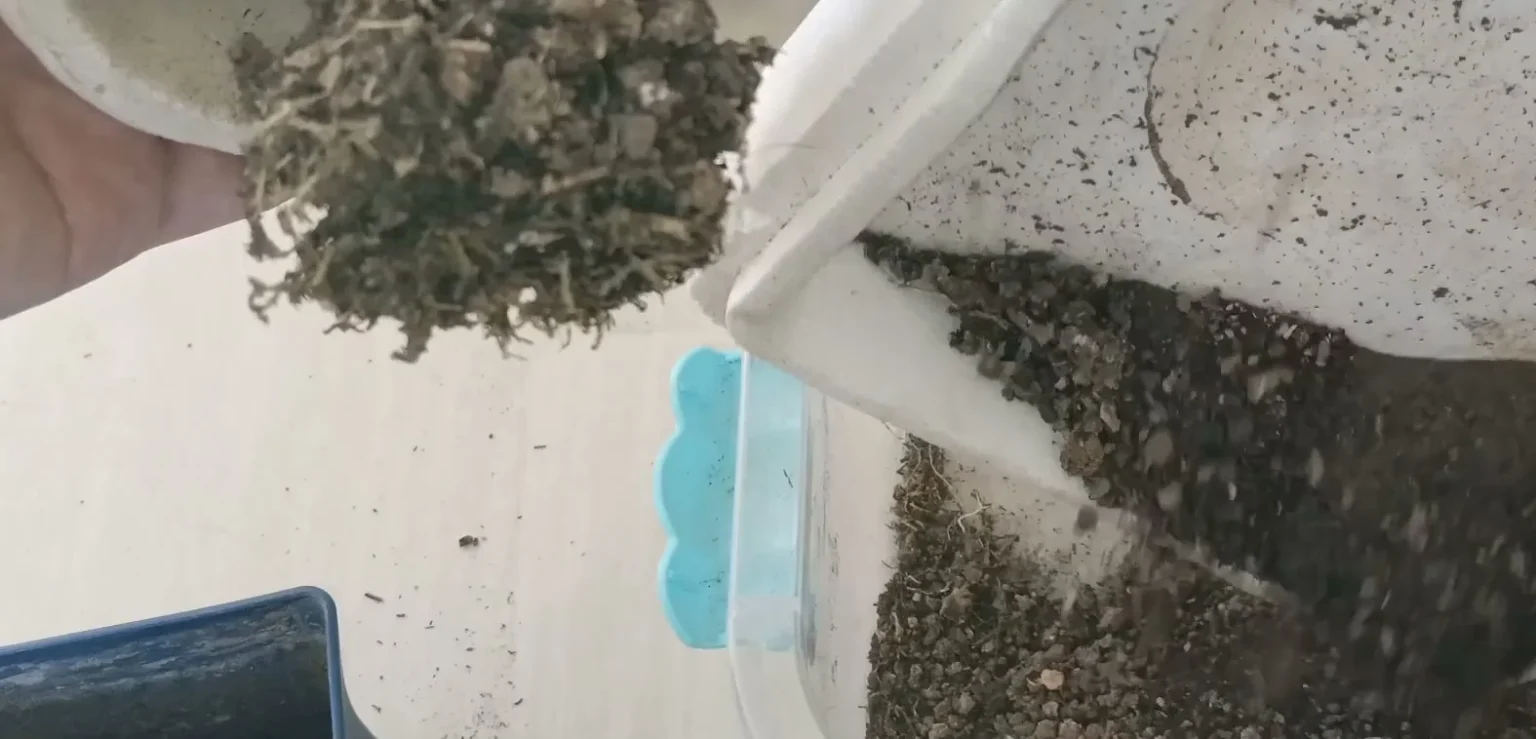
Step 7: Pour the old soil into the tub. Keep the cactus in one hand and tip the tray with the other, so the loose soil slides into the clear tub. I can’t bring myself to throw decent soil away, so healthy old soil goes back into the new batch.
Mix the new soil and replant the cactus
Step 8: Set the cactus aside and measure with the empty pot. Put the plant somewhere it can’t roll, with the foam still on it. Fill the empty pot with new soil and tip it into the tub. Using the pot as your measuring cup keeps the batch close to what the pot will actually hold.
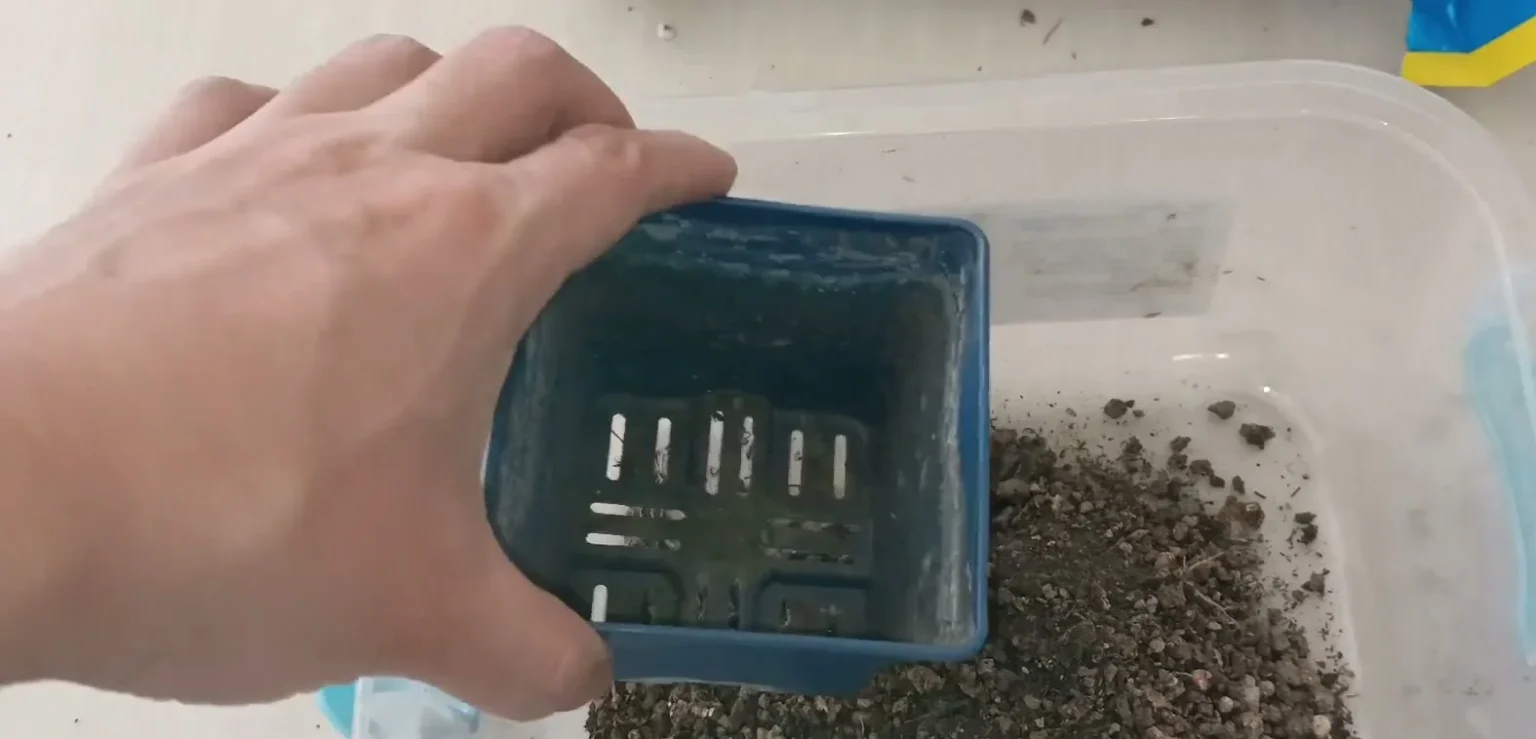
Step 9: Add pine needles the same way. Sprinkle dry pine needles into the pot until it looks about right, then tip them into the tub. I judge this by eye, so don’t read a ratio into it.
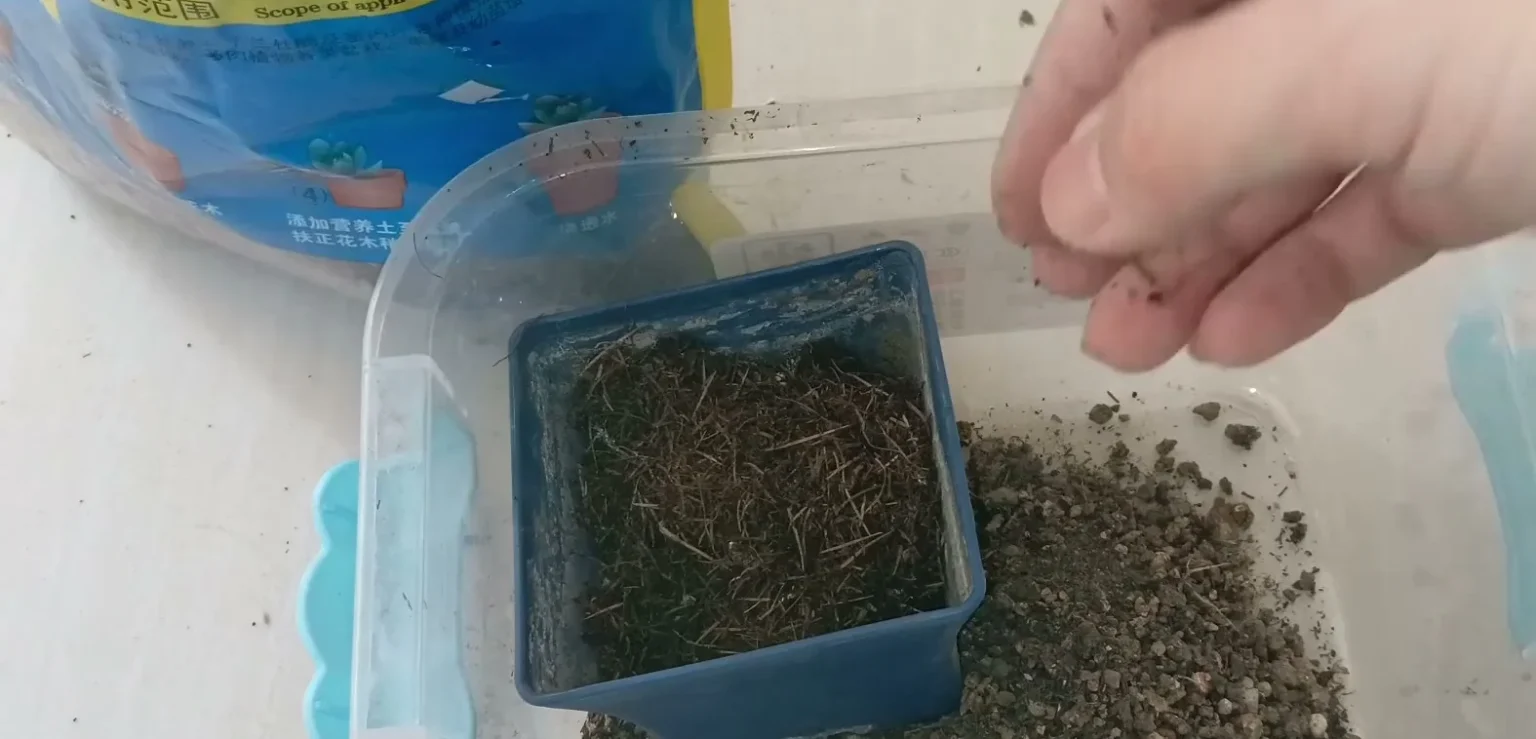
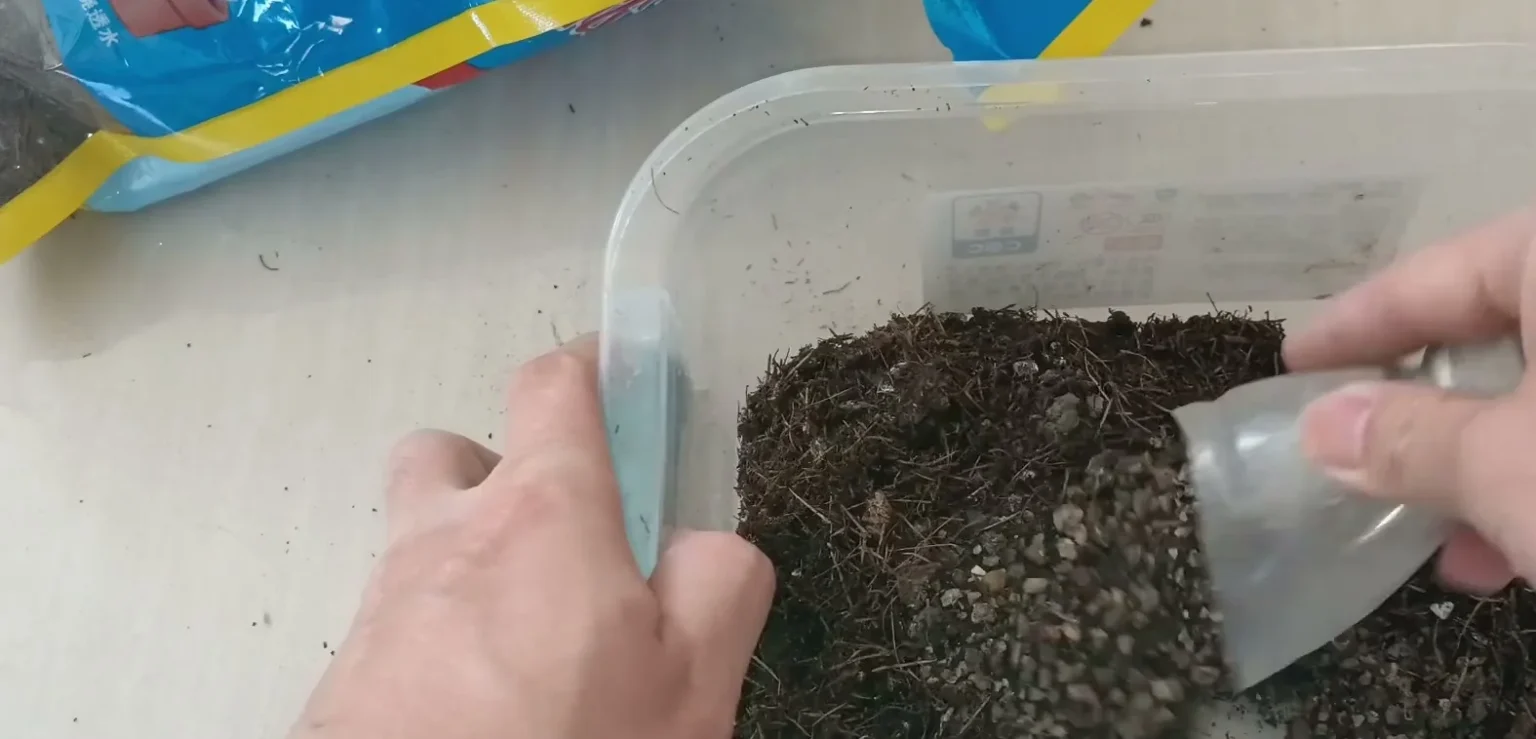
Step 10: Stir everything together. Turn the old soil, new soil and pine needles over with the scoop until no patch of one material is left on its own.
Step 11: Scoop a base layer into the pot. Add just enough mix that the cactus will sit at its old depth, with the base of the stem level with the soil surface.
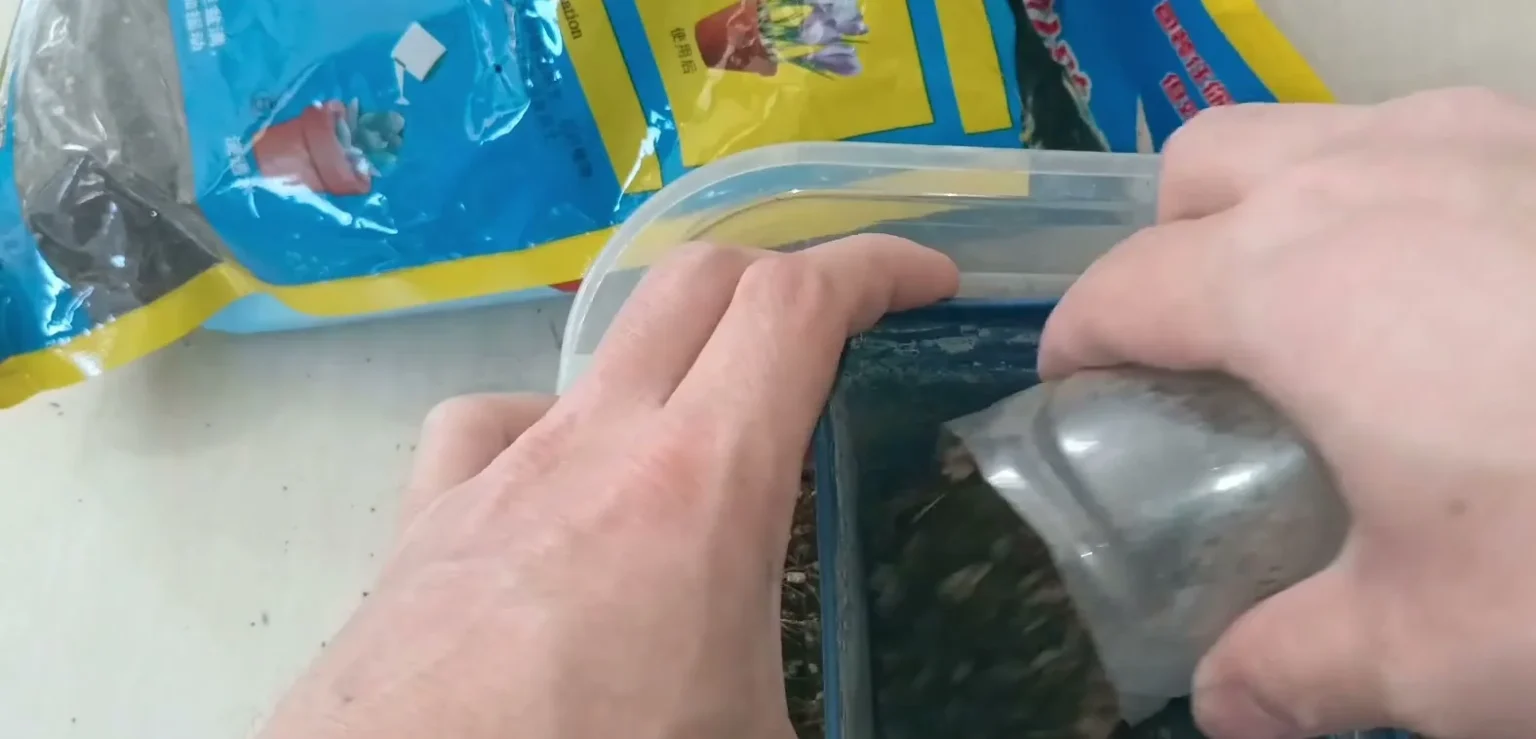
Step 12: Lower the cactus in with the foam. Grip the plant through the foam again and steady the rim with your other hand. Ease the roots down onto the base layer so they spread out rather than fold under.
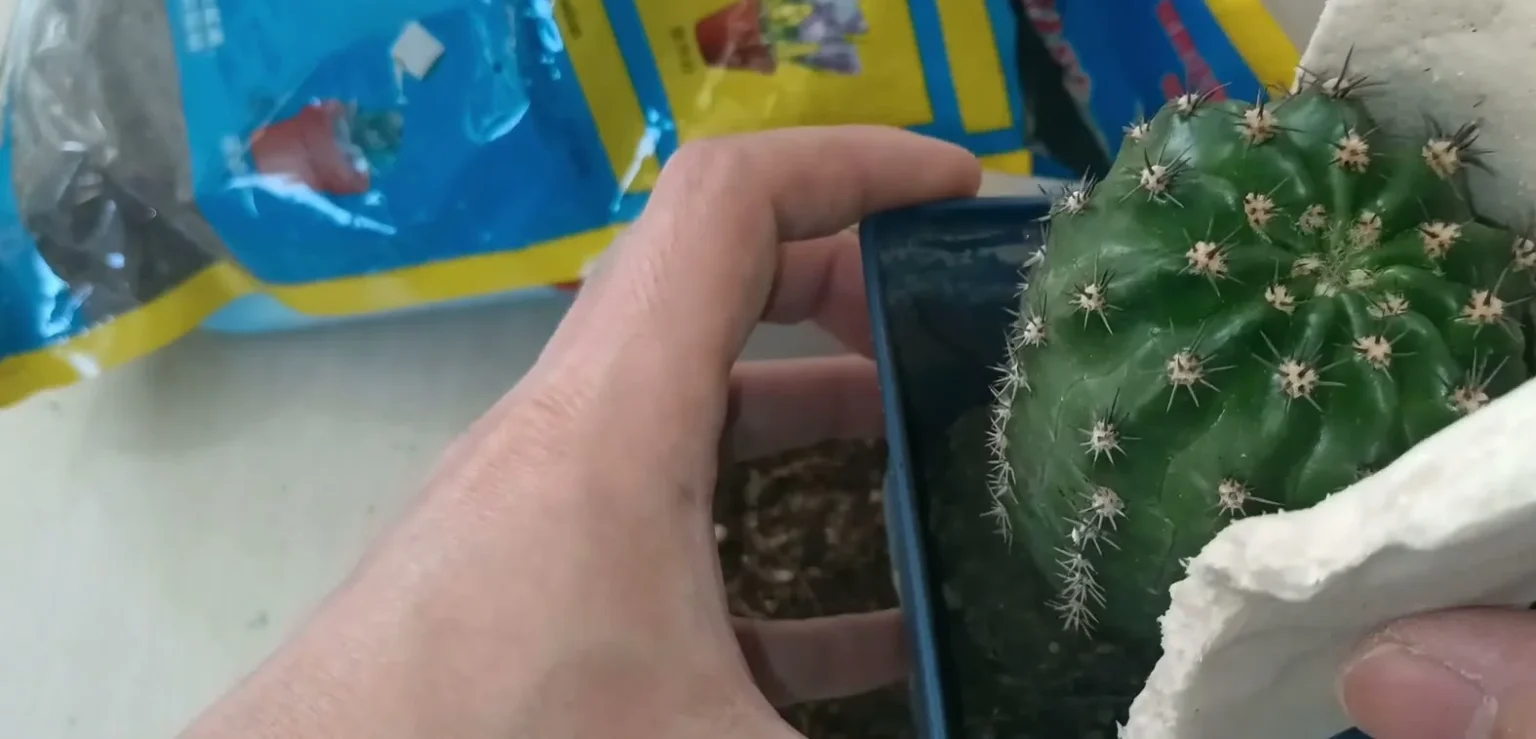
Step 13: Pour soil down the gap. Keep the foam against the plant and tip the scoop along the pot wall, so soil falls between the cactus and the side of the pot. Work your way around all four sides.
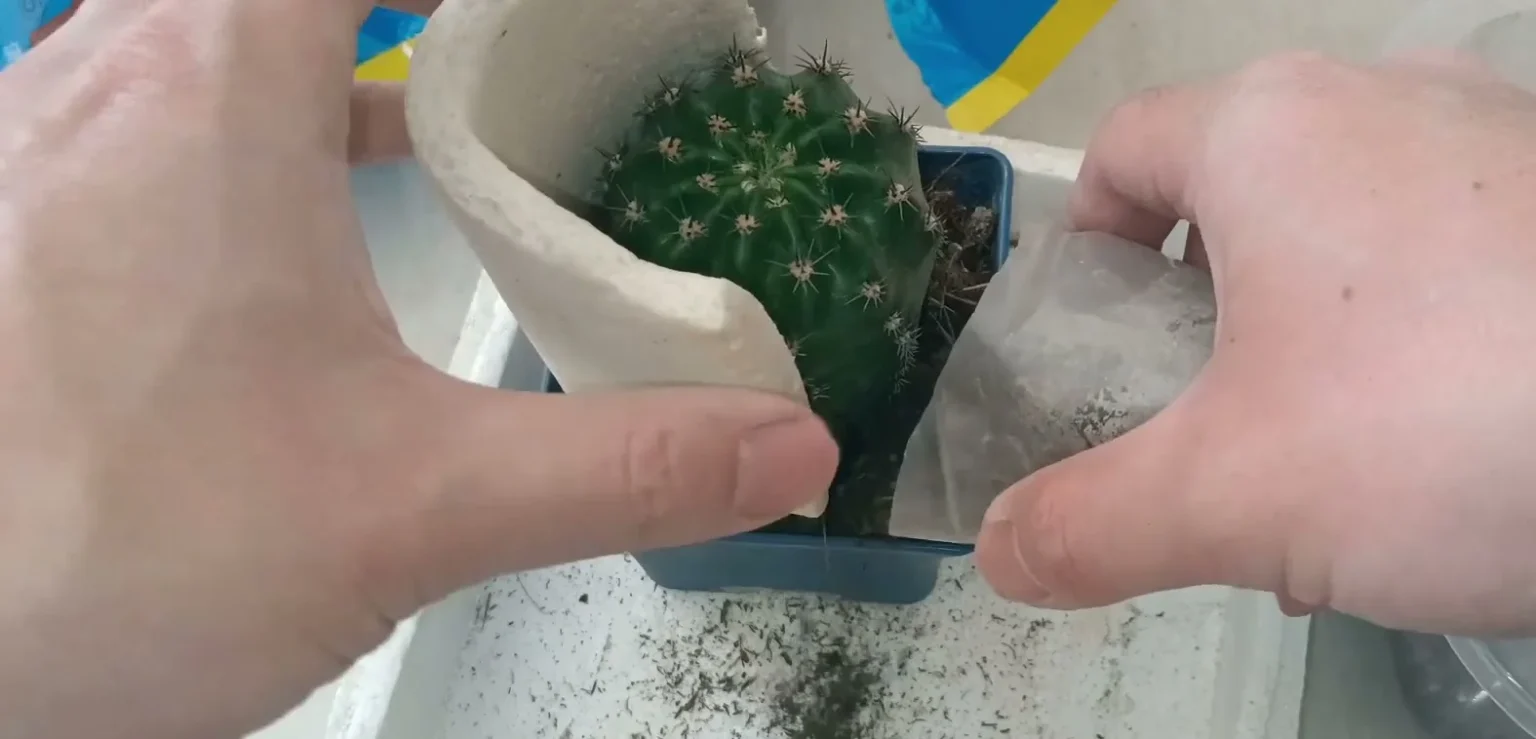
Step 14: Center the cactus and firm the edge. Look straight down and nudge the plant until it sits in the middle of the pot. Then press the soil at the rim with your fingertips, staying clear of the spines.
Step 15: Poke the soil down around the roots. Push the thin tool into the soil at each corner and wiggle it, so loose mix drops into any air pockets. Top up wherever the surface sinks, but stop short of ramming it down, because heavy compaction squeezes out the air gaps that let a gritty mix drain and dry.
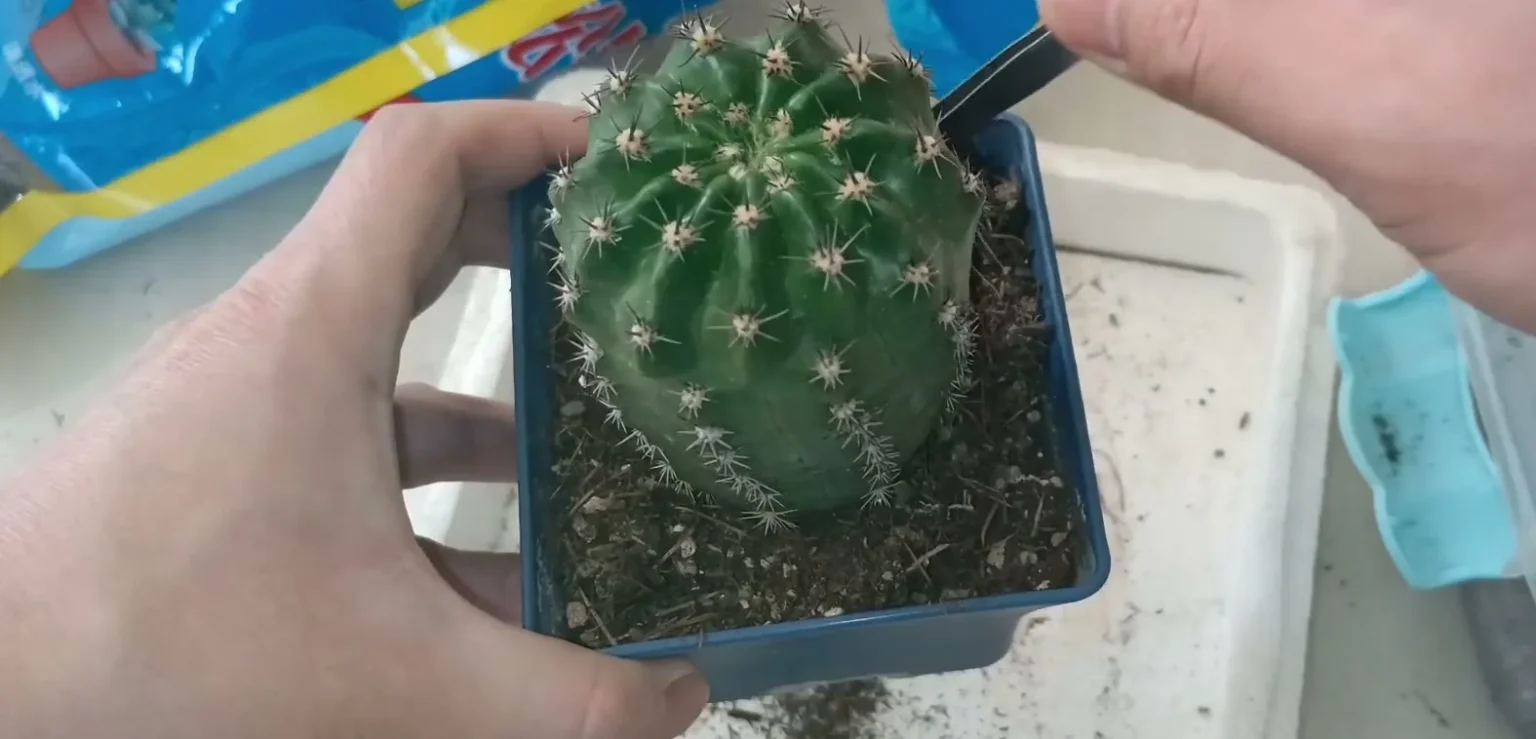
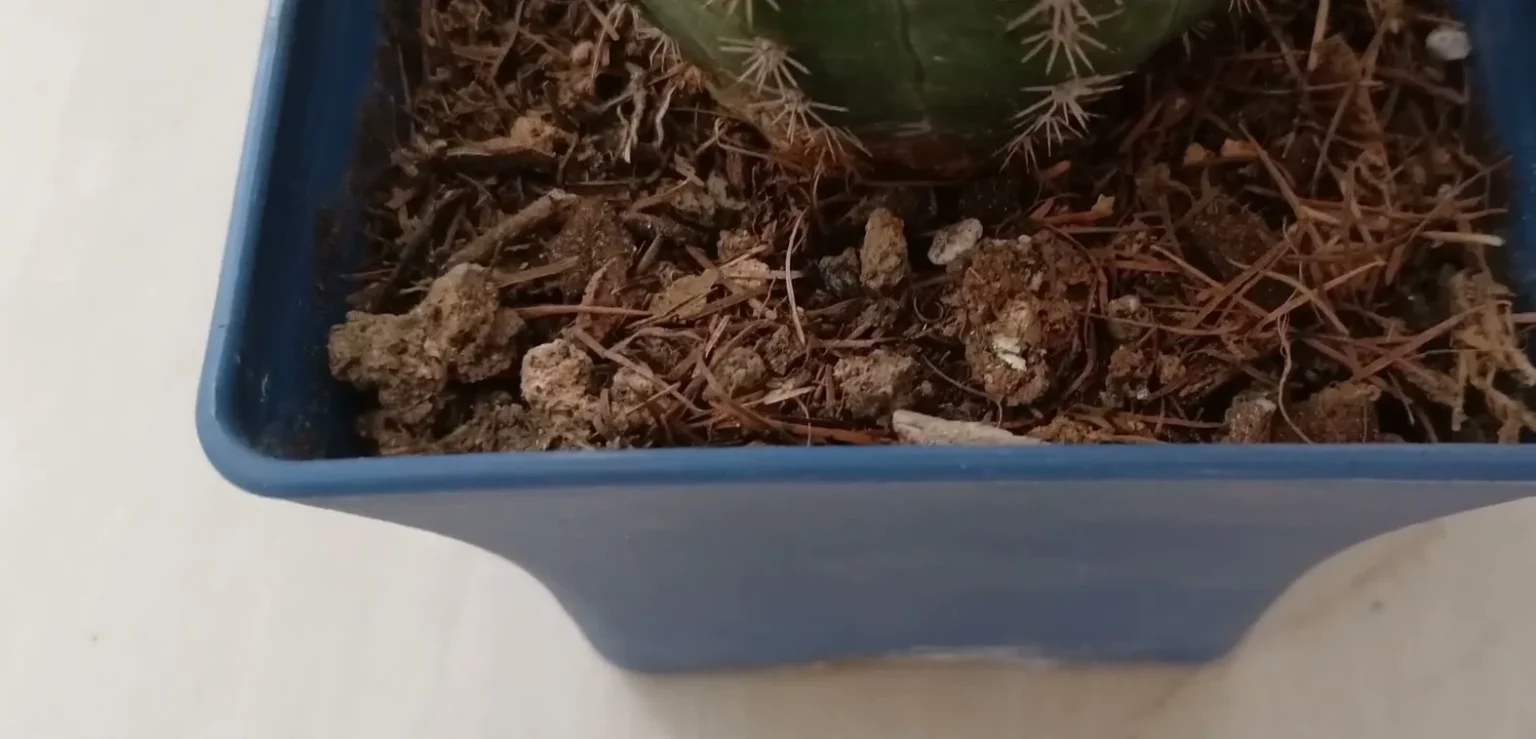
Step 16: Finish the surface and move the pot out of direct sun. A thin layer over the soil is optional. Mine ended up with pine needles and pale gritty lumps around the base of the cactus. Don’t water, and put the pot somewhere with bright, indirect light.
How to care for a cactus after repotting
The steps end with a dry pot in soft light, and the next stretch is where a repot usually succeeds or fails. Roots that were trimmed or scraped need time to seal before they meet wet soil, because damp mix around a fresh cut is an easy route to infection. That makes a watering can the biggest threat right now, and the difference between a quiet recovery and root rot is often just patience.
- Water: I wait about a week before the first watering, and longer if I had to cut a lot of roots. After that, soak the pot and let it dry out as usual.
- Light: keep the cactus in bright, indirect light with decent air circulation at first, then move it back to its sunny spot gradually.
- Food: skip fertilizer for the first few months after repotting, since damaged roots don’t need the push.
When to repot a cactus, and how to tell it’s time
All of that aftercare goes easier when the plant is growing, so timing matters. I repot in spring or early summer, when roots recover quickly, and most cacti need it every two to three years. My cactus care guide covers the rest of the yearly routine.
Don’t wait for the calendar if you see any of these signs:
- Roots are coming out of the drainage holes.
- The plant has started to tip in its pot.
- The soil stays wet long after watering.
- You’ve just brought home a plant in damp nursery soil.
Also pick a day when the soil is dry. Don’t repot soon after watering, because wet soil clings to the roots and makes Step 5 far harder. If you water on a routine, skip the last round and repot once the pot has dried out.
Choosing a pot size when a cactus needs a bigger pot
The same pot works when the trimmed root ball sits in it with room for soil on every side, like mine. If the plant fills the pot edge to edge, go up only one size. A much bigger pot leaves extra mix around the roots, and that mix stays wet for days.
Round cacti tend to have shallow, spreading roots, so a pot about as deep as it is wide suits them. Tall columns and cacti with thick taproots need a deeper pot, both for root room and to stop them tipping. Whatever the shape, the pot needs a drainage hole. Gravel in the bottom of a pot without a hole won’t fix that.
Cactus repotting mistakes that cost you the plant
Picking the right pot still won’t save a cactus from these habits. Each one is easy to avoid once you know what to do instead.
- Watering on repotting day: leave the pot dry for about a week, even if the soil looks thirsty.
- Reusing soil from a sick plant: if you found rot or pests, bin that soil and use fresh mix, then wipe the scissors with alcohol again.
- Burying the stem: keep the base of the stem level with the soil surface by setting the base layer in Step 11.
- Leaving dark roots in place: cut them back to firm tissue. My guide to healthy and rotting cactus roots shows what to look for.
Cactus repotting questions
Can I repot a cactus in winter? I’d wait for spring. Most desert cacti slow down or stop growing from late fall to late winter, so cut roots recover slowly. The exception is a plant that’s actively rotting, which can’t wait.
How do I repot a tall cactus? Wrap a folded band of newspaper around the stem as a handle, and ask someone to hold the pot while you lift. Tall plants get top-heavy, so pack the soil firmly and use a deeper pot.
How do I repot a cactus with no roots? A cactus piece with no roots is a cutting, so treat it like one. My guide on how to propagate a cactus goes through offsets, pads and top cuttings.
What’s the most common mistake when repotting a cactus? Watering too soon. Keep the pot dry for about a week, so the roots seal before they touch wet soil.
Next time I do this, I’ll start with the foam again, because nothing else has kept my fingers as clean of spines. The rest of my rooftop notes start from the Succulent Primer home page.