Sedum Sarmentosum (Stringy Stonecrop) Care and Propagation
Quick answer
Sedum sarmentosum, often sold as stringy stonecrop or gold moss, is a trailing sedum with flat, pointed leaves set three to a whorl, and it’s about the easiest succulent there is to multiply. A piece of stem only 1 to 2 cm (under 1 in) long will root even with no roots of its own, so the trimmings from one pot can fill a whole planter. My propagation method takes five steps: prep a bed with compost under the soil, cut short pieces, push them in shallow and close together, keep them out of full sun while they root, then trim the old stems so the plant keeps branching. Below are those steps, how to tell this plant apart, and why it can be a problem in open ground.
How to recognize Sedum sarmentosum
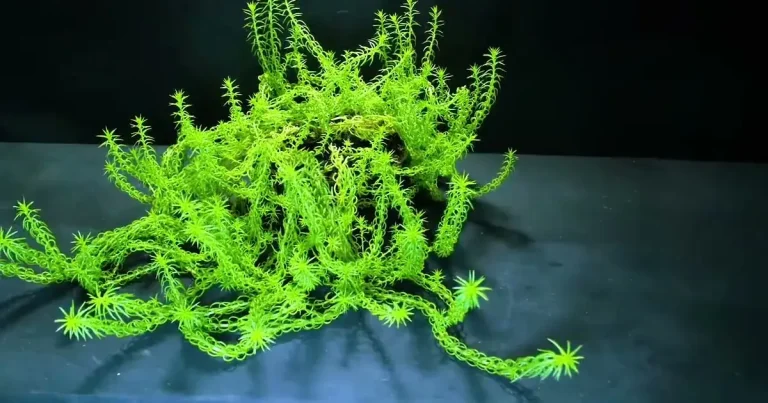
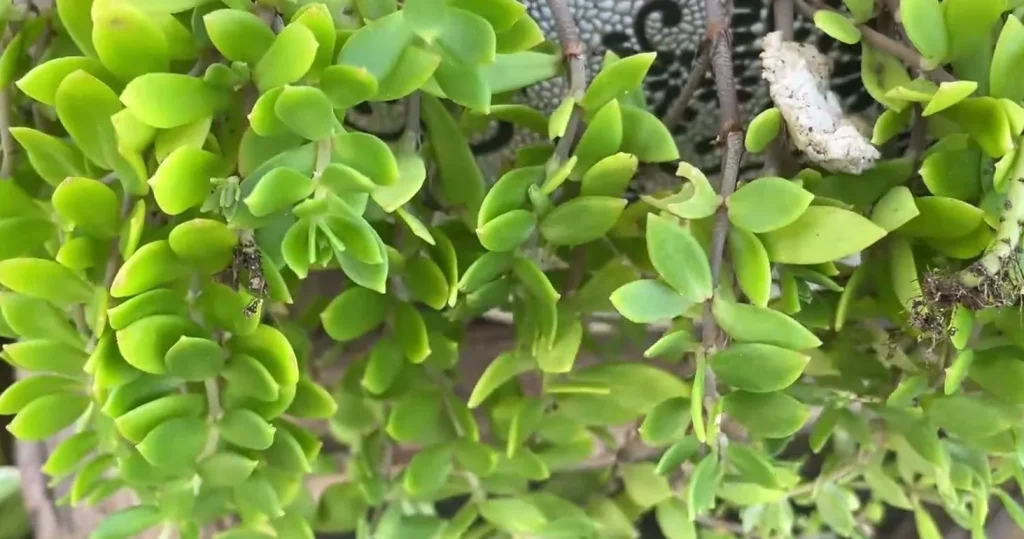
Sedum sarmentosum leaves are flat rather than round, pointed at the tip and usually about three to a node. Each new shoot looks like a tiny stacked rosette.
In brighter light the leaf tips pick up a faint red coloration.
The stems are thin and run long. They creep over soil or hang over a pot rim, and in late spring the plant usually covers itself in small yellow, star-shaped flowers. In China it’s called chuipencao (垂盆草), which means “the grass that hangs from a pot,” and that’s how I grow most of mine.
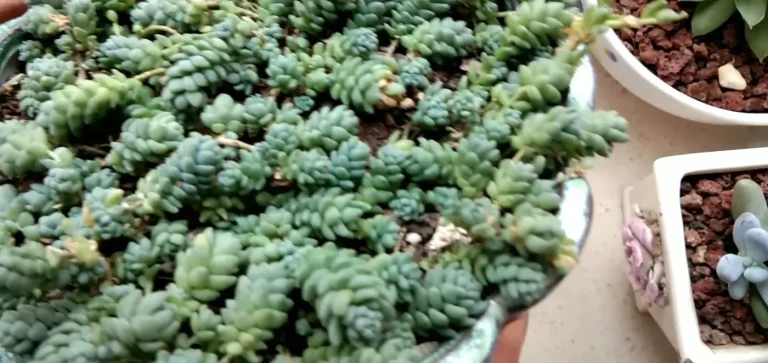
It gets mixed up with the needle-leaved golden sedums all the time. The quickest way to tell the difference is to look at a single leaf: those have narrow, rounded leaves, and this one has wider, flat ones. I compare a few of these low growers, and how they spread, in my page on creeping sedum types for beds and pots.
Supplies for propagating Sedum sarmentosum cuttings
You don’t need much, and nothing has to be sterile:
- A wide, shallow planter with drainage holes (mine is a black plastic rectangle)
- Ordinary potting soil
- A few handfuls of well-rotted compost or composted chicken manure
- Clean scissors
- A small trowel
- A healthy parent plant with some long stems
Step-by-step: rooting Sedum sarmentosum from stem cuttings
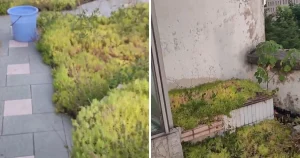
On my rooftop in Huizhou, in southern China, I take these cuttings in every month of the year. Where winters freeze, spring through early fall is the safer window, because unrooted pieces have little tolerance for frost.
Step 1: Layer compost under the soil
Put the compost in the middle of the planter, then cover it with about 1 in (2 to 3 cm) of plain soil and level it with the trowel. The cuttings sit in the top layer, so they never touch the rich stuff directly; their roots find it later.
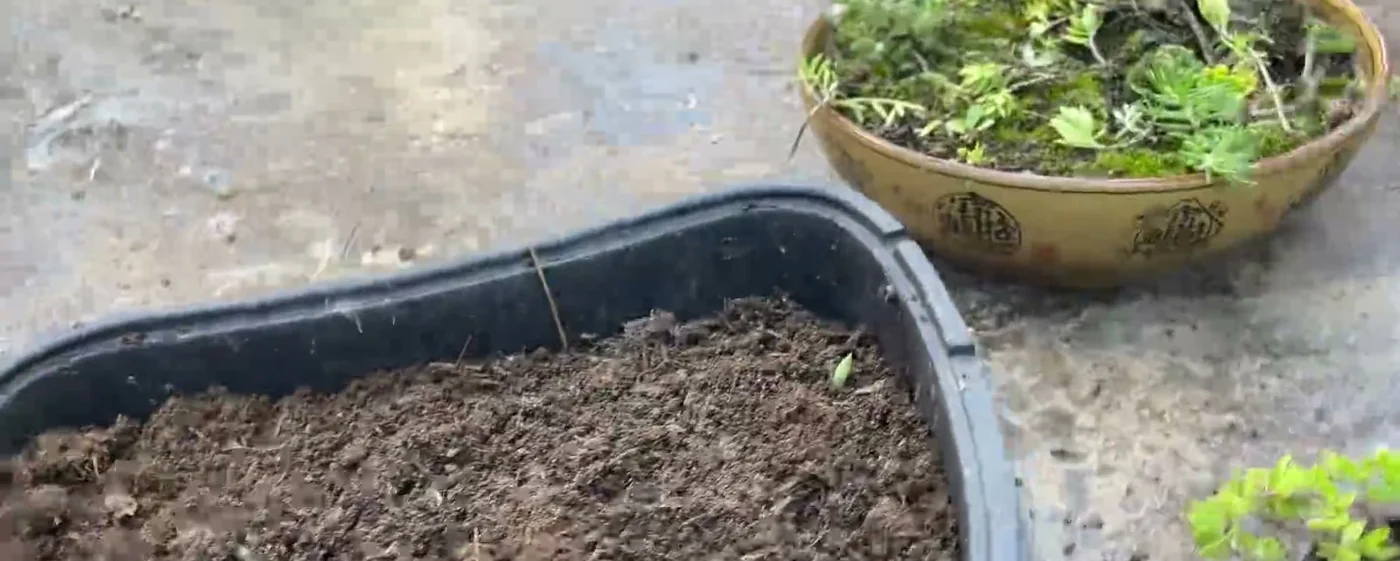
Mine had been rained on, so the bed was already damp when I started. Keep that moisture level in mind, because it changes the watering in step 3.
Step 2: Cut stems into short pieces
Snip the long stems into pieces 2 to 3 cm (about 1 in) long. You can go shorter: a scrap of 1 to 2 cm will still take, with or without roots.
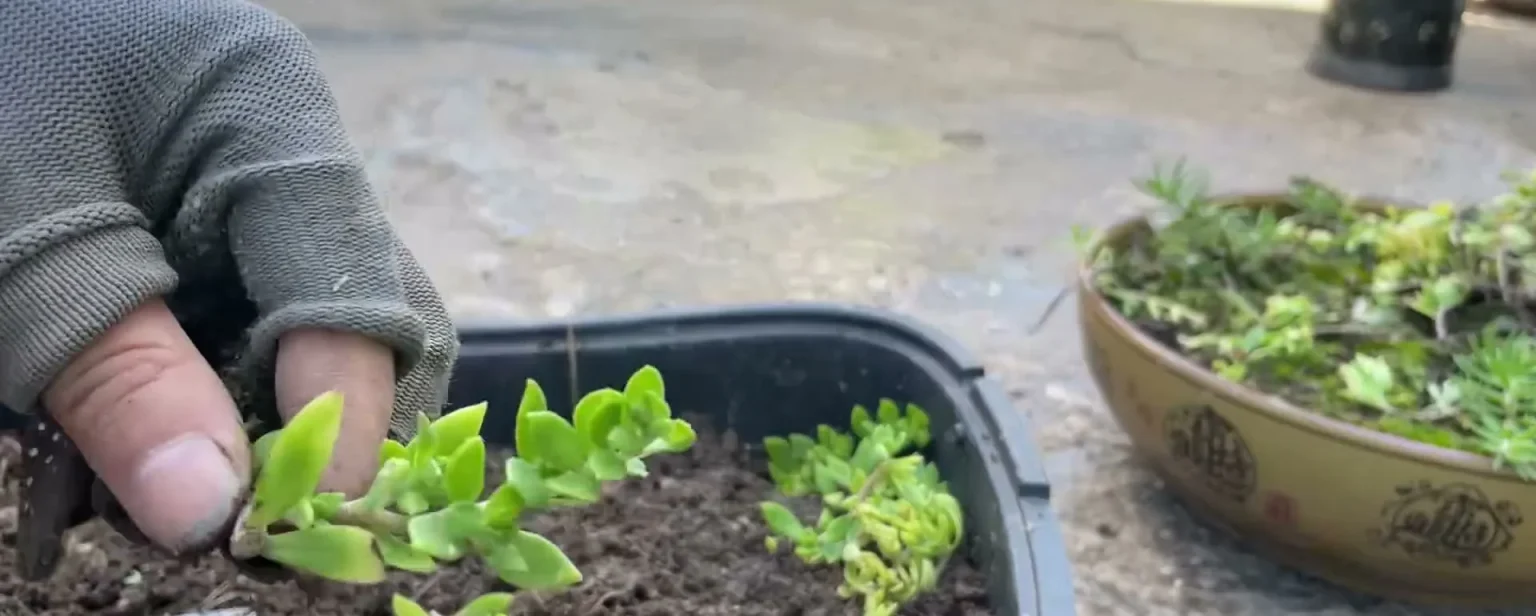
There’s no need to let the cut ends dry first. I cut and plant in the same sitting.
Step 3: Push the pieces in shallow and close together
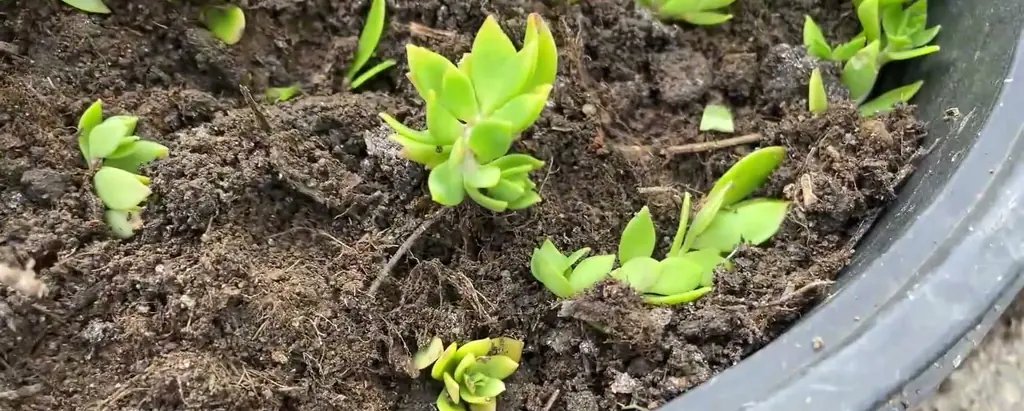
With the pieces cut, plant them straight away. Hold each one by the top and press the base into the soil just deep enough to stand. Don’t bury it.
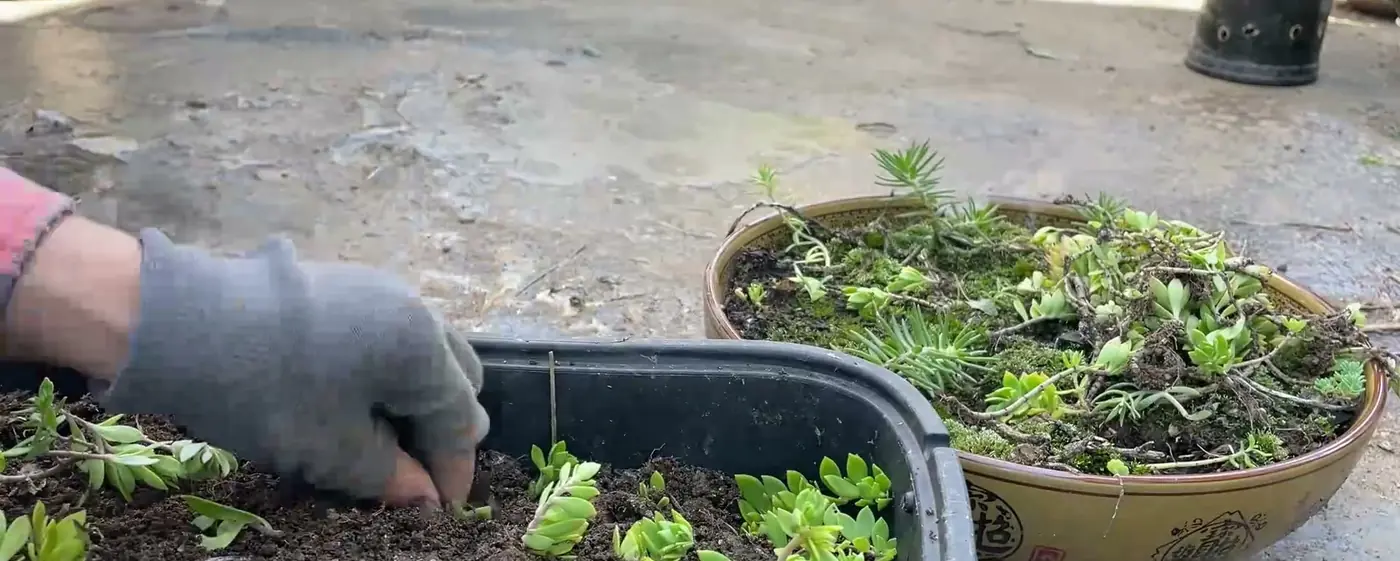
Plant them densely. If you have plenty of stems, set them almost shoulder to shoulder, since a crowded planter fills in sooner and dries out more slowly.
A small handful of stems is enough to start a whole planter.
Then check the soil. If it’s already moist, as mine was, skip watering. If it’s dry, water once until it runs from the holes.
Step 4: Keep the planter out of full sun while it roots
Once planted, move the planter to a shaded spot with good air circulation. Full sun at this stage scorches pieces that have no roots to pull water. After that, you can mostly leave them alone and not water.
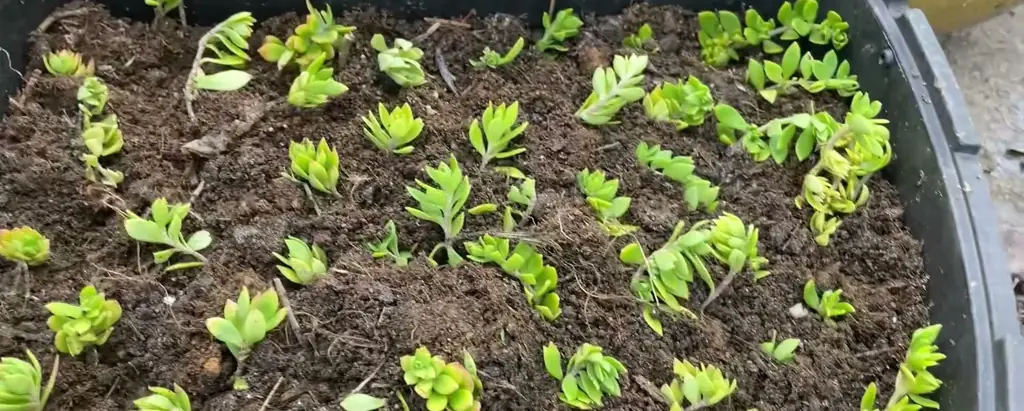
You’ll know they’ve rooted when the pieces stand firm and start new leaves at the top. A light tug meets resistance.
Step 5: Trim old stems to keep the plant full
After the cuttings take, the job shifts to keeping the parent plant tidy. Older stems drop their lower leaves and go bare, but new side shoots sprout from those bare spots.
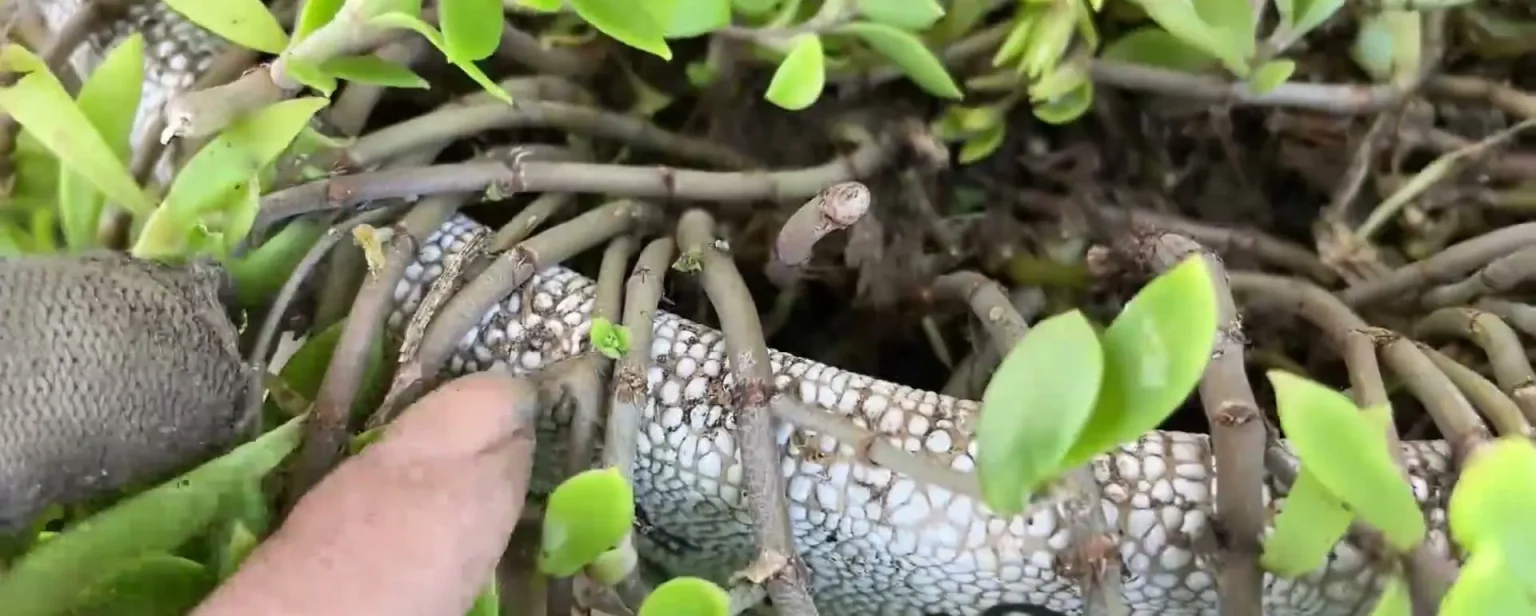
Cut the leggiest stems back and you get a bushier pot, plus a fresh batch of cuttings. I started one of my planters this way in early spring, entirely from trimmings.
Sedum sarmentosum care: light, water and soil
For care, the biggest lever is light. In full sun the plant stays compact and yellow-green with reddish tips. In part shade the leaves turn a fresh, deep green and the stems stretch.
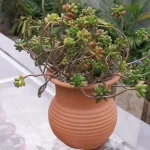
One of my hanging pots in part shade grew stems around 12 to 16 in (30 to 40 cm) long.
Watering is easy. The leaves hold enough that an established bed rarely needs help, and a pot only needs a drink when the soil is dry. Soggy soil is the one condition that rots it, so good drainage matters more than any fertilizer.
Any well-draining mix works. A little compost under the soil, as in step 1, keeps a planter green for a long time without extra feeding.
Is Sedum sarmentosum invasive?
Sedum sarmentosum can be invasive in open ground, which is the thing most people find out too late. It roots from every scrap of stem, so broken bits from weeding or mowing start new patches. It has escaped gardens and naturalized in parts of the eastern United States.
That same habit is why it’s so easy to propagate.
I keep mine in pots and raised planters, where it can hang but can’t wander. If you want a sedum to cover a bed, read my notes on which sedum ground cover plants behave in the ground first.
It’s also very cold-hardy, so a hard winter usually won’t stop it from coming back.
Where Sedum sarmentosum fits among other sedums
Sedum sarmentosum is a hanging-basket and container plant first. Its long stems and fresh green color suit a pot on a shelf or a planter edge better than a low, tidy mat does.
When it blooms, the yellow flowers look much like those of other stonecrops; I cover how and when sedums flower in my guide to sedum flowers.
For the bigger picture of how the trailing, upright and mat-forming kinds differ, start with my main sedum page. More succulent growing notes are on the Succulent Primer home page.