Ariocarpus Guide: Care, Flower Timing, Fissuratus and More
Quick answer
Ariocarpus is a small genus of nearly spineless, very slow-growing cacti from the Chihuahuan Desert, found from southwest Texas to central Mexico. Several species go by the name living rock cactus, and the plants are flat rosettes of hard tubercles (fleshy bumps in place of ribs) on a thick taproot. The CITES Checklist puts the whole genus on Appendix I, its strictest trade listing. In a pot they want bright sun, a rocky mix and long dry spells, and too much water is the usual killer.
The sections below start with the body and the seven species, then move to potted care, buying, and cleaning an old root ball.
What an Ariocarpus looks like: tubercles, wool and almost no spines
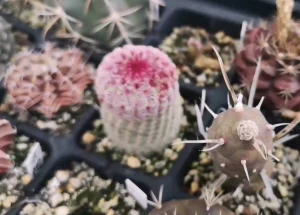
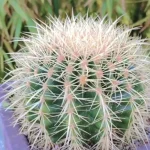
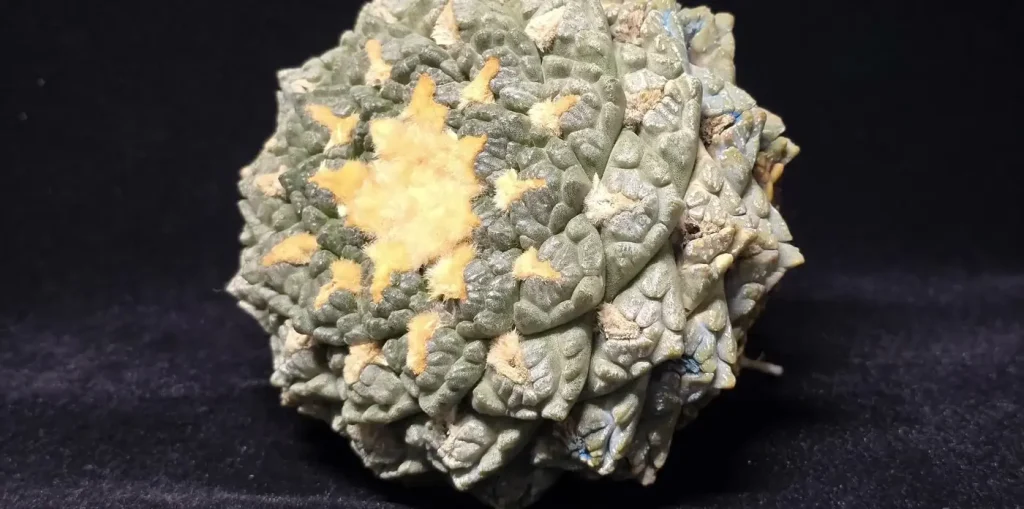
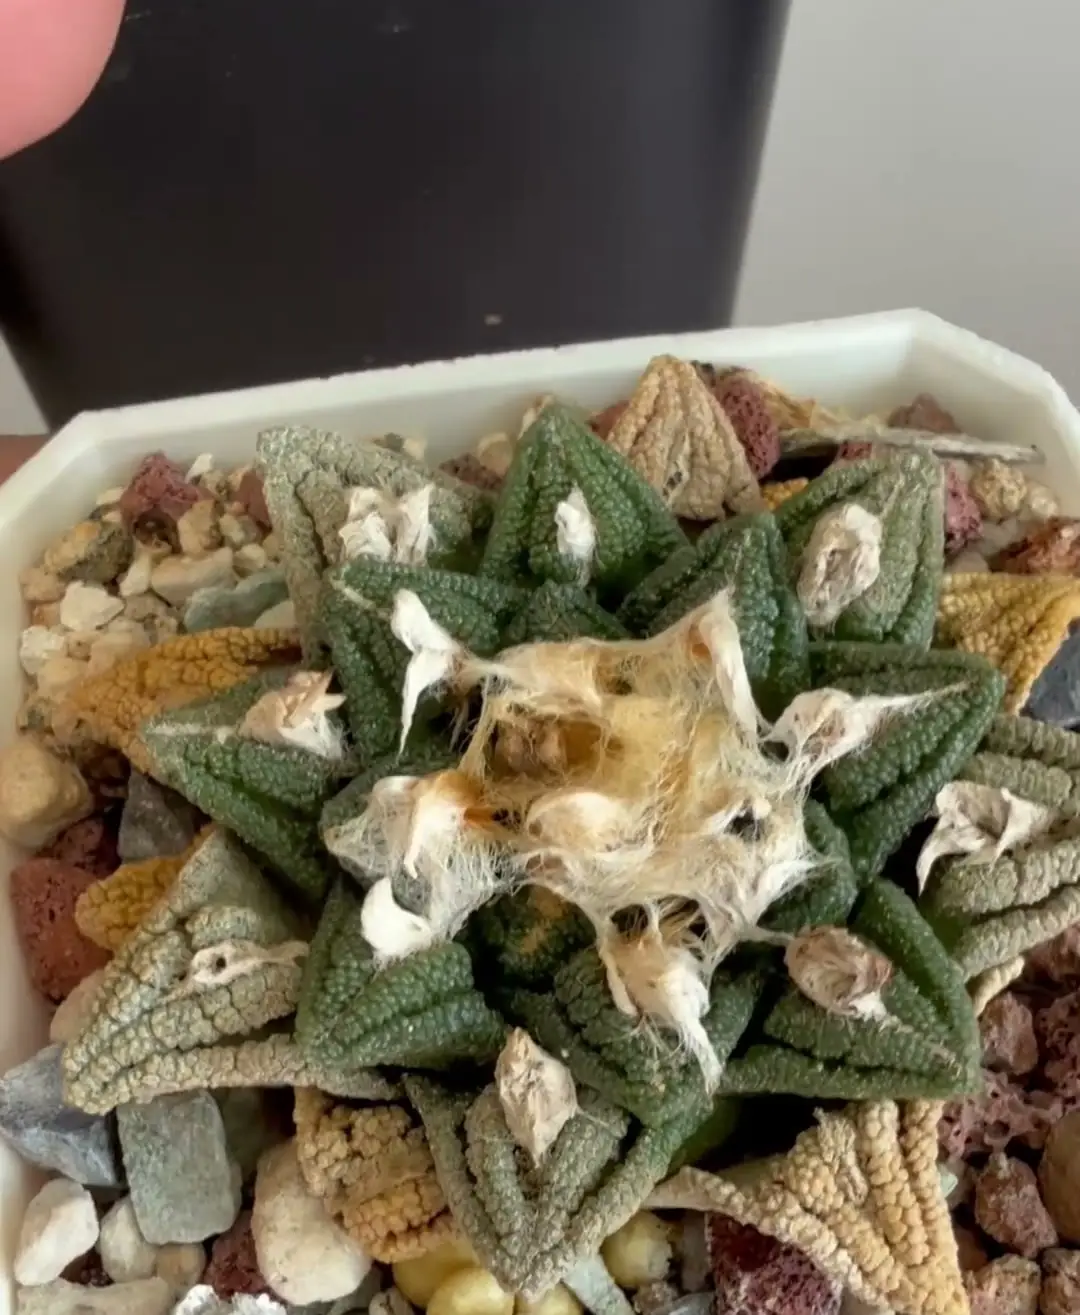
An Ariocarpus body is built from hard, roughly triangular tubercles set in a spiral, and it has no ribs at all. The top of each tubercle can be flat, rounded or fissured, which means split by grooves. Spines barely exist, and all you’ll usually find is a few bristles. If you’re not sure what you have, my cactus identification guide compares tubercled cacti with ribbed ones.
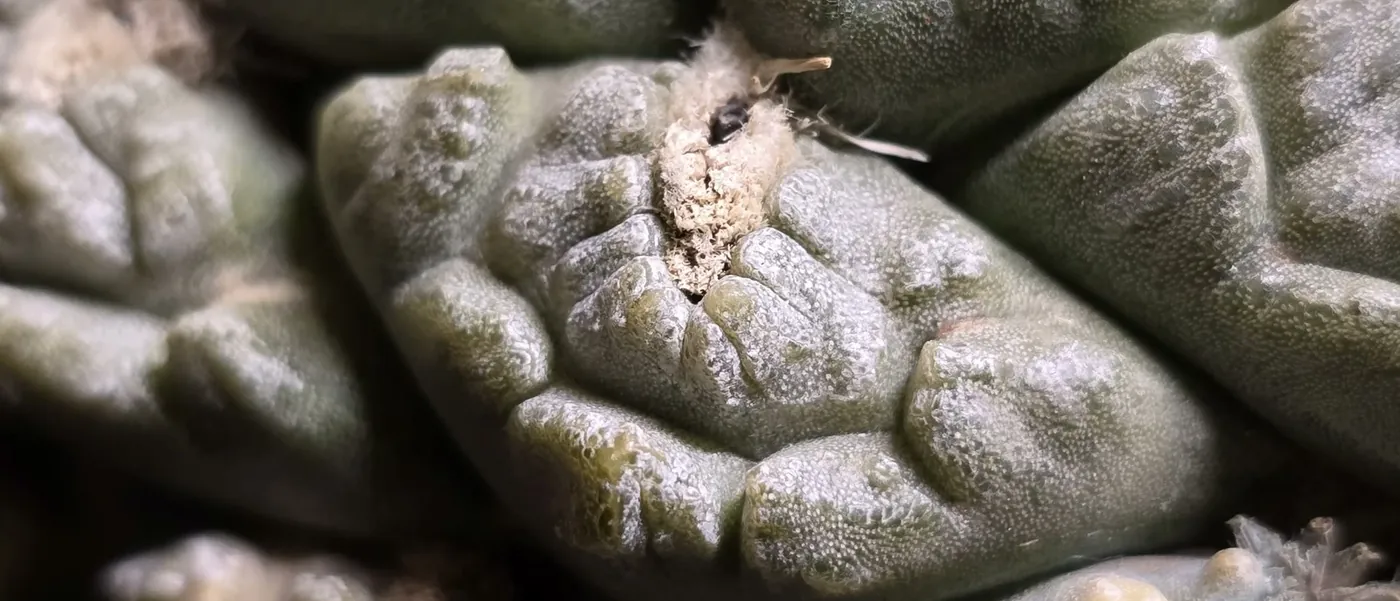
Pale wool fills the grooves and builds up at the growing point, so an older plant often shows a star of wool at its center. Chinese collectors prize deep grooves running along both side edges of a tubercle and meeting at the tip. They call this ge you (割疣, roughly “cut tubercle”), and a single tubercle marked this way does look like a tortoise shell.
Ariocarpus species: how the seven CITES names differ
The CITES Checklist names seven species, while the Henry Shaw Cactus and Succulent Society counted “about six” in 2005.
The gap comes from how botanists rank them. Libor Kunte and Vladislav Čedivý, writing in Kaktusy Special 2 in 2002, treat A. trigonus as a subspecies of A. retusus and A. bravoanus as a subspecies of A. fissuratus. The notes below come from that account, which is still the most useful field description I’ve found. The genus is one small branch of a huge family, and my cactus guide maps out the rest.
| Species | Where it grows | What to look for |
|---|---|---|
| A. agavoides | Near Tula in Tamaulipas and in San Luis Potosí, on limestone hillocks at about 3,900 ft (1,200 m) | Listed in English as the Tamaulipas living rock cactus |
| A. bravoanus | San Luis Potosí, at one known locality in the 2002 account | A very narrow native range |
| A. fissuratus | Southwest Texas and Coahuila, on low limestone hills at 1,640 to 5,250 ft (500–1,600 m) | Rugged, fissured tubercles on the Big Bend plants |
| A. kotschoubeyanus | Five Mexican states from Querétaro to Coahuila, on flat limestone deposits at 3,900 to 5,900 ft (1,200–1,800 m) | Flowers from white to pink, and almost red around Tula |
| A. retusus | Zacatecas to southern Tamaulipas, on limestone or gypsum slopes up to 7,900 ft (2,400 m) | Rough tubercles, triangular or keel-shaped, sometimes forked |
| A. scaphirostris | Rayones Valley in Nuevo León, in shale crevices at 2,600 to 3,300 ft (800–1,000 m) | Boat-beaked tubercles, which gave the plant its name |
| A. trigonus | Tamaulipas and Nuevo León, at 660 to 4,600 ft (200–1,400 m) | Tubercles short and broad to long and narrow, with pale to deep yellow flowers |
Shape varies a lot within a species, so a photo match is only a starting point.
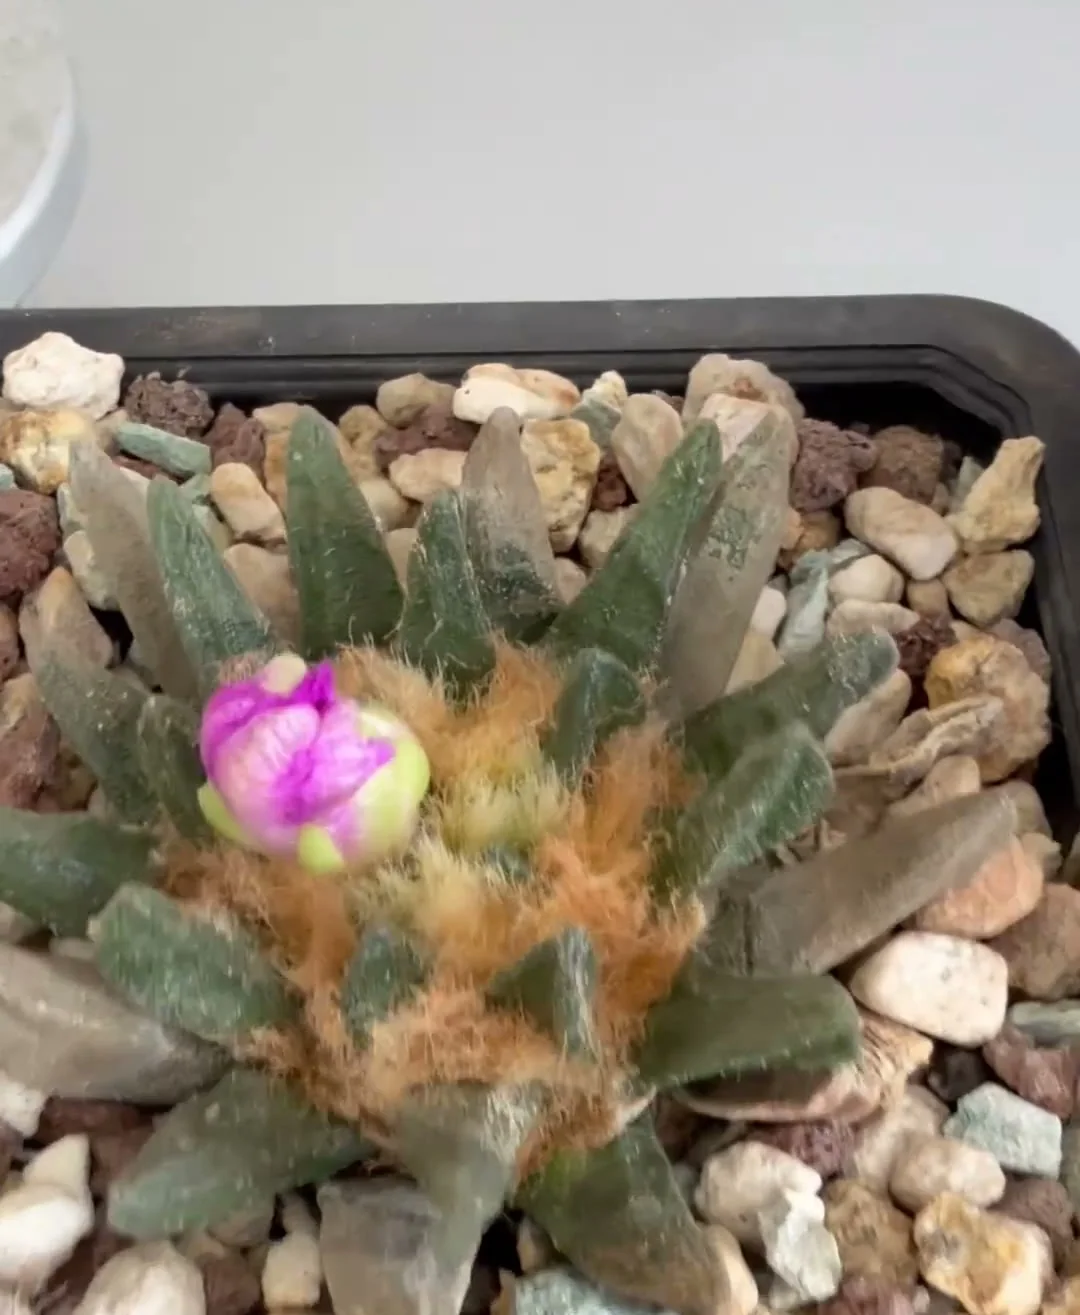
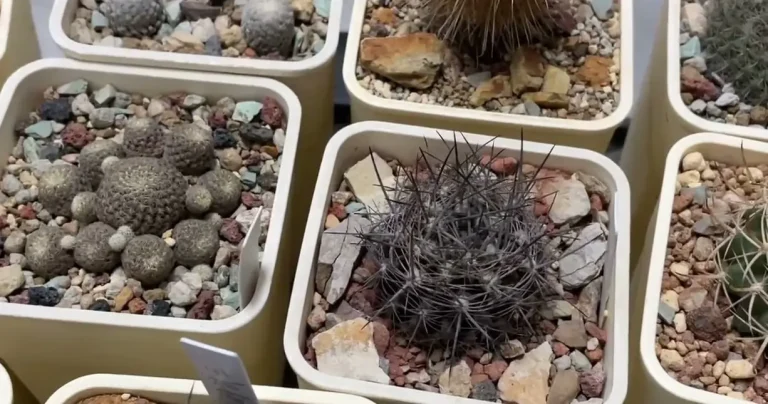
The plants on this page came with Chinese trade names that I couldn’t tie to botanical names through a source I trust. For that reason I describe their shape here and don’t assign species.
How slowly Ariocarpus grows, and when the flowers come
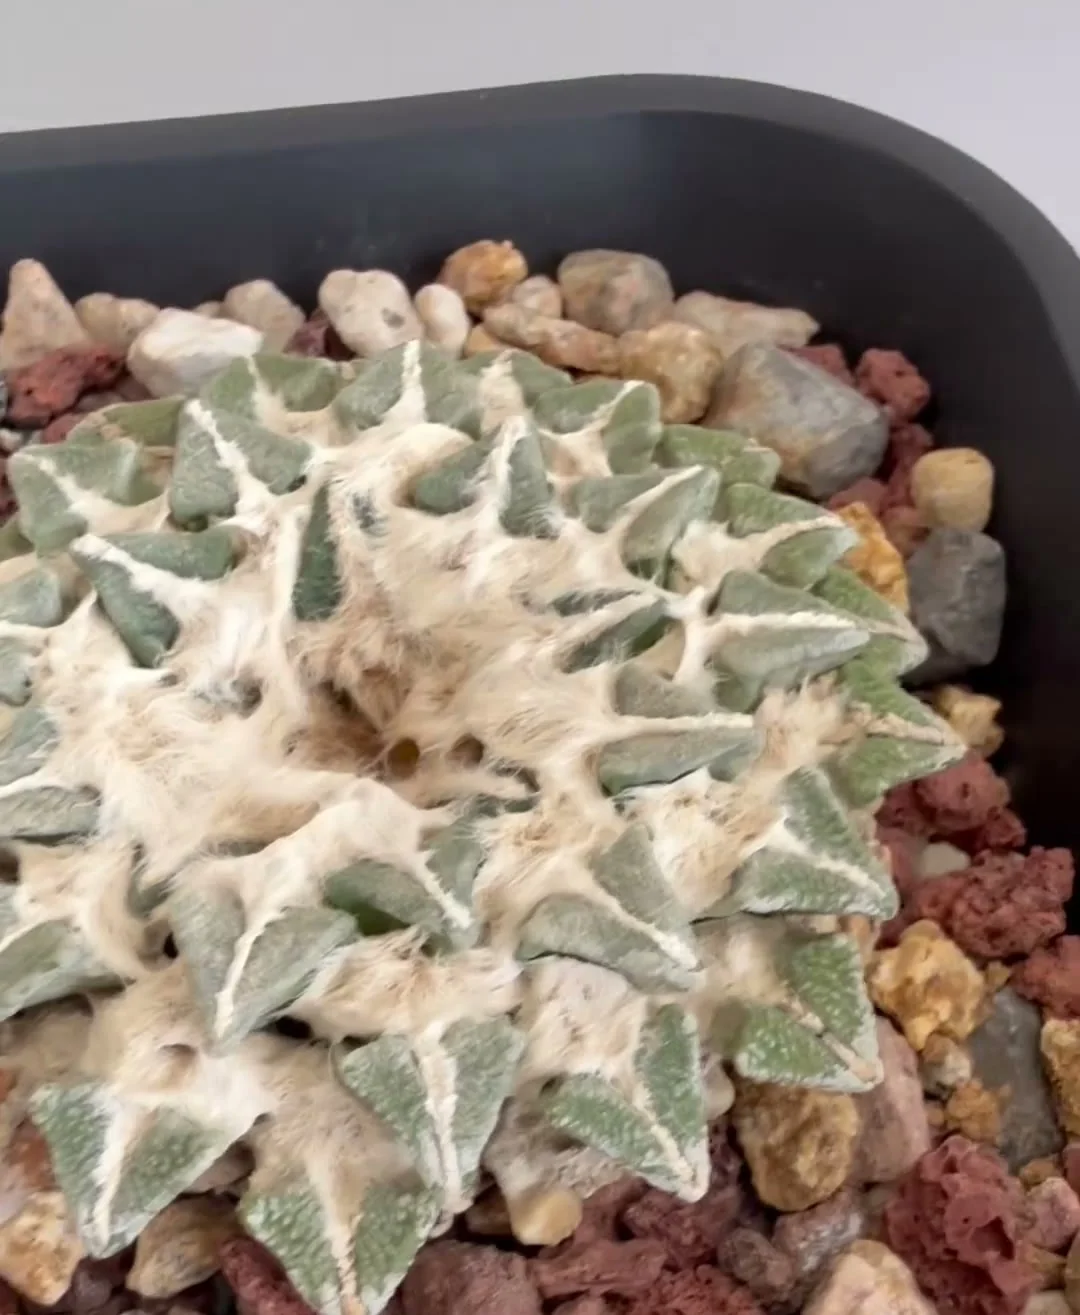
Those differences in shape take decades to show, because almost nothing about this genus happens fast. One of my pots has held the same plant for close to 10 years, and it’s still about the same size. In a good year I can see fresh wool in the center and maybe one new tubercle. Some plants show so little change that you’d think they had died if they didn’t flower.
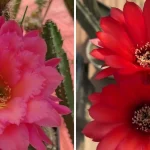
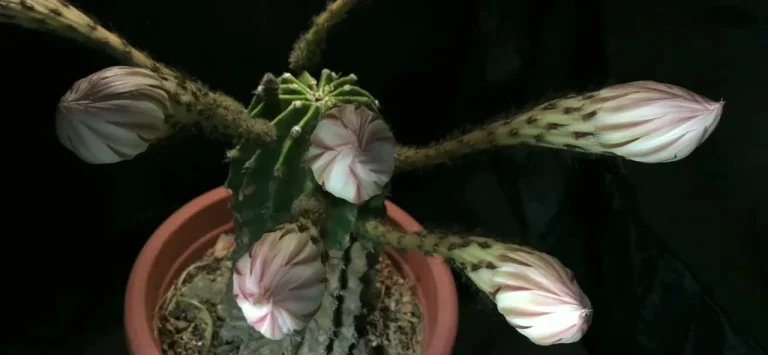
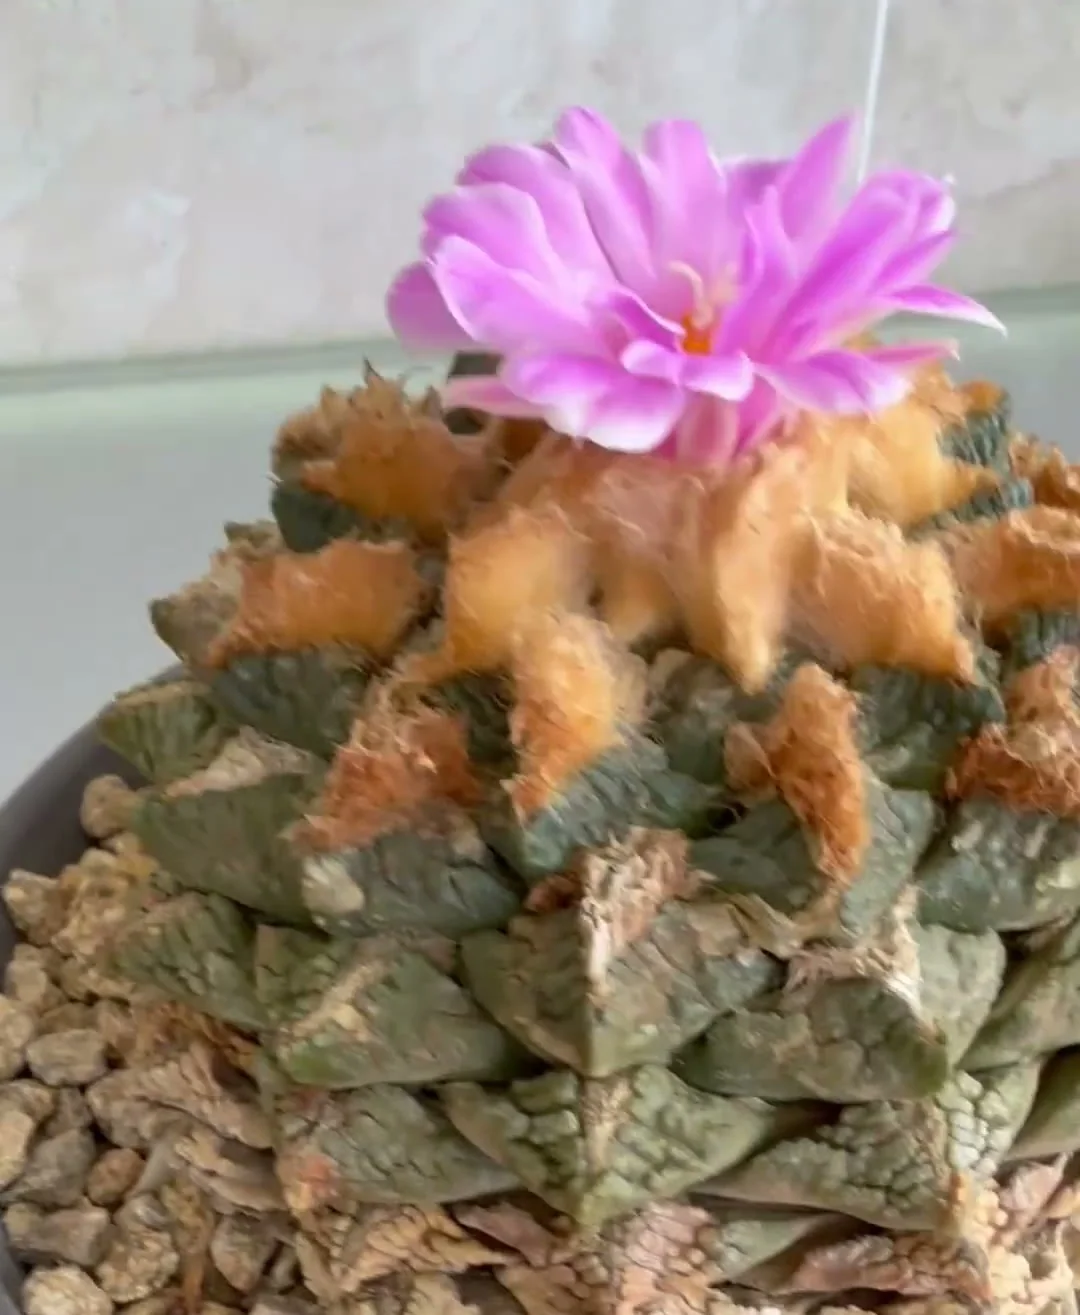
The Henry Shaw profile puts active growth in two short spells, one in late spring and one in autumn. Flowers open close to the crown, later in the year than most cacti, usually in autumn. Kunte and Čedivý describe them as bell-shaped, 0.8 to 2 in (20–50 mm) across, in white, yellow, pink, red or magenta. If a mature plant stays bud-free, my notes on getting cacti to bloom cover the conditions that usually matter.
How to grow Ariocarpus in a pot: sun, rock and long dry spells
Slow growth means a mistake can take a long time to show and even longer to fix, so I keep the routine simple. When one of these dies, too much water is the main cause. These are the points I care about most:
- Light: Give it bright sun, since the plants thrive in it.
- Mix: Use a rocky, porous mix that dries quickly. The wild plants sit on limestone, gypsum and shale, so a peat-heavy soil is the wrong direction.
- Water: Water far less than you would for a typical cactus. The Henry Shaw profile suggests maybe one drink in late spring and a few good ones through summer and fall. Let the mix dry completely each time.
- Winter: Keep the plant dry through its winter rest, the same way you’d treat other desert cacti.
- Rain: On my Huizhou roof, summer downpours are the real danger, so these stay under cover through long wet spells.
I don’t have a measured mix recipe or potting photos for this genus, so treat the mix advice as the general method. My cactus care guide goes deeper on fast-draining soil, pots and the winter rest.
What CITES Appendix I means when you buy an Ariocarpus
Before you bring one home, it’s worth knowing why these plants get so much attention from law enforcement. As of November 2026, the CITES Checklist lists every Ariocarpus on Appendix I. A. fissuratus isn’t listed under the U.S. Endangered Species Act, but the U.S. Fish and Wildlife Service reported in April 2024 that four traffickers had been sentenced in a case over plants poached from the wild. Taking one from public land such as Big Bend National Park is poaching.
My advice is simple: don’t buy wild-collected plants, however old or handsome they look. A few checks help:
- Ask how it was raised. Buy from a seller who can tell you the plant was grown from seed in cultivation.
- Look at the base. Among Chinese collectors, the usual warning sign of a dug plant is a flat base where the taproot was cut or snapped off.
- Check the rules before ordering across a border. Your national CITES authority can tell you what paperwork applies.
How to trim Ariocarpus roots on an old potted plant
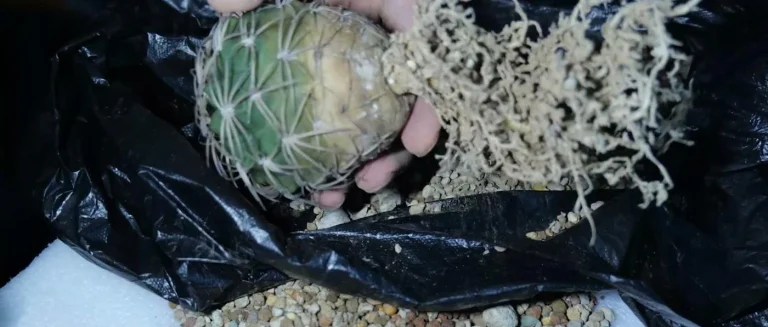
A plant that has sat in one pot for years can pack its underside with fine roots and old grit, and that is the only case where I do this. The job is to clear that mat and keep the thick roots. My cactus root guide explains how the thick anchor roots and fine feeder roots divide the work. Trimming takes patience more than skill, so set aside time and do it in mild weather.
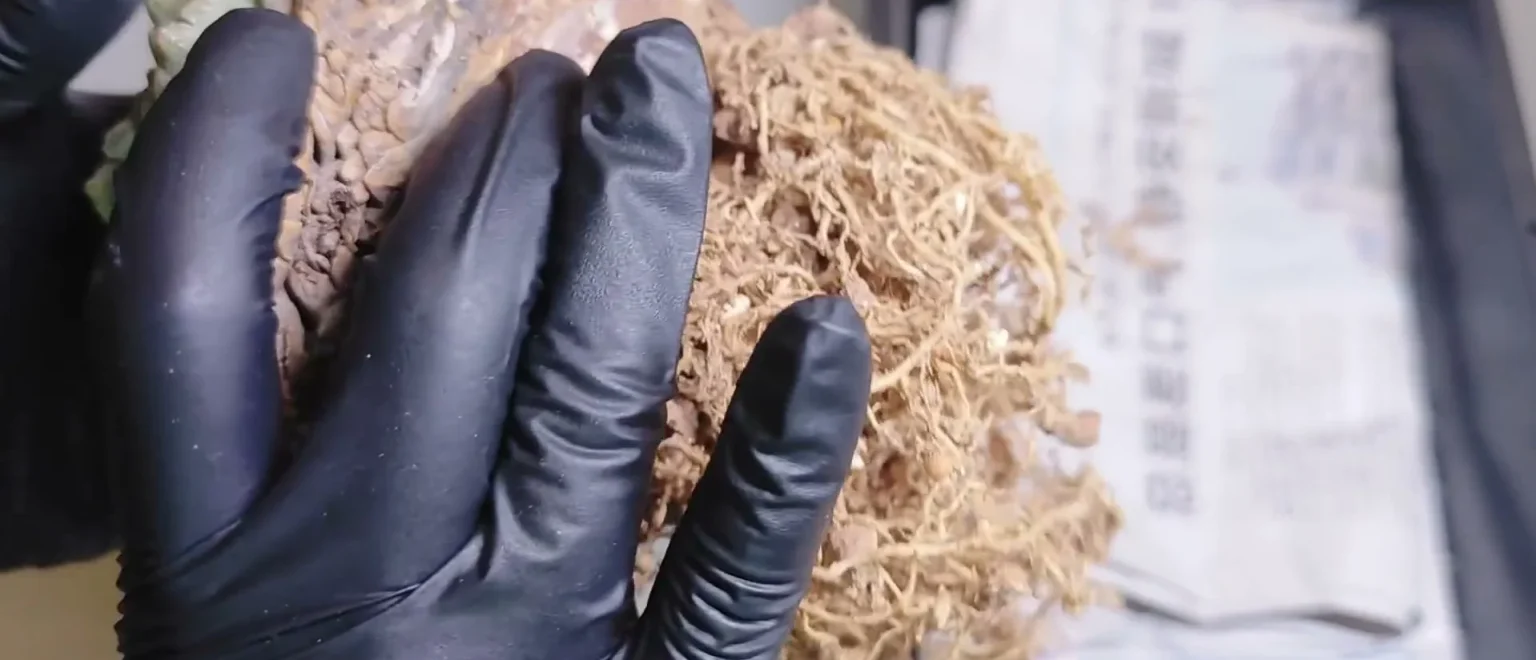
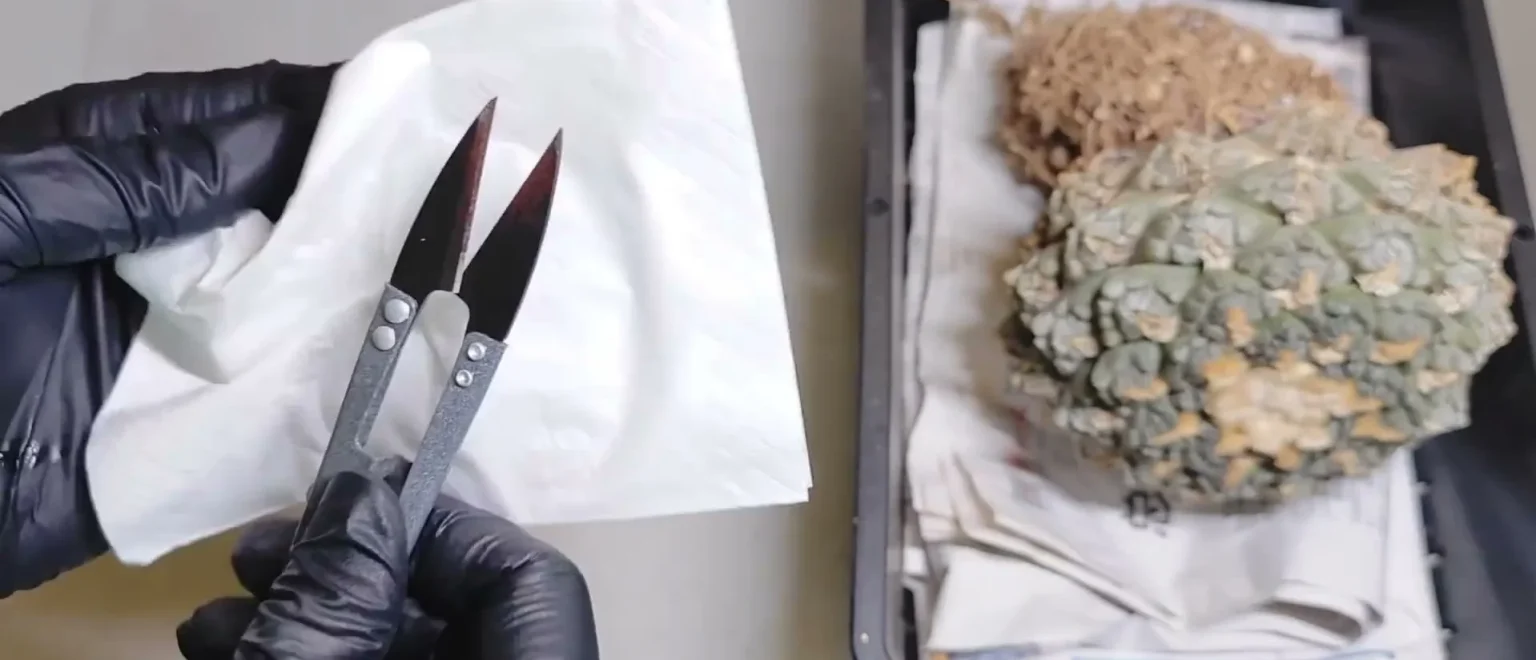
Gather these before you start:
- Pointed scissors, rubbing alcohol in a spray bottle, and tissue
- Gloves, a mask, and newspaper to work on
- A basin, purified water, and an ornamental-plant fungicide
- Four small pots to use as supports in the basin
- Rooting powder, a small measuring cup, and a flat paintbrush (optional)
- A pot slightly narrower than the plant, and a foam fruit net
Step 1: Clean the scissors. Spray the blades with alcohol, snip a few times, and wipe them dry with tissue.
Step 2: Read the root system. Find the big carrot-shaped main root, then the zone of fine roots around it. Trace which way the roots run before you cut, because the center of the mass grips grit tightly.
Step 3: Cut from the root tips inward. Start at the ends and remove the hair-fine roots a little at a time. Keep any root about as thick as a toothpick or wooden chopstick, which I’d put at roughly 1/8 to 1/4 in (3–6 mm) by eye.
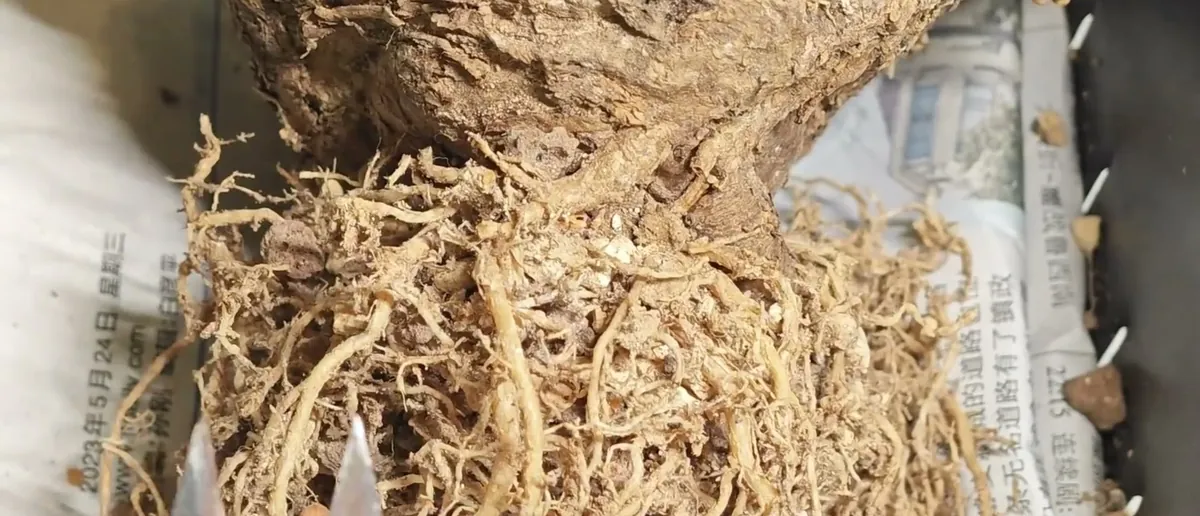
Step 4: Clear the grit as you go. Wear the mask for this part, and pick out grit each time you free a root. The mass thins slowly until a smaller carrot shape appears.
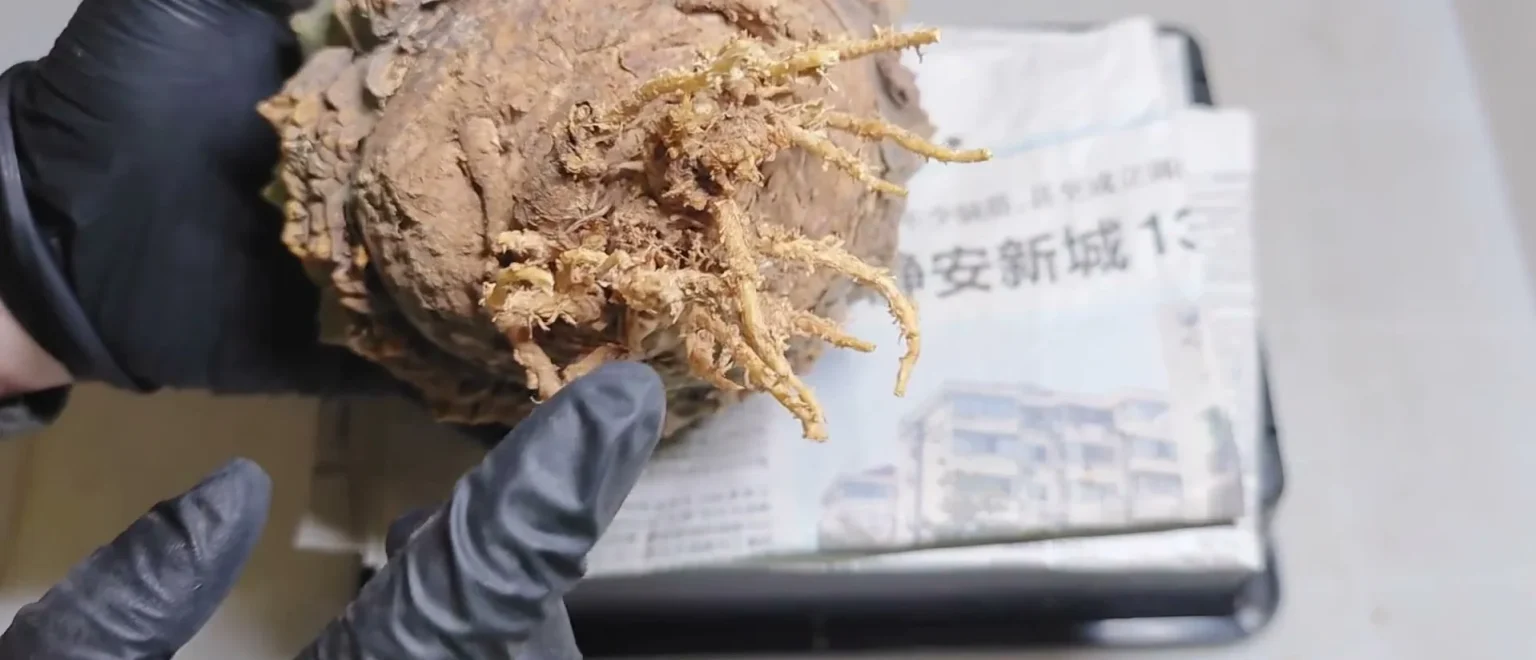
With the roots trimmed, the next job is to treat the cuts while keeping the top of the plant dry.
Step 5: Mix the fungicide. Set the plant aside, fill the basin with purified water, add fungicide at the label rate, and stir until even.
Step 6: Set up the supports. Turn the four small pots upside down in the basin and seat the plant on them, with only the roots in the liquid.
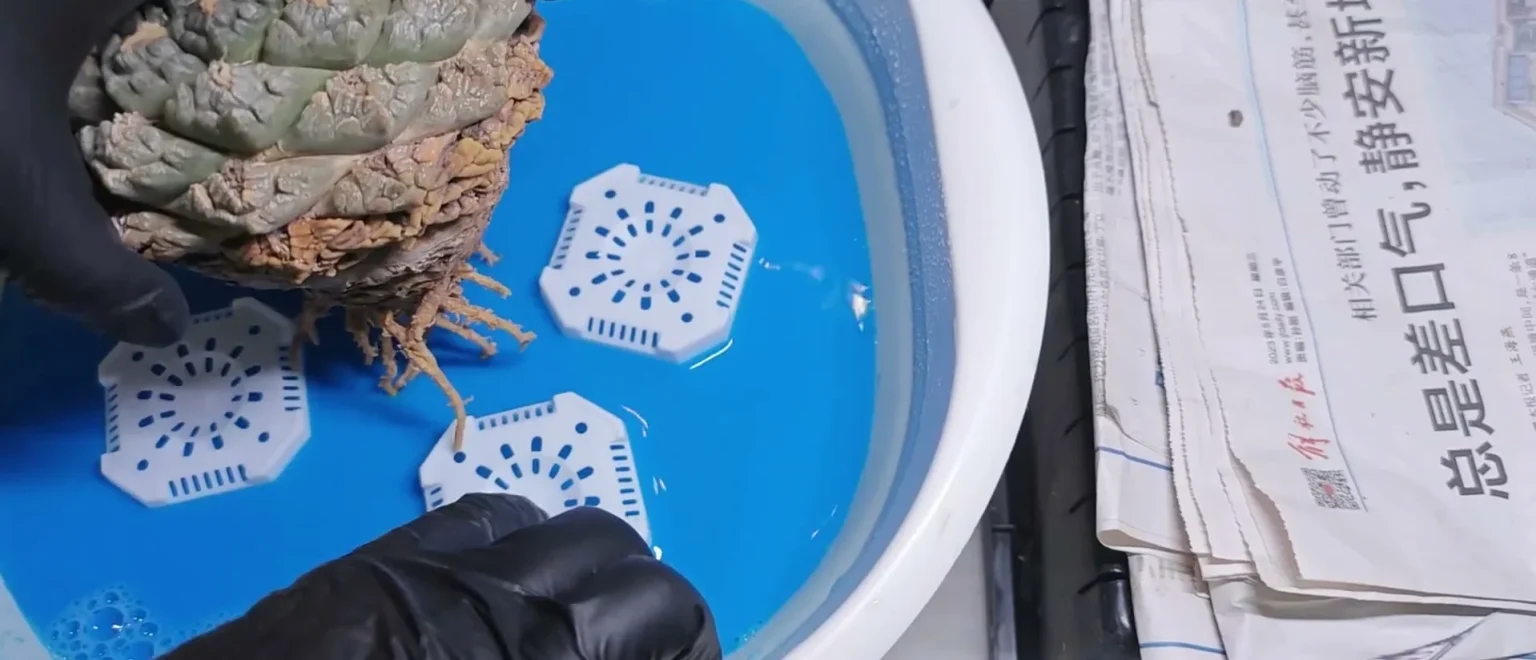
Step 7: Soak the roots. I usually give it 20 minutes. Keep the liquid off the top of the plant, because the wool can hide flower buds that connect directly to the body, and water getting in will rot them. If you ever spray insecticide, blot the top dry with tissue right after.
Step 8: Lift the plant out and let it drain. My fungicide stains the roots blue, and the color can easily rub onto the body, which is the one thing I dislike about it.
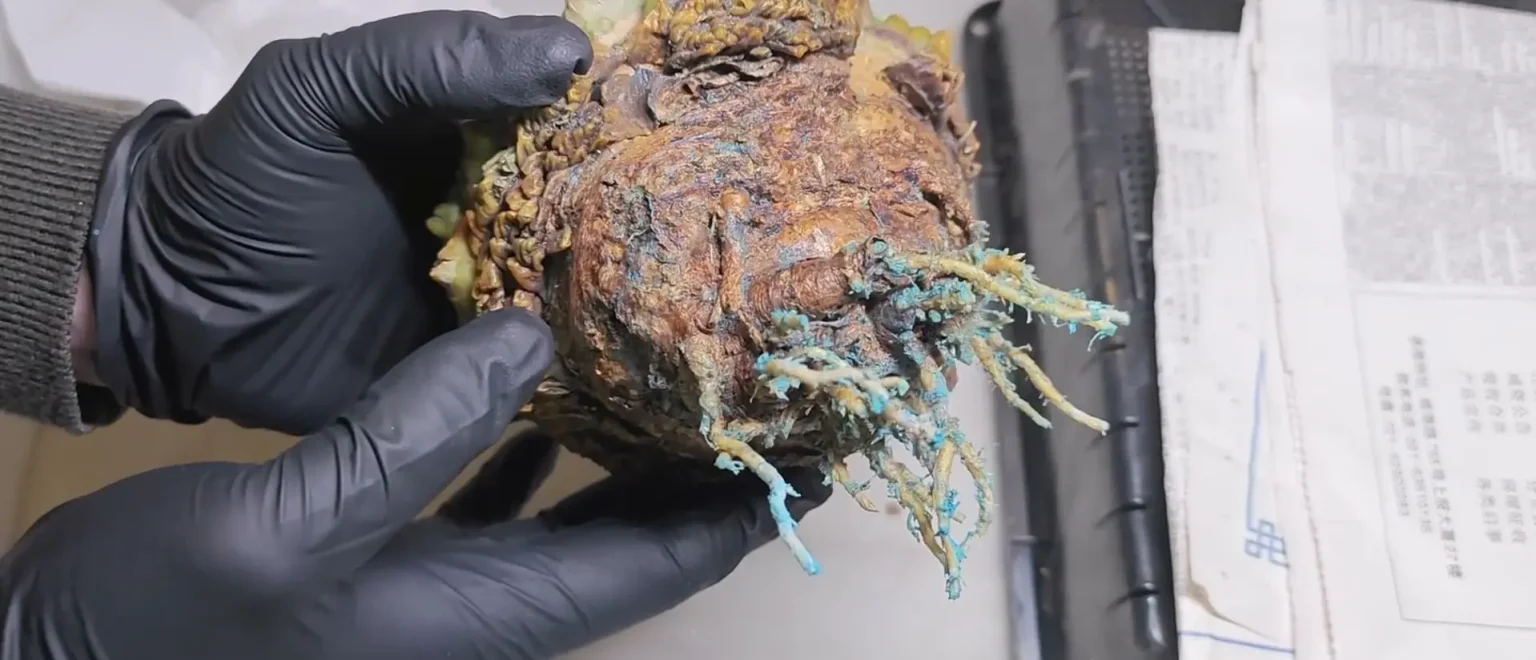
Step 9: Brush on rooting solution, if you want it. You only need one treatment, either the soak or this one. Plants that have had the fungicide soak will root normally in good conditions, and the rooting powder I use has a fungicide effect of its own. To use it, mix the powder with water in the cup as the label directs, brush it evenly over the base and roots, let it dry, and touch up any spots you missed.
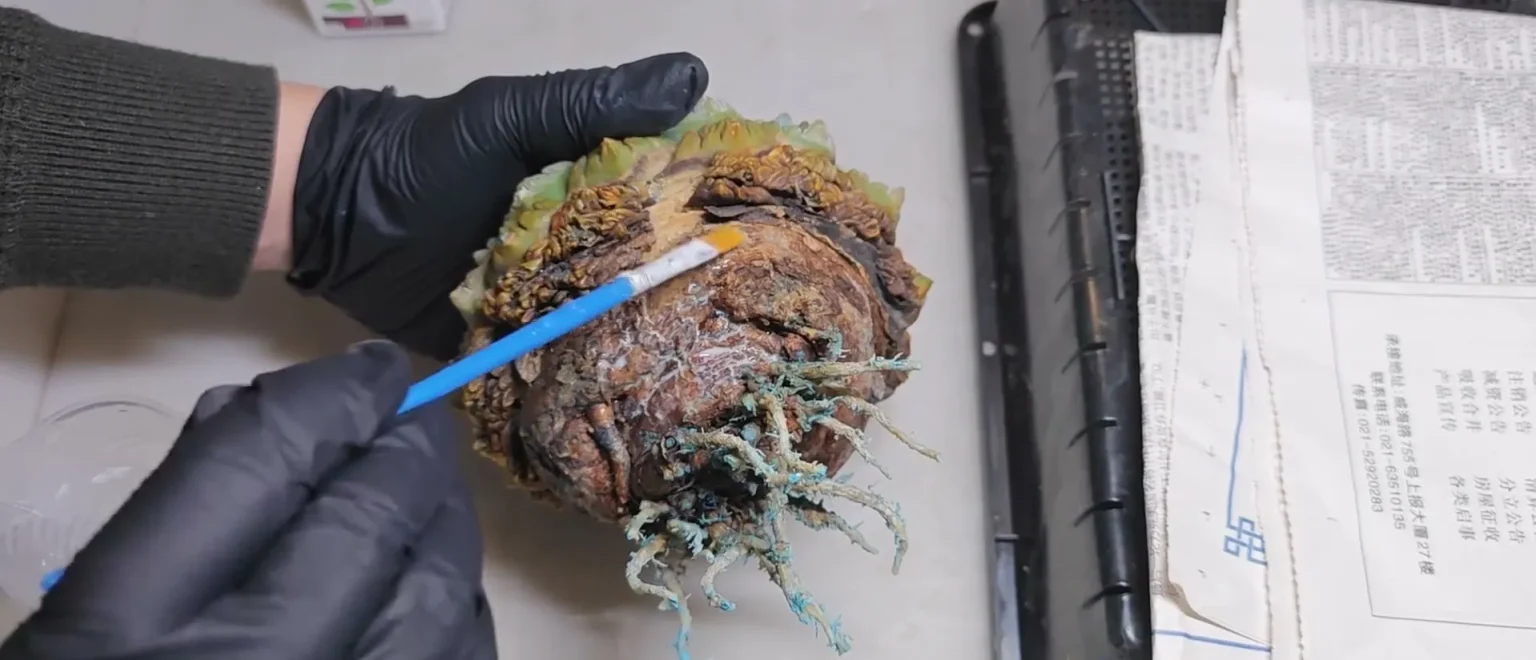
Everything from here on is about drying, and this is the stage not to rush.
Step 10: Dry the roots upside down. Rest the plant with the roots facing up at first, so moisture leaves the cut roots quickly.
Step 11: Turn it upright on a cushioned pot. Line the rim of the narrower pot with foam fruit net to protect the base, then sit the plant on it the way it will face once potted.
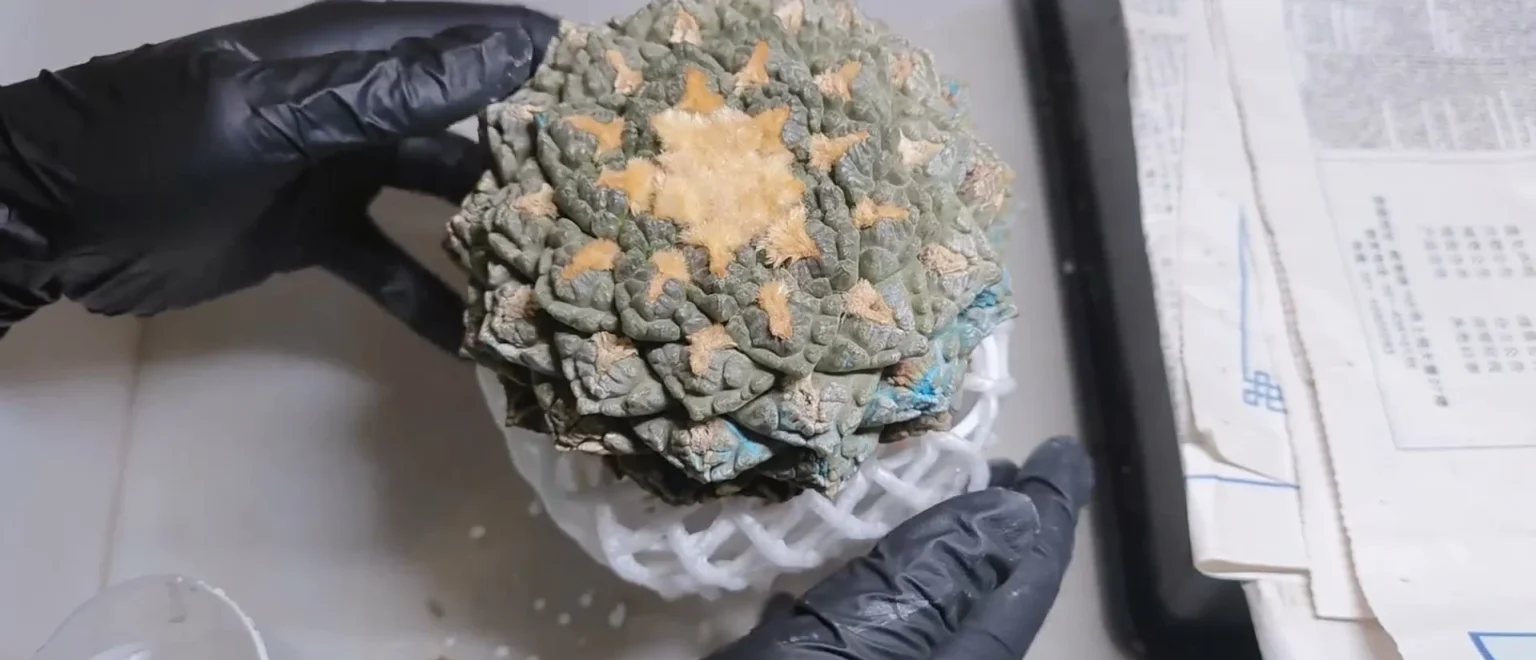
Step 12: Keep it airy and out of direct sun. A spot with good airflow is enough, and I like to put mine beside a fan. With a plant this large, I’d rather overdry than pot too early, so wait until the roots are completely dry.
Potting comes last, and for that stage I can only offer the general method, without pictures. Plant into the rocky mix described above, hold back water at first, and then return to the long dry spells. Other rooftop plants get the same treatment over at Succulent Primer.
Ariocarpus questions
Where do Ariocarpus grow in the wild? Ariocarpus grow from southwest Texas to central Mexico, mainly in the Chihuahuan Desert. Most sit on limestone or gypsum slopes, hills and plateaus, and A. fissuratus is the species that reaches Texas.
Why hasn’t my Ariocarpus grown in years? An Ariocarpus can look unchanged for years and still be healthy, because the genus grows extremely slowly. Check for new wool in the center and a firm body before you change anything, and don’t add water to speed it up.