How to Propagate Cactus: Offsets, Pads and Stem Cuttings
Quick answer
Wondering how to propagate a cactus you already own? There are three beginner-friendly ways, and the plant’s shape picks one for you: plant its offsets, root one of its flat pads, or cut the top off a bare column. Pads root in about three weeks and column tops in three to four, as long as the cut dries before it meets damp soil. Below I cover how to pick a method, what you need, all three methods step by step, then water, seed and what goes wrong.
Which cactus propagation method fits your plant
Look at how your cactus grows before you cut anything. Side shoots mean offsets, flat paddles mean pads, and a single bare stem leaves you only the top cut.
| What your cactus has | Method | Drying before planting | Roots in warm weather |
|---|---|---|---|
| Side shoots or clusters | Plant the offsets | Only if the base is torn or wet | Often has a few roots already |
| Flat pads | Root a whole pad | Two to three days | About three weeks |
| One bare column, no shoots or pads | Cut off the top | Until the cut is dry, a week or more on a thick stem | Three to four weeks |
Offsets are the method I’d try first, because each one is already a small plant. Leaf cuttings aren’t on this list, since most cacti have no leaves to use. If you grow other succulents too, I’ve laid out leaves, stem cuttings, offsets and seed for the whole family under propagating succulents.
What you need to propagate cactus
All three methods use the same short kit, so you can set it up once and work through several plants.
- Thick gloves, because spines go through thin ones
- A small pot with a drainage hole for each new plant
- A gritty, free-draining mix (I use peat and coconut coir, which is shredded coconut husk, with some grit stirred in)
- A scoop for adding mix around spiny plants
- A dibber, a small pointed planting stick, or a chopstick
- A sharp knife or blade, wiped clean with rubbing alcohol
- Saucers or a tray for drying pads and cuttings
- A spray bottle and a narrow-spout squeeze bottle
I don’t measure the grit by the scoop. If you want a starting point, the soil mixes I compared for succulents show how much grit to add.
How to propagate cactus from offsets
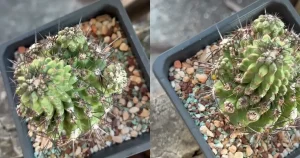
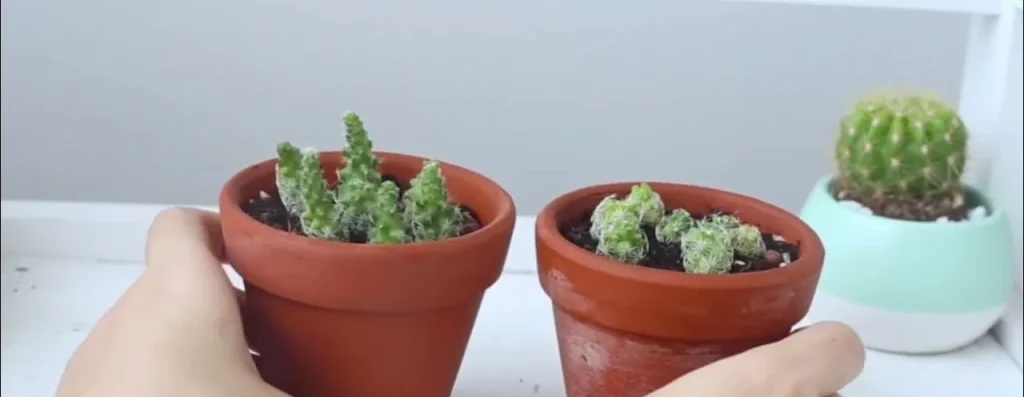
Offsets are the side shoots a clustering cactus grows around its main stems, also called pups. They’re the most common way to multiply this kind of plant, and propagation here comes down to picking a good shoot and getting it firmly into the mix.
Step 1: Choose a sturdy offset. Pick a thick, healthy shoot and leave the tiniest ones on the plant, because small offsets are slower to root. Twist or cut it free at the base. One addition of mine: if the base is torn or wet, let it dry for a few days before planting.
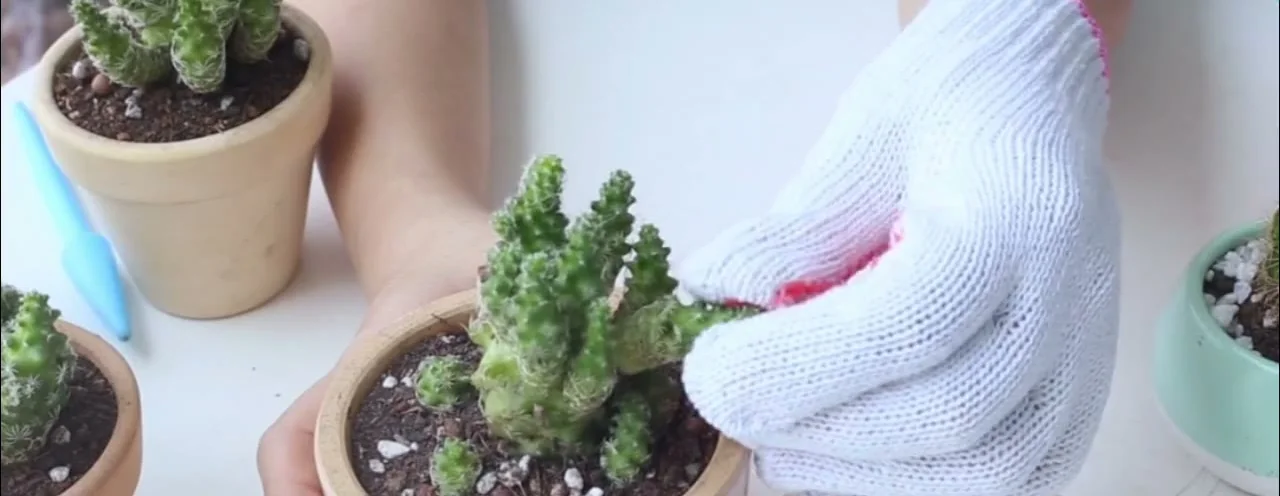
Step 2: Check the pot for a drainage hole. Tip the pot over and look at the base. Skip any pot without a hole, because water has nowhere to go.
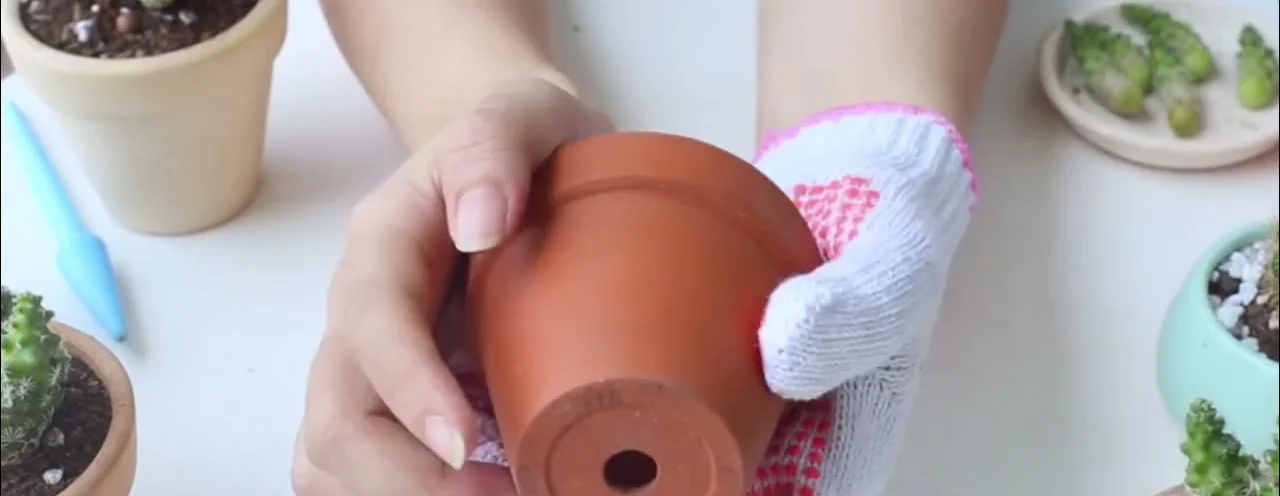
Step 3: Fill the pot with an airy mix. Scoop in the mix, which needs to let air through. Add some grit to ordinary potting mix if it feels heavy.
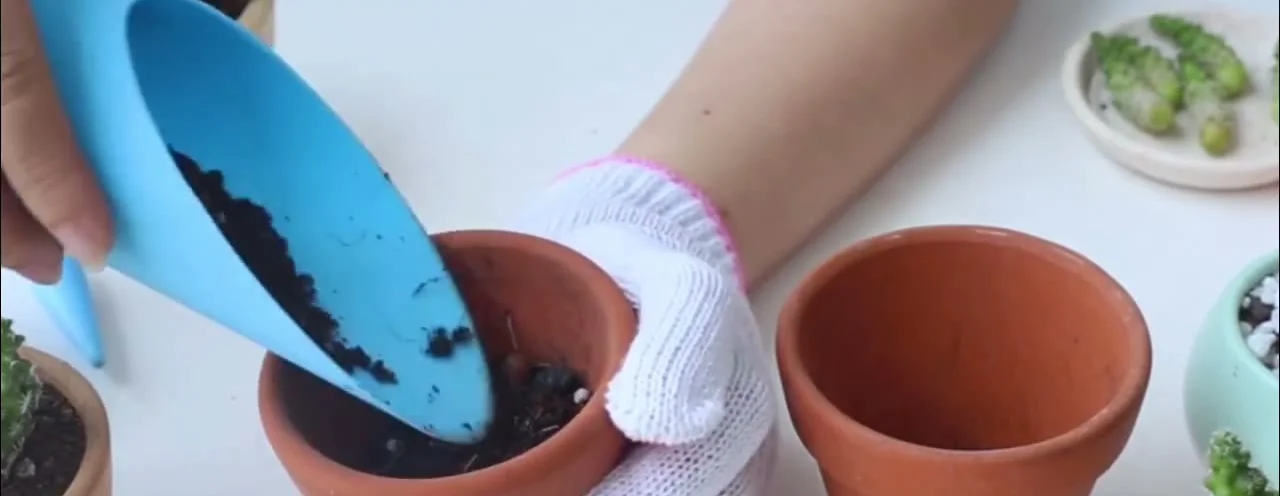
Step 4: Plant the offset and firm the mix. Set the base of the offset on the mix, hold it with a gloved hand, and press the mix in around it with the dibber. The base should be in close contact with the soil, and the offset shouldn’t wobble when you let go.
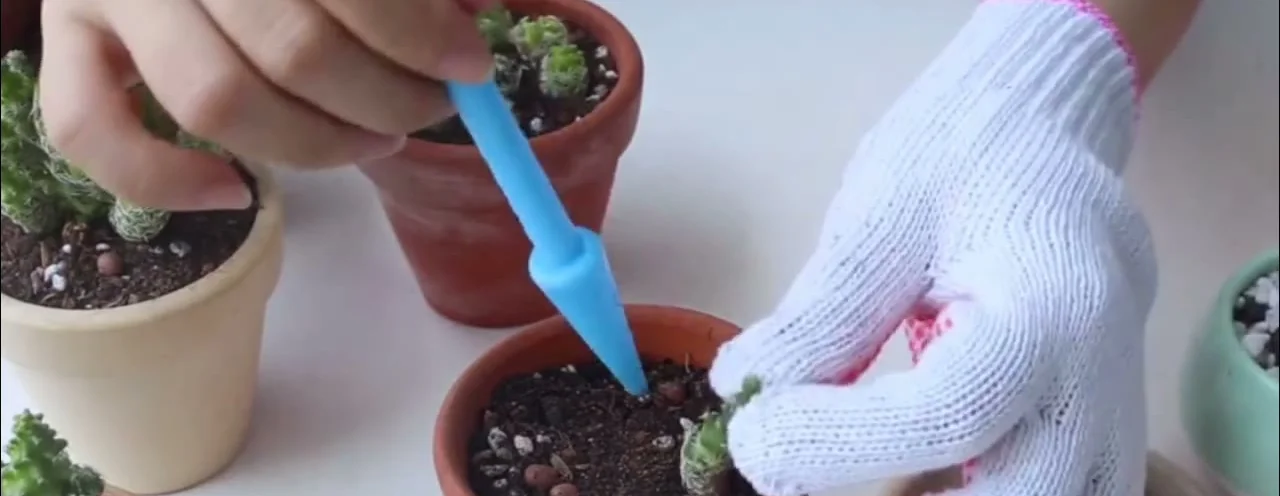
Step 5: Move the pot out of direct sun. Put it somewhere bright that doesn’t get strong direct light. A sill behind a sheer curtain works, and so does bright shade outdoors.
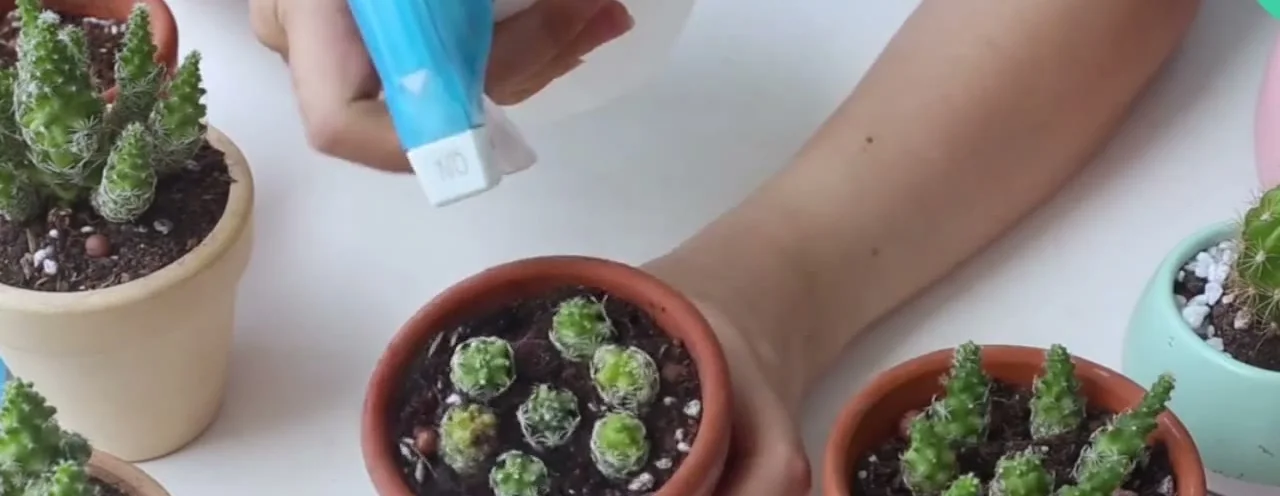
Step 6: Mist the surface lightly. Keep the mix a little damp, never wet. A few sprays are enough, and you can skip them if the room is cool or the mix hasn’t dried since last time.
How to propagate cactus pads
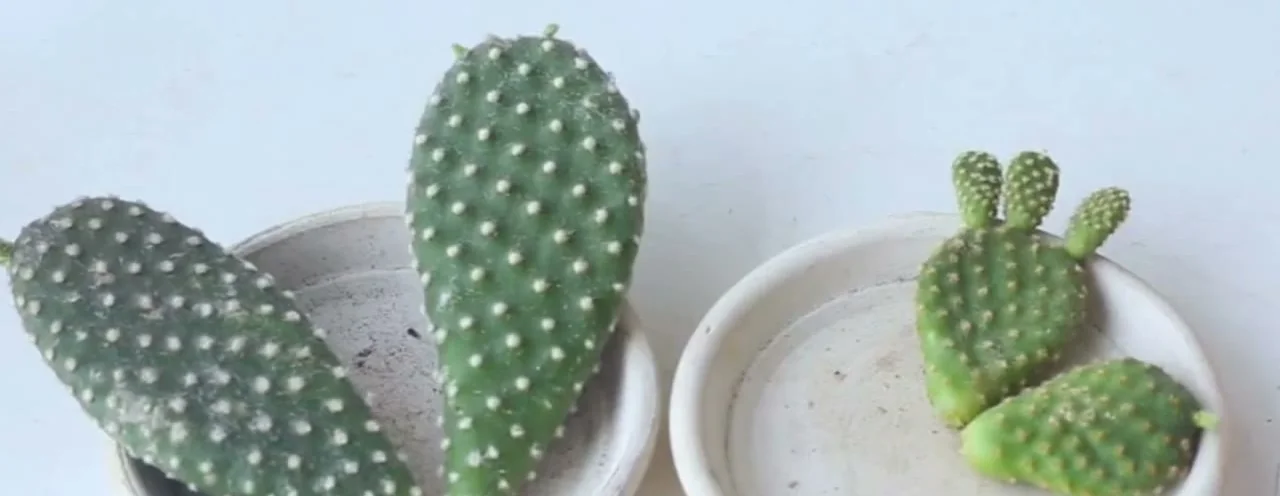
Pad propagation is for cacti with flat, paddle-shaped stems, such as bunny ears and other prickly pears. A whole pad gets removed, dried and stood in soil. These pads often carry glochids, tiny barbed bristles that lodge in skin, so keep your gloves on from start to finish.
Step 1: Pick a plump pad on a vigorous plant. Look for a solid pad with several small pads growing from it, which tells you it’s growing strongly. Skip thin, wrinkled or marked pads.
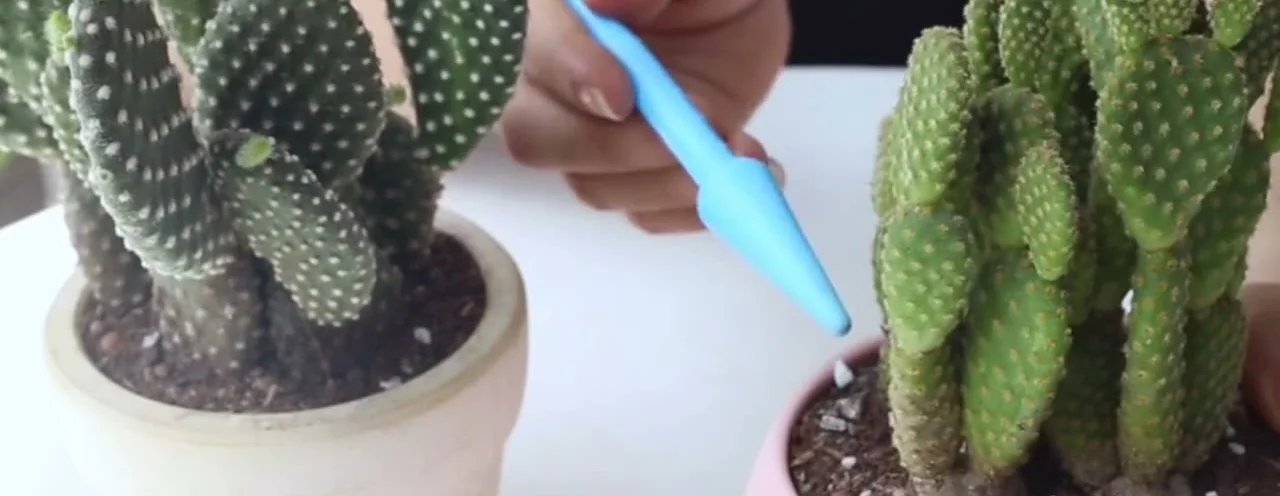
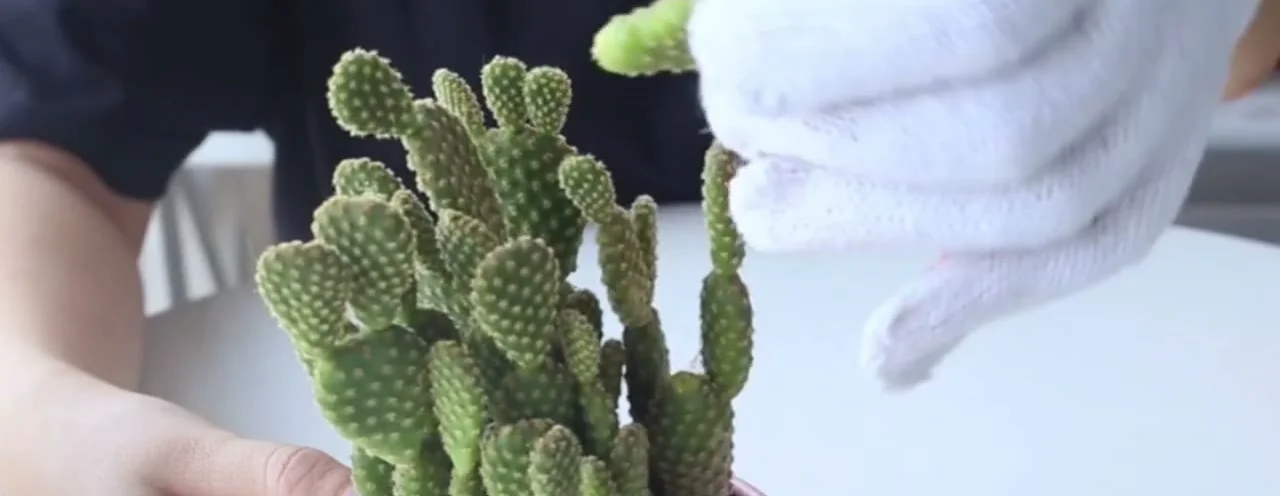
Step 2: Twist the pad off. Hold the pad with a gloved hand and twist it away from the plant at the joint, the narrow neck where it meets the pad below.
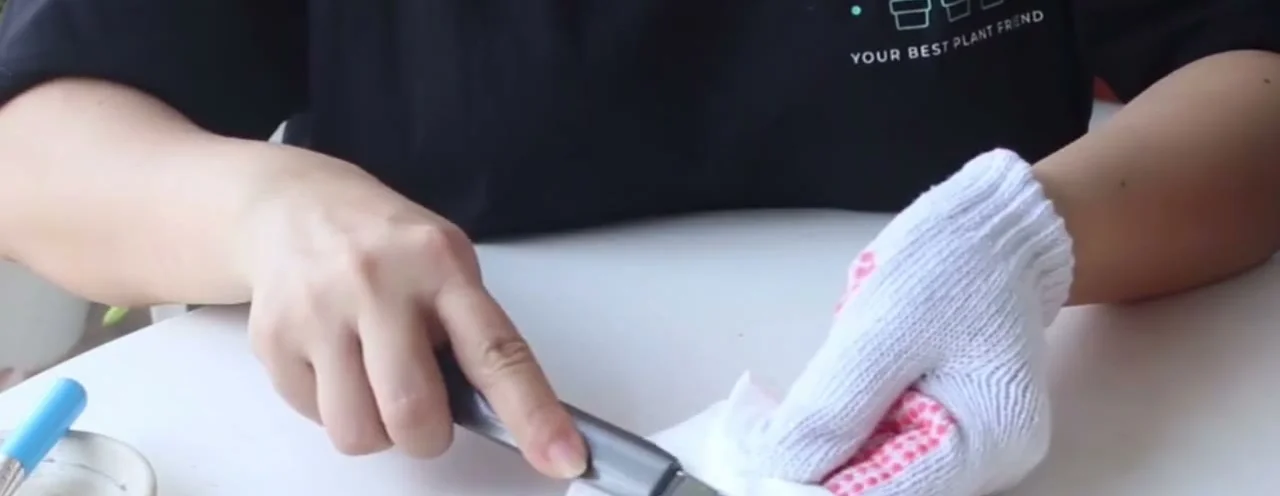
Step 3: Or cut it with a sterilized blade. A blade is the other way to take the pad. As a general rule, cut through the joint and not the middle of the pad, so the wound stays small.
Step 4: Dry the pads for two to three days. Lay them on saucers in a shaded, airy spot. The cut end should look dry before planting, so give it longer if it’s still wet on day three.
Step 5: Stand each pad upright in the mix. Use the same mix as for offsets. Press the dried end in just deep enough that the pad stays up, and firm the mix around it with the dibber.
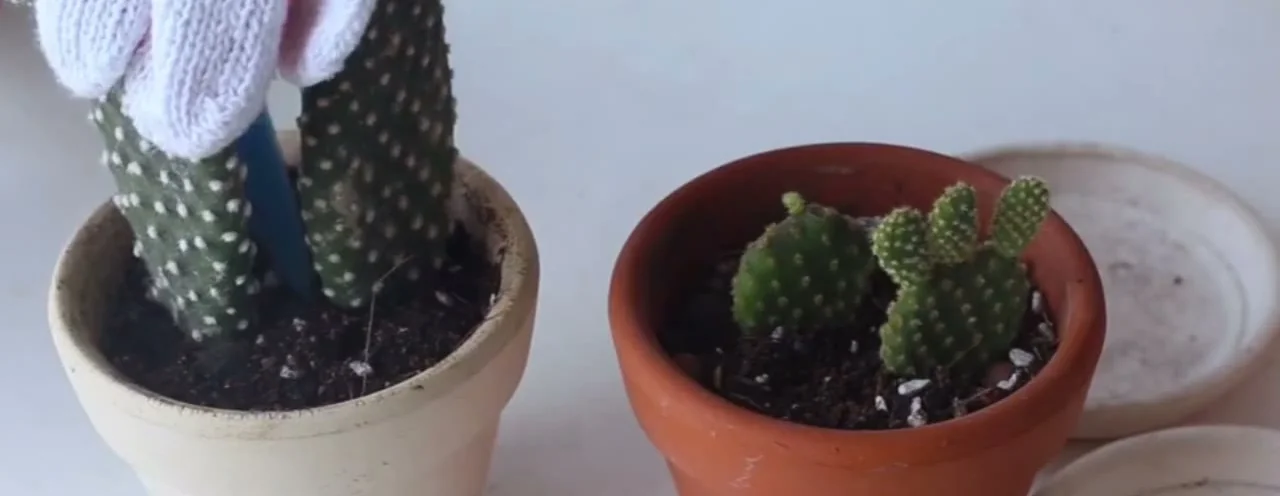
Step 6: Keep the pots bright and the surface barely damp. Pads want the same spot as offsets, bright but out of direct sun. Water so the surface of the soil is only slightly moist.
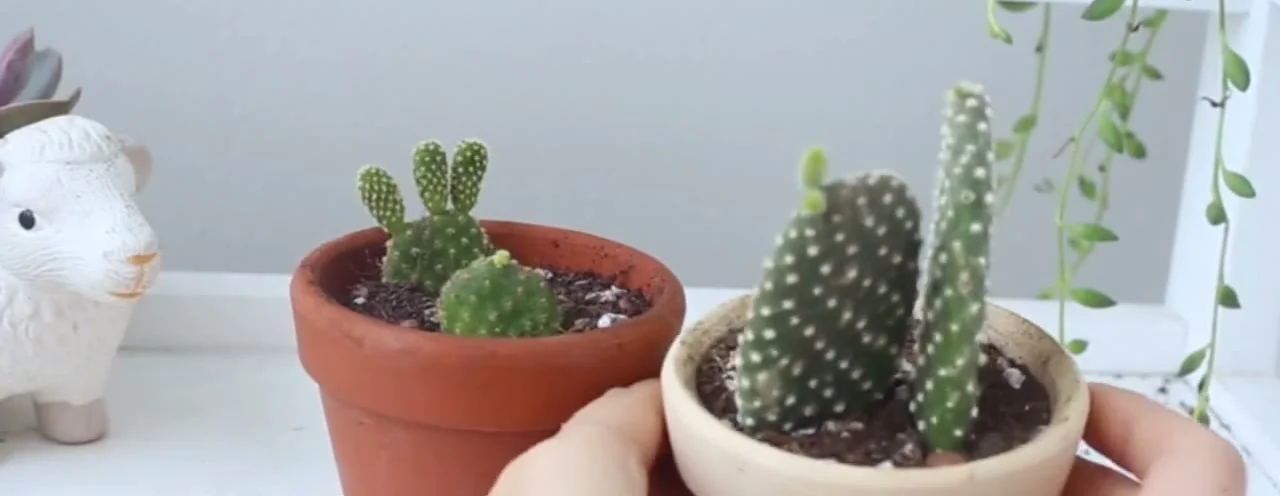
Step 7: Lift one pad after about three weeks. At a comfortable temperature, roots usually form in about three weeks. Lift a small pad gently with your fingers and see whether soil clings to its base.
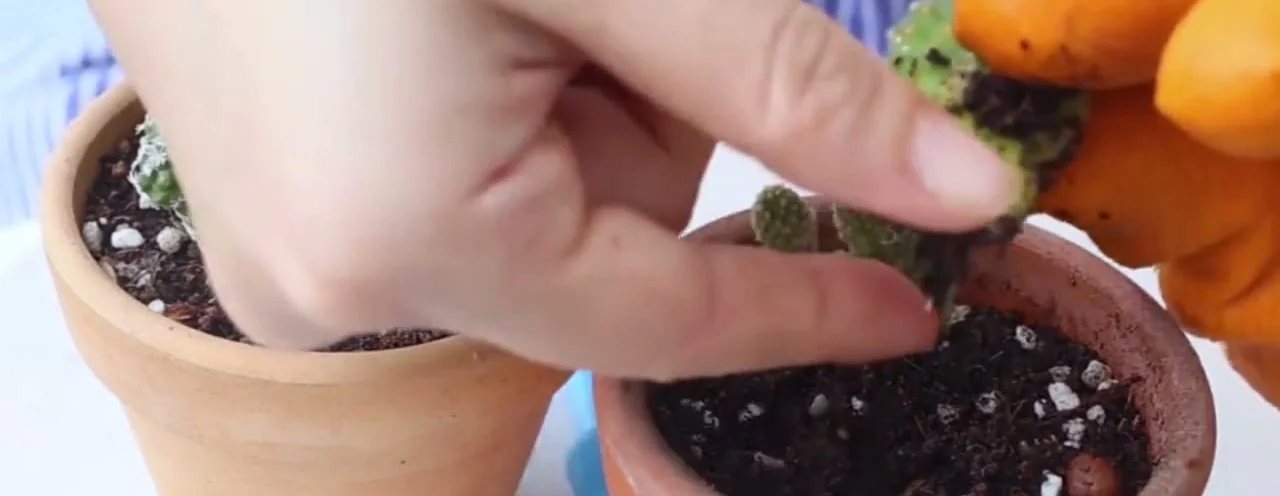
Step 8: Check the base, then replant it. Look for soil stuck to the lower half and any fine white root tips. Roots can be hard to see at this stage, so a firm, healthy base counts as good news. Set the pad straight back in the mix.
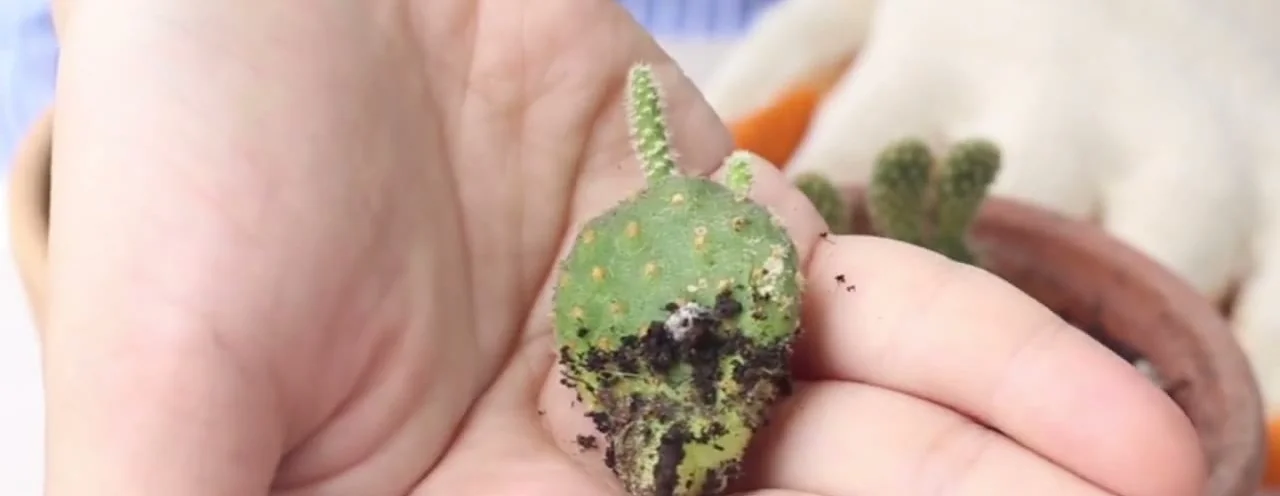
How to propagate a columnar cactus by cutting off the top
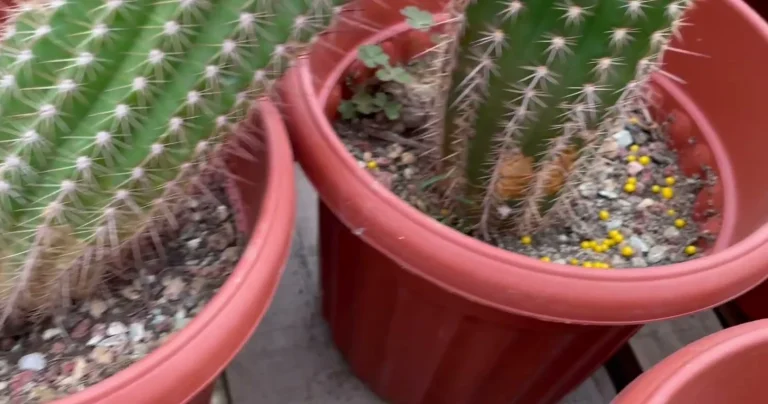
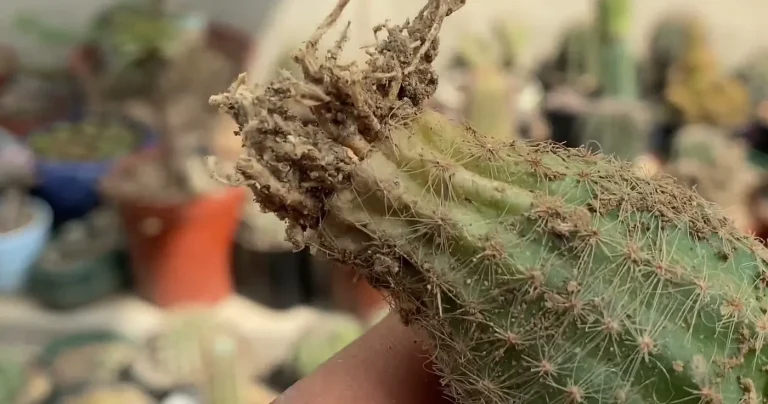
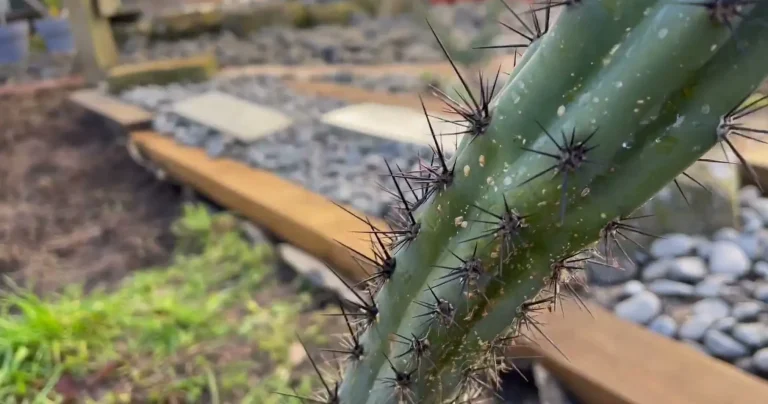
A bare column has no side shoots or pads to take, so the only piece you can use is the stem itself. Cutting off the top, sometimes called beheading, gives you a cutting and leaves a stump that can sprout. Several of the columns on my roof in Huizhou started as cuttings handled this way.
Step 1: Confirm the column has nothing else to offer. This method is for a single stem with no offsets or pads. If yours has side shoots, use those and spare the main stem.
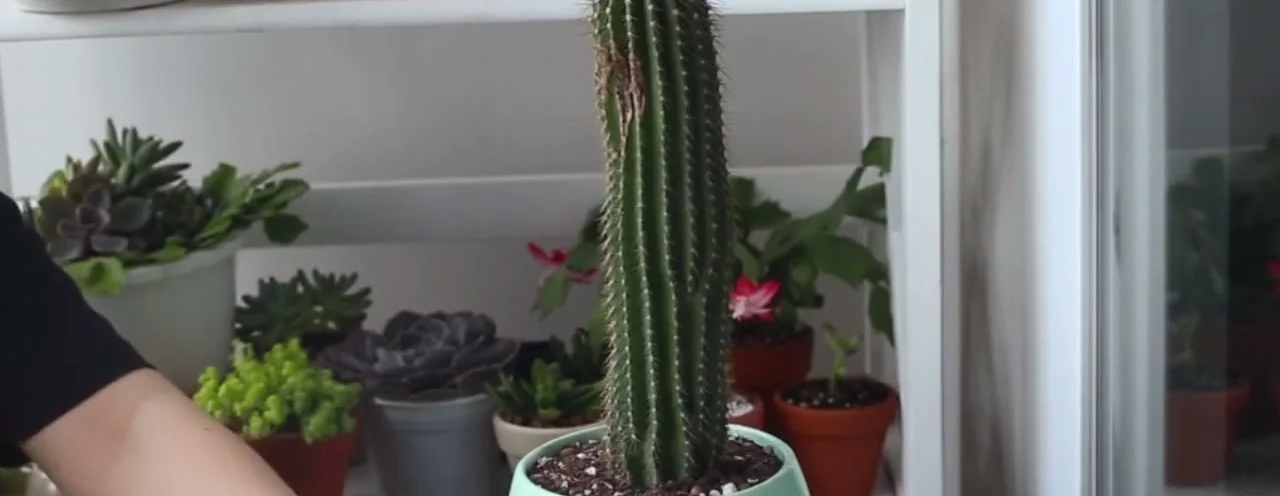
Step 2: Cut straight across the stem. Hold the upper part with a gloved hand and slice through in one horizontal cut. Clean the knife first, as you would for a pad. I cut low on the stem, which leaves a long top and a short stump.
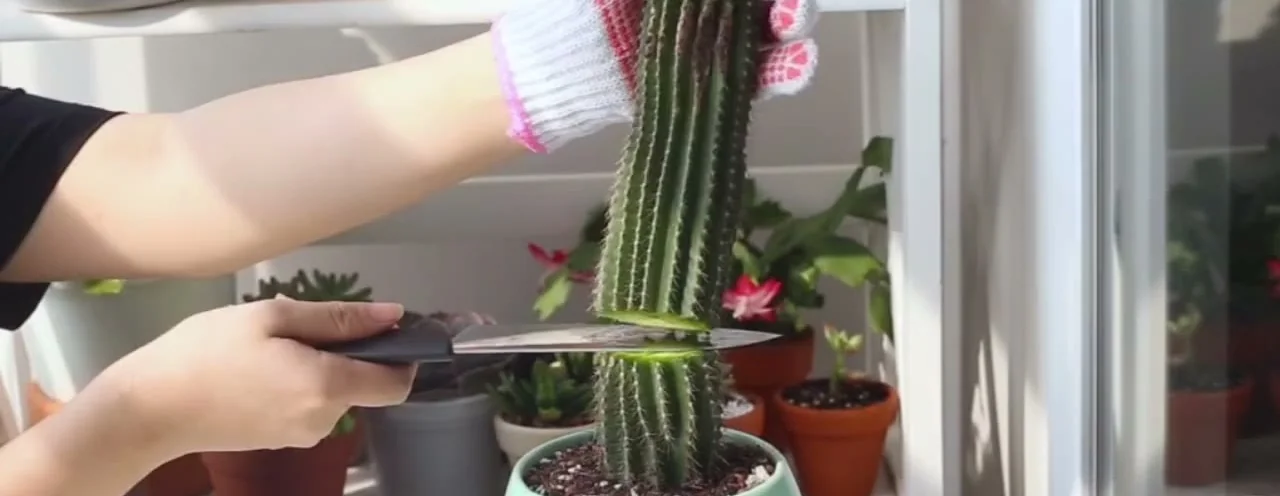
Step 3: Check the fresh cut. The cut face is pale green and wet, and this is the point where it’s most vulnerable to rot. Keep it away from soil and water.
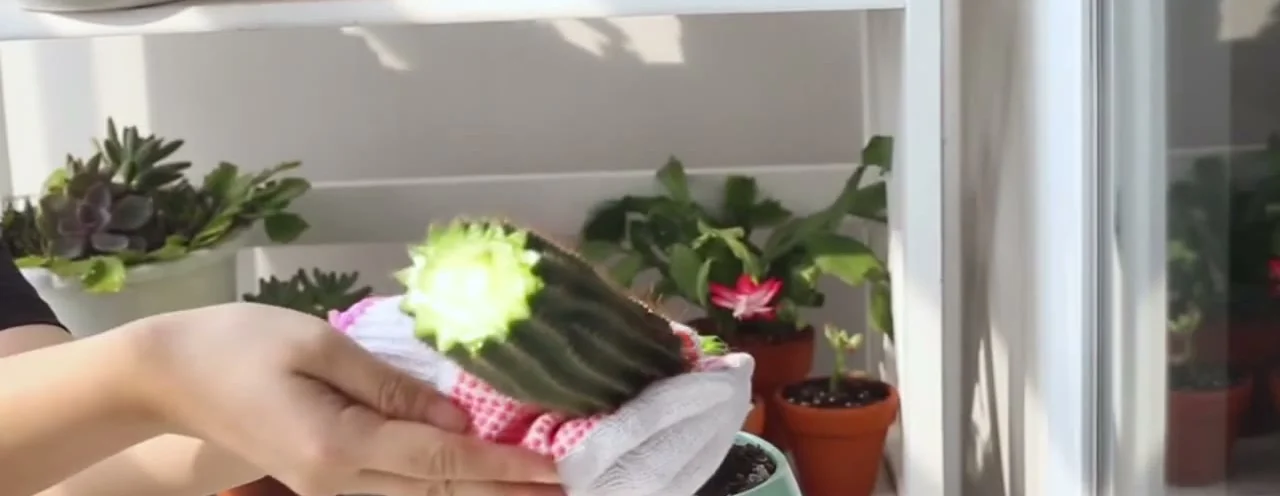
Step 4: Dry the cut until it turns brown. Rest the cutting somewhere shaded and airy, with the cut end clear of any surface. Judge this by looks, not days: the face should turn brown and dry. University of Illinois Extension gives 4 to 7 days for stem cuttings in general, and a stem this thick often needs a week or more.
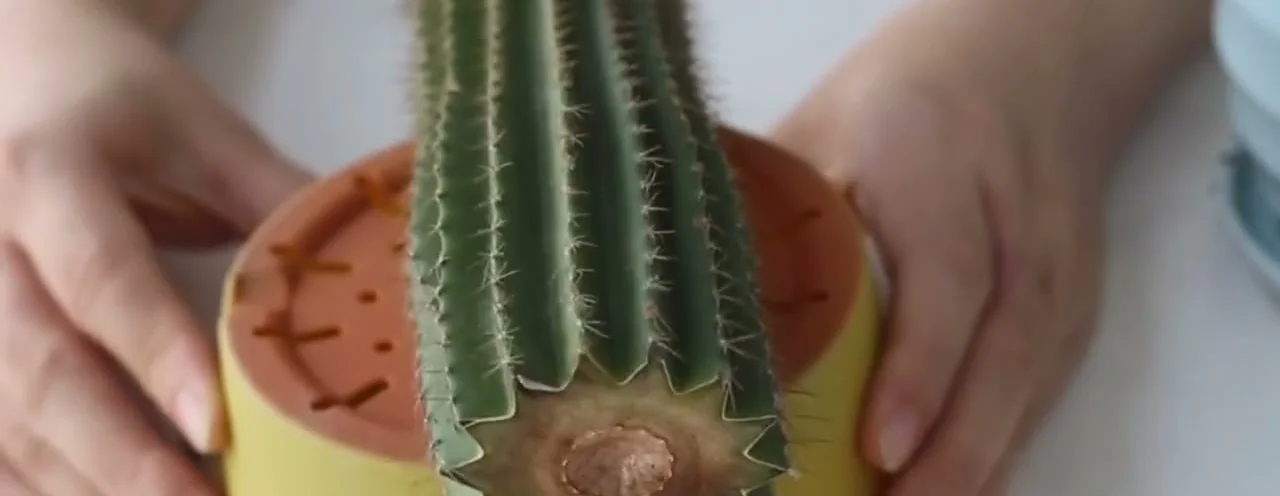
Step 5: Hold the cutting upright and fill around it. Stand the dried end on a layer of mix, steady the stem with a wad of paper towel or a glove, and scoop more mix in around it. Firm it until the column stands independently.
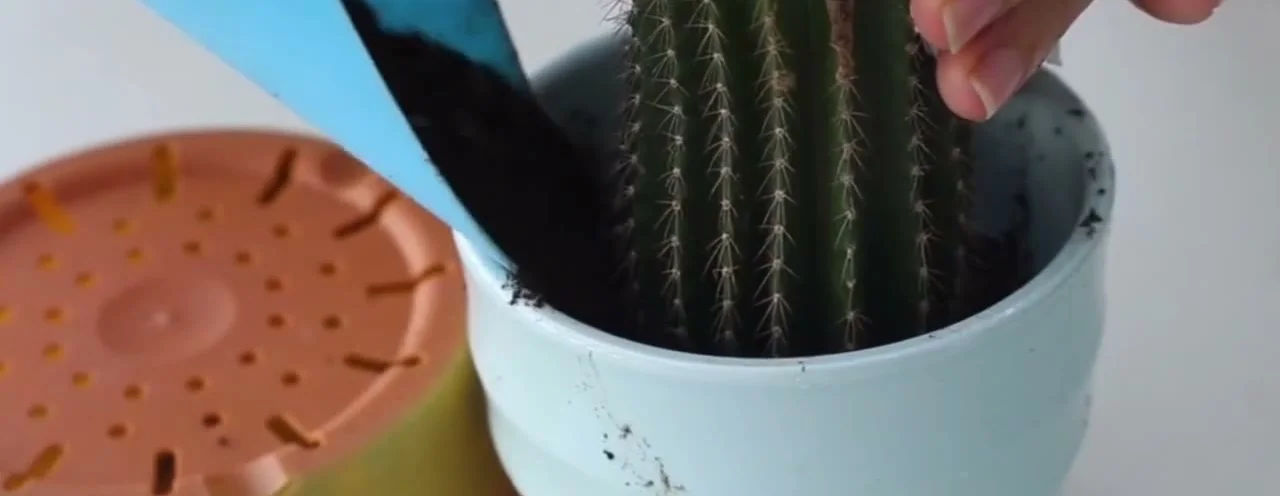
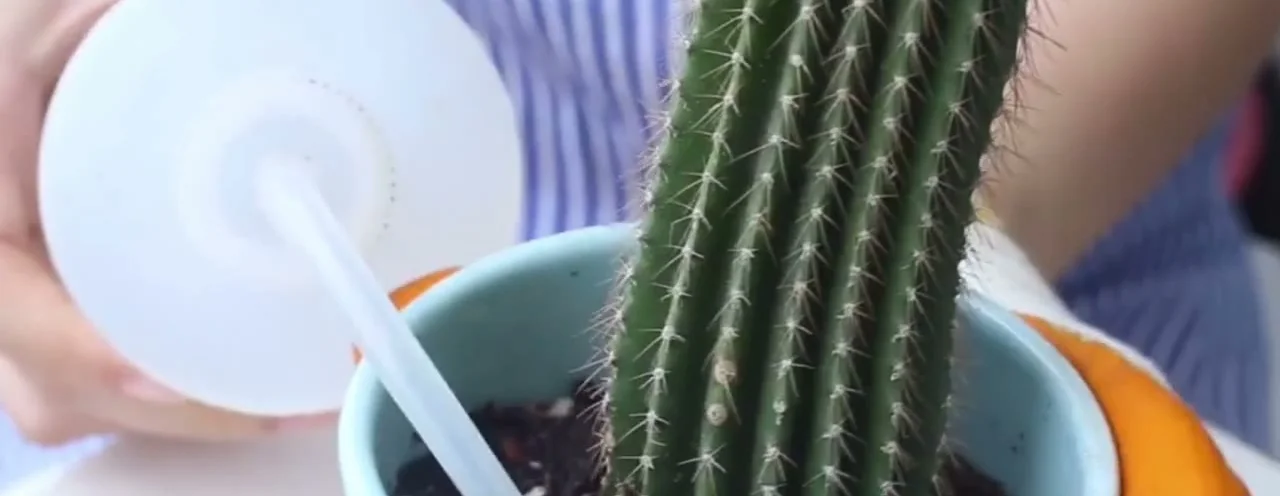
Step 6: Water the surface sparingly. Slide a narrow spout down to the soil and give a little water, keeping it off the stem. Only the top of the mix should feel slightly damp.
Step 7: Check for roots after three to four weeks. Lift the cutting and look at the base. A clump of soil that holds together, with a few pale roots showing, means it has taken. Replant it and carry on.
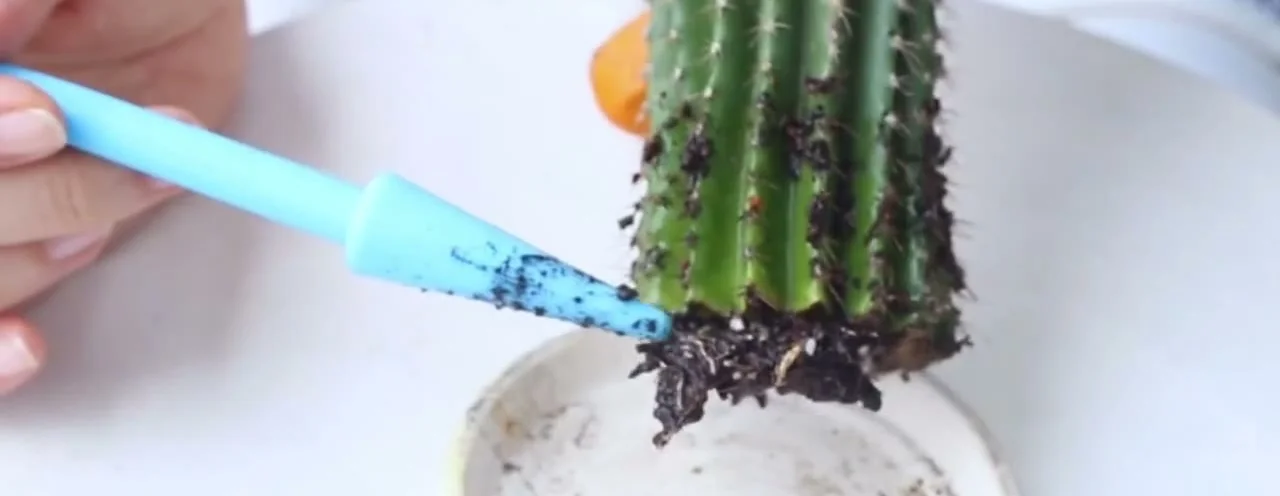
Don’t expect a big root ball at this stage. A few pale strands in the clump are enough to tell you the cutting is established.
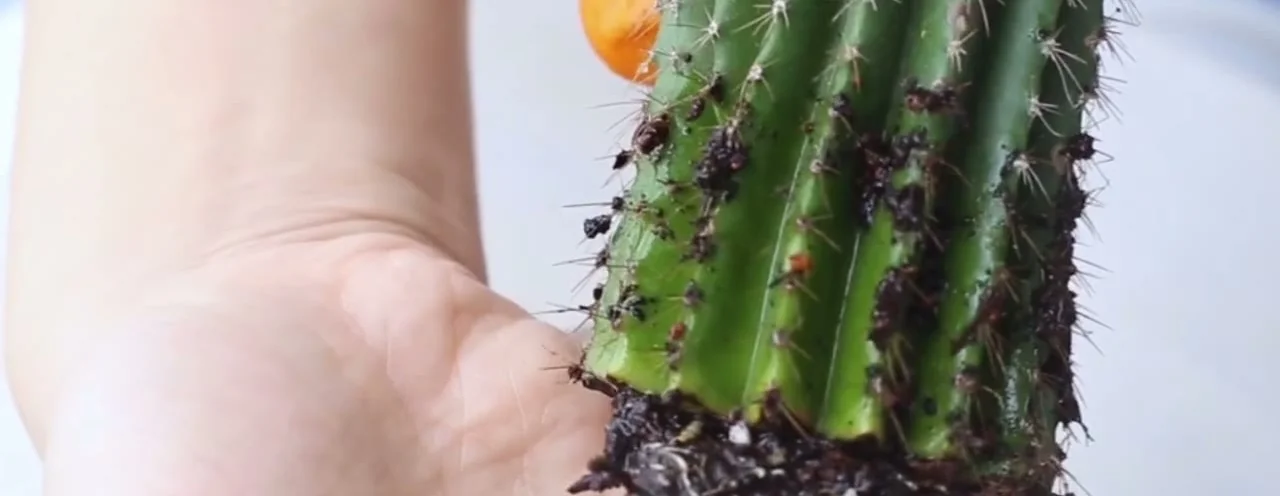
Step 8: Keep caring for the stump. Don’t throw out the bottom half. Its cut dries into a sunken brown top, and it can push new buds from other spots, even from the ribs.
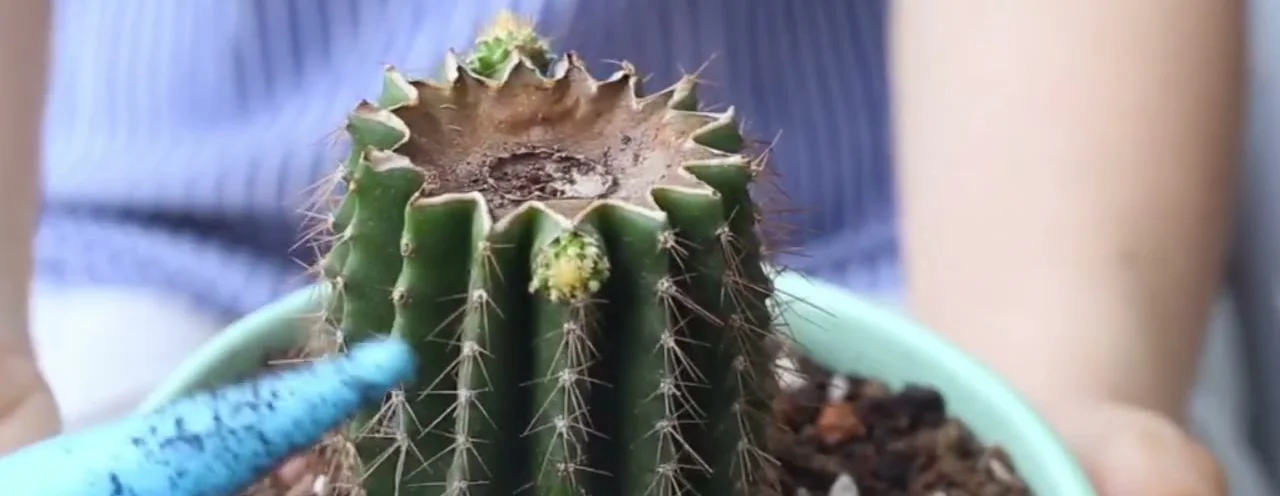
Once any of these cuttings has roots, it’s an ordinary young cactus. Move it onto the routine in my cactus care guide, and switch from misting to watering a cactus properly, with a full soak and then a wait for dry soil.
Can you propagate cactus in water or from seed?
You can do both, but I don’t use either for the three methods above, so treat this section as general information and not as my own tested routine. Soil is what I’d choose for a cactus, because the piece stays dry and roots form in the mix they’ll live in permanently.
Water: dry the cut end first, exactly as you would for soil, then hold the base just above the water so it doesn’t sit in it. Water roots tend to be fine and fragile, and they often die back after the move to soil. My guide to rooting succulents in water, soil or grit compares the options.
Seed: it’s the slow route, because germination is only the start and the seedlings stay tiny for months. It’s worth it mainly when you want many plants at once. Sow on the surface of a fine, gritty mix, cover the tray to hold humidity, and keep it bright out of direct sun.
Potato: you’ll see people push cactus cuttings into a potato. I haven’t tried it and have no good evidence for it, so I’d use mix.
Why cactus cuttings fail
Most propagation failures come from a few habits that apply to all three methods, and each has a simple fix.
- Planting too soon. A wet cut in damp soil rots. Wait until the end looks dry and sealed, a layer called a callus.
- Watering like a rooted plant. Unrooted pieces can’t drink much. Keep to a light mist or a little water at the surface, and leave the mix dry if it hasn’t dried out since the last time.
- Direct sun. Strong light scorches pieces that have no roots yet. Keep them in bright shade.
- Too little light. New growth that stretches thin and pale wants a brighter spot.
- Cold spells. Root development slows at low temperatures, so schedule this for the warm part of the year.
- Disturbing them often. Lifting a piece every few days breaks new roots. Instead of lifting, you can test with a gentle tug: University of Illinois Extension notes that resistance means rooting is happening.
Soft, discolored tissue at the base is rot. Cut above it into clean tissue, dry the new cut, and start again. The pieces I’ve lost were mostly ones I got impatient with and planted before the cut was dry.
Cactus propagation questions
Can you put cactus cuttings straight into soil?
Yes, once the cut has dried. A cutting straight off the plant has a wet wound, so dry pads for two to three days and thick stems until the cut is brown, then plant them in gritty mix.
Can you grow a cactus from a cutting?
Yes. Pads and column tops both grow into new plants. In warm weather a pad roots in about three weeks and a column top in three to four weeks.
How do you replant a cactus without roots?
Treat it as a cutting. Dry any cut or torn end, stand it in gritty mix so it can’t wobble, keep it out of direct sun, and water only the surface lightly until roots form.
Is it better to propagate cactus in water or soil?
I prefer soil. Roots grown in water are fragile and often die back after the move, while roots grown in gritty mix are already where they need to be.
For more on growing these plants, the rest of my notes are on the Succulent Primer homepage.