How to Plant Cactus Plants in Pots or the Ground, Step by Step
Quick answer
To plant a cactus, choose a pot with a drainage hole about 3/4 in (2 cm) wider than the plant’s body, set the roots into gritty mix, press the surface lightly and finish with a little gravel. Planting each cactus takes only a few minutes, because mixing the soil is most of the work. The first watering is the one decision that changes from plant to plant, and it depends on how long ago the roots were cut.
I plant in batches on my rooftop in Huizhou, southern China, usually when fellow growers mail me bare-root cacti. Below are the 10 steps I follow for a new plant in its first pot, then how to time that first watering, where to put the pot, and how the job changes in garden soil.
What you need to plant a cactus
Everything here fits on one table, and you won’t need much for small plants.
- A pot with a drainage hole: I use small square plastic pots.
- Gritty cactus mix: prepare more than you expect to need, because it settles.
- A few stones: these go in the bottom, and one large rock improves drainage in a big container.
- Tweezers: they reach between spines where fingers can’t.
- Gravel or stone chips: these are optional and only for the top.
- Something to protect your hands: tongs, thick gloves or a folded band of newspaper all work on spiny plants.
I handle very small plants with bare fingers, holding them gently by the body, but a large or fiercely spiny plant isn’t worth the risk. The peat and grit share I use, and the way plant size changes the grit, are in my well-draining cactus mix recipe.
Get a new cactus ready before you plant it
The steps below start with a plant that’s out of its old pot and has dry roots, and how you get there depends on how it reached you.
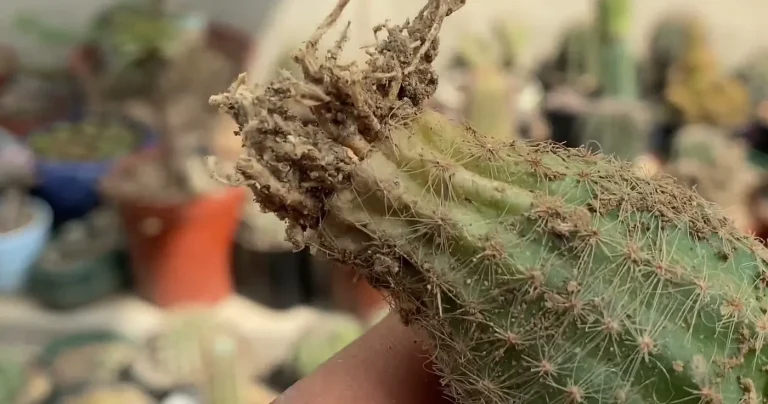
Mine usually come by mail with bare roots. I trim away anything dead, then leave the plant in a dry, airy spot out of direct sun so the cuts can seal.
A cactus from a store usually sits in damp nursery soil, so take it out and clean the roots first. The foam grip and the root cleaning are laid out in how to repot a cactus, which is also the page to use for an older plant that needs a change of soil.
Write down the day you made the last cut, because you’ll need it for the first watering.
How to plant a cactus in a pot, step by step
With dry roots and a clear table, the job falls into two stages: building the pot, then settling the plant into it.
Build the pot from the bottom up
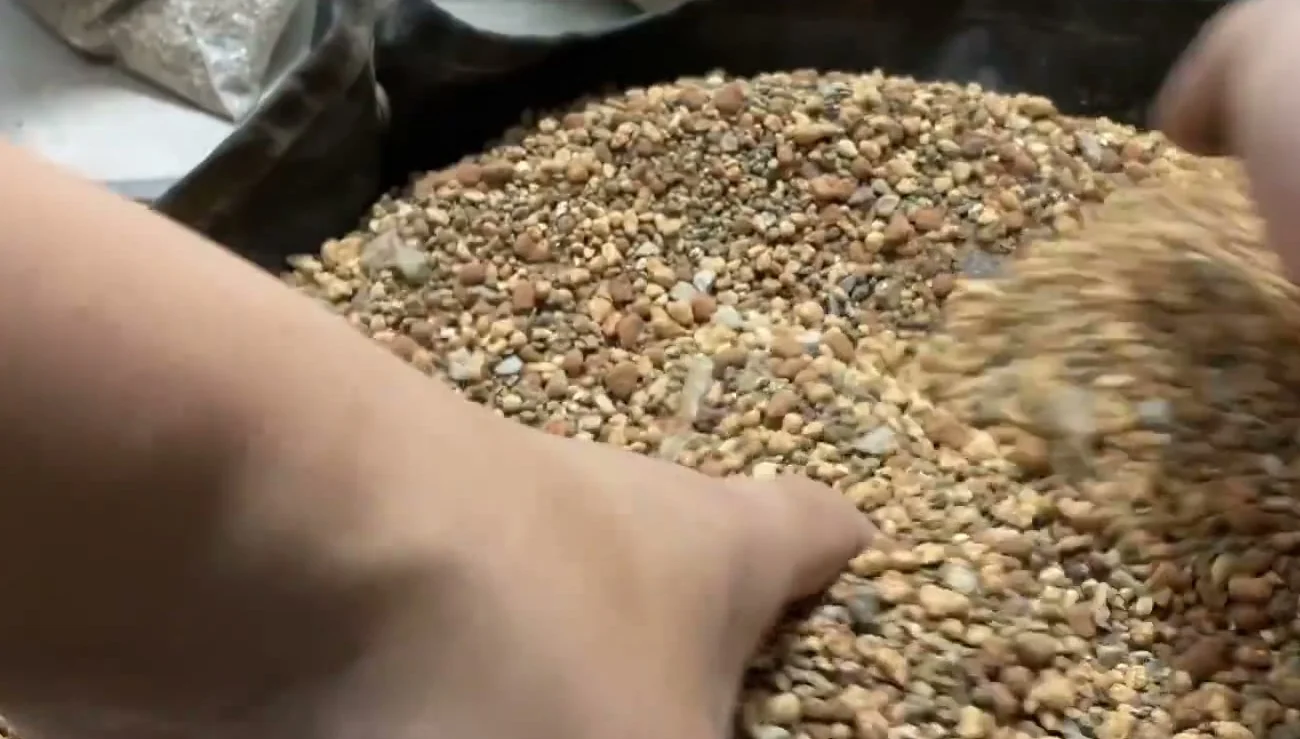
Step 1: Mix the soil by hand. Turn the gritty mix over with your hands until the coarse and fine pieces are spread evenly. For a few North American plants I also stir in a little limestone. Most cacti don’t need it, so leave it out unless you know yours likes it.
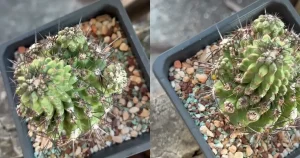
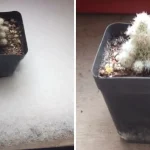
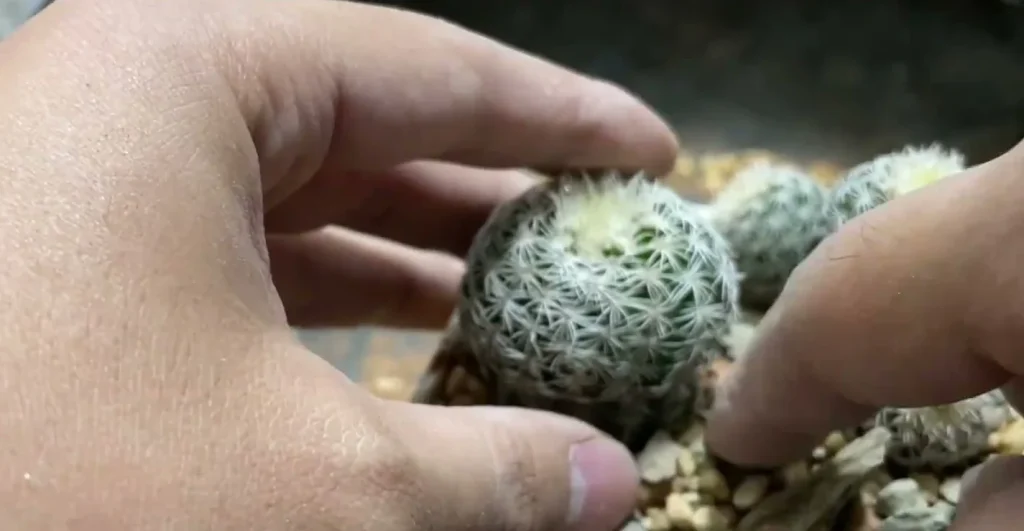
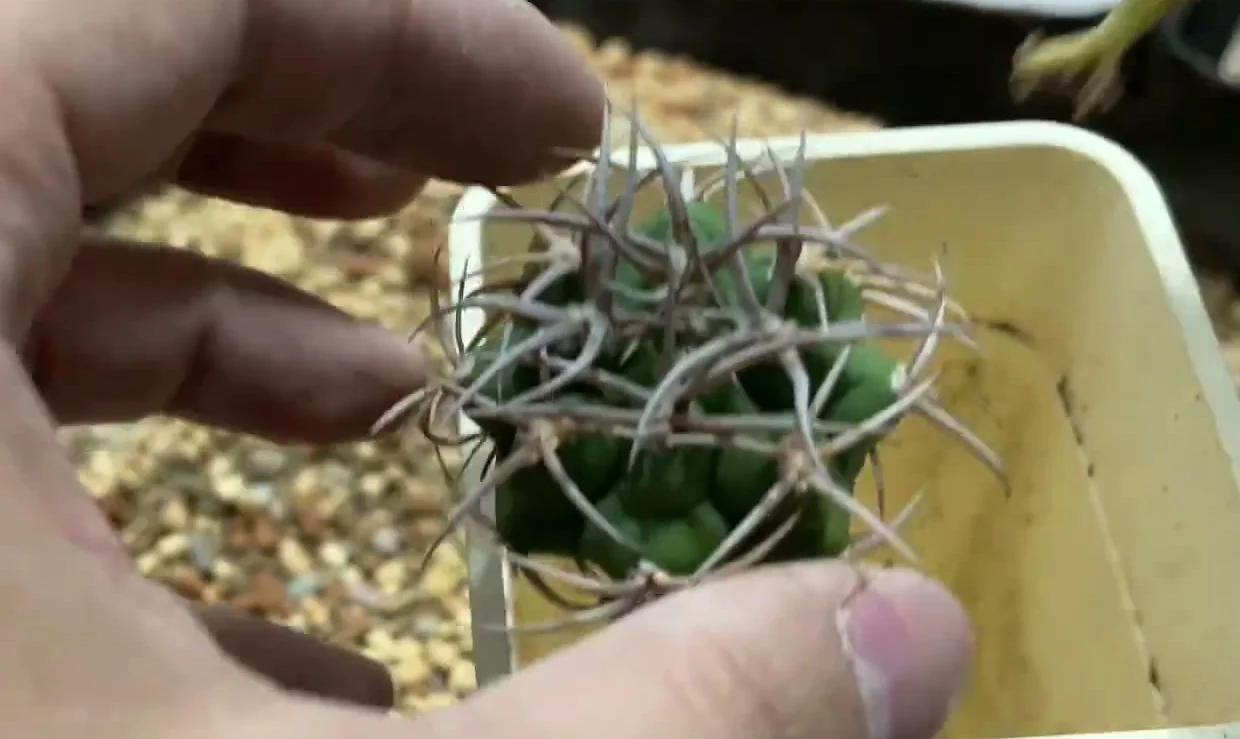
Step 2: Hold the cactus over the pot. Pinch the plant gently and hang it above the rim, so you can see the gap on each side. The pot only needs to be about 3/4 in (2 cm) wider than the body, since an oversized pot holds extra mix that stays wet for days. If you want two plants growing close together, one pot can take both. For more space between them, give each one its own pot.
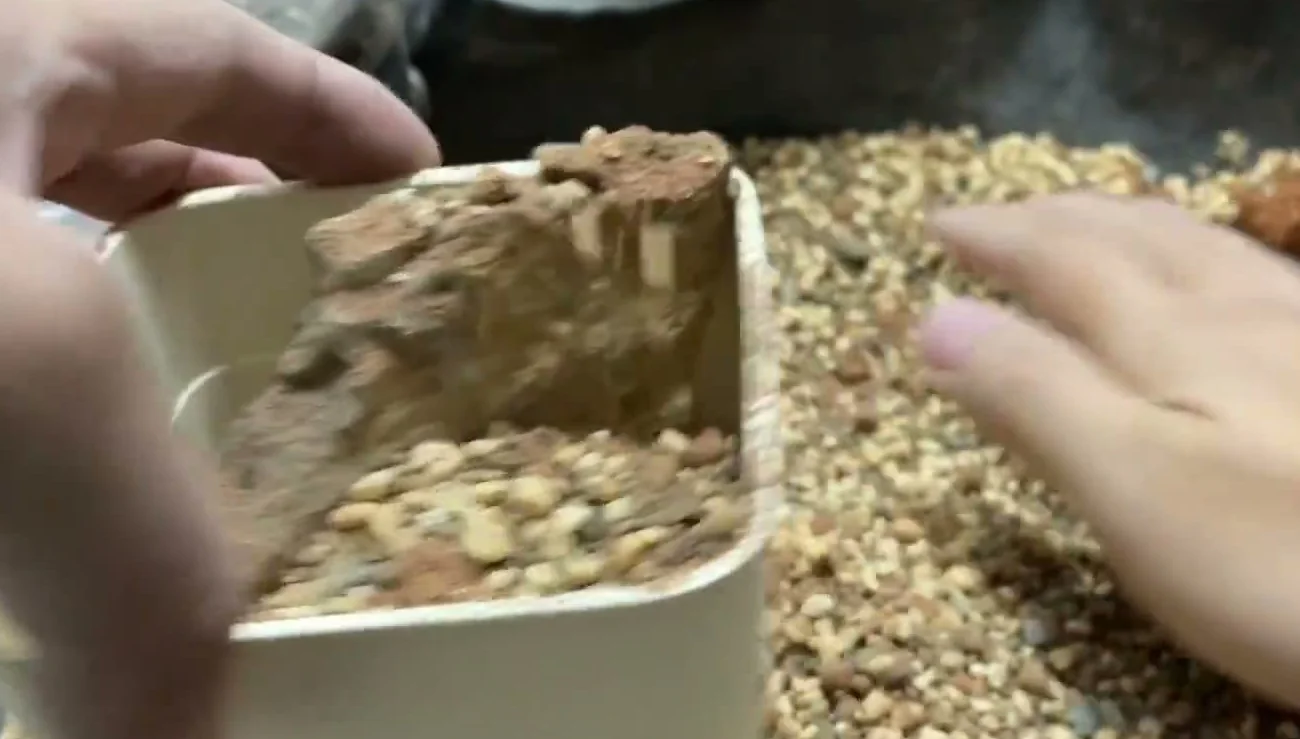
Step 3: Put stones in the bottom. Drop a few stones into the empty pot. They improve airflow and drainage through the bottom layer and take up some of the room, but they don’t replace the drainage hole.
In a big pot, stand one large rock upright against the side before any more soil goes in. Big pots are slow to dry, and the rock separates the soil into two smaller sections while the surface still looks like one pot. It also gives the planting something to lean on.
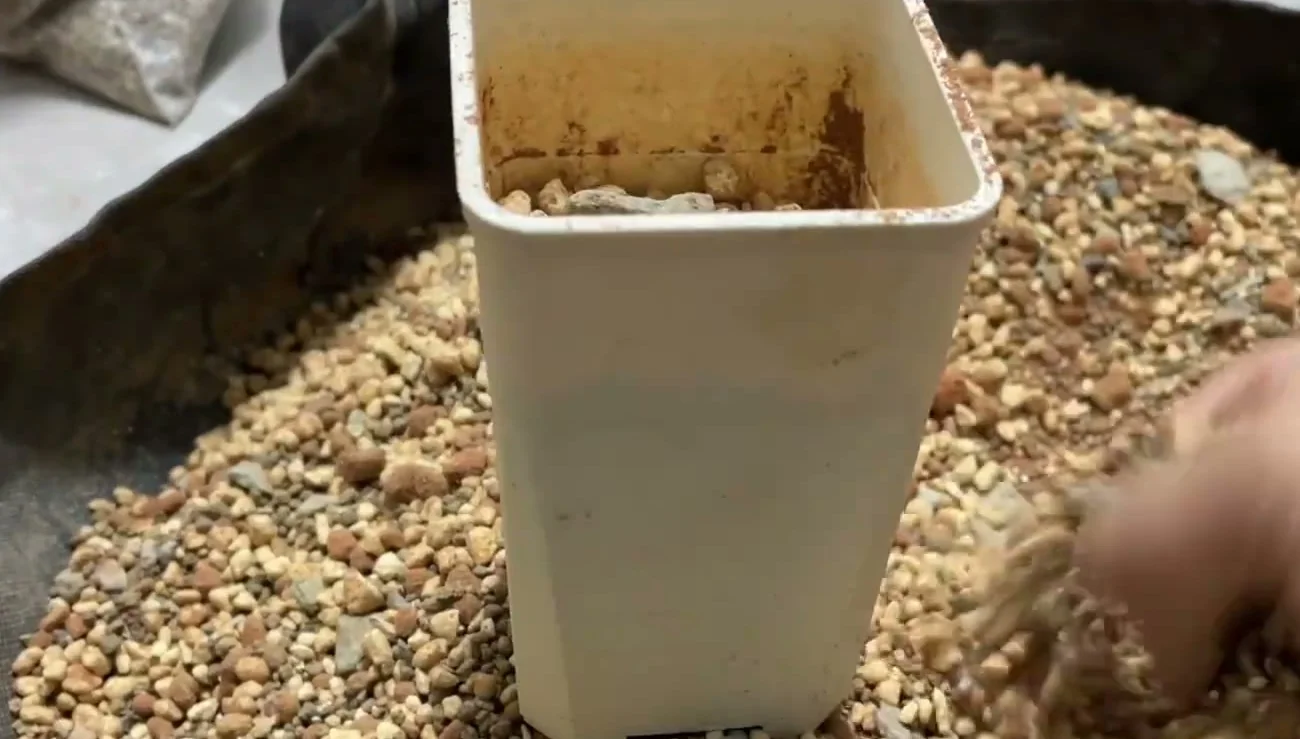
Step 4: Add a base layer of mix. Scoop in enough soil that the base of the stem will end up level with the soil surface, just below the rim. A small plant with trimmed roots needs a thin layer here, while long roots need more room, which Step 6 covers.
Settle the cactus into the pot
Step 5: Turn the plant over and read its base. Look for trimmed stubs, long roots, thick roots or pale new root tips, because each one goes in a little differently. Cut back anything black or soft to firm tissue.
Red roots aren’t a problem on their own. After a few days of drying, a root can turn red along its whole length, and a fresh, bright red is normal. My guess is that thirst causes it.
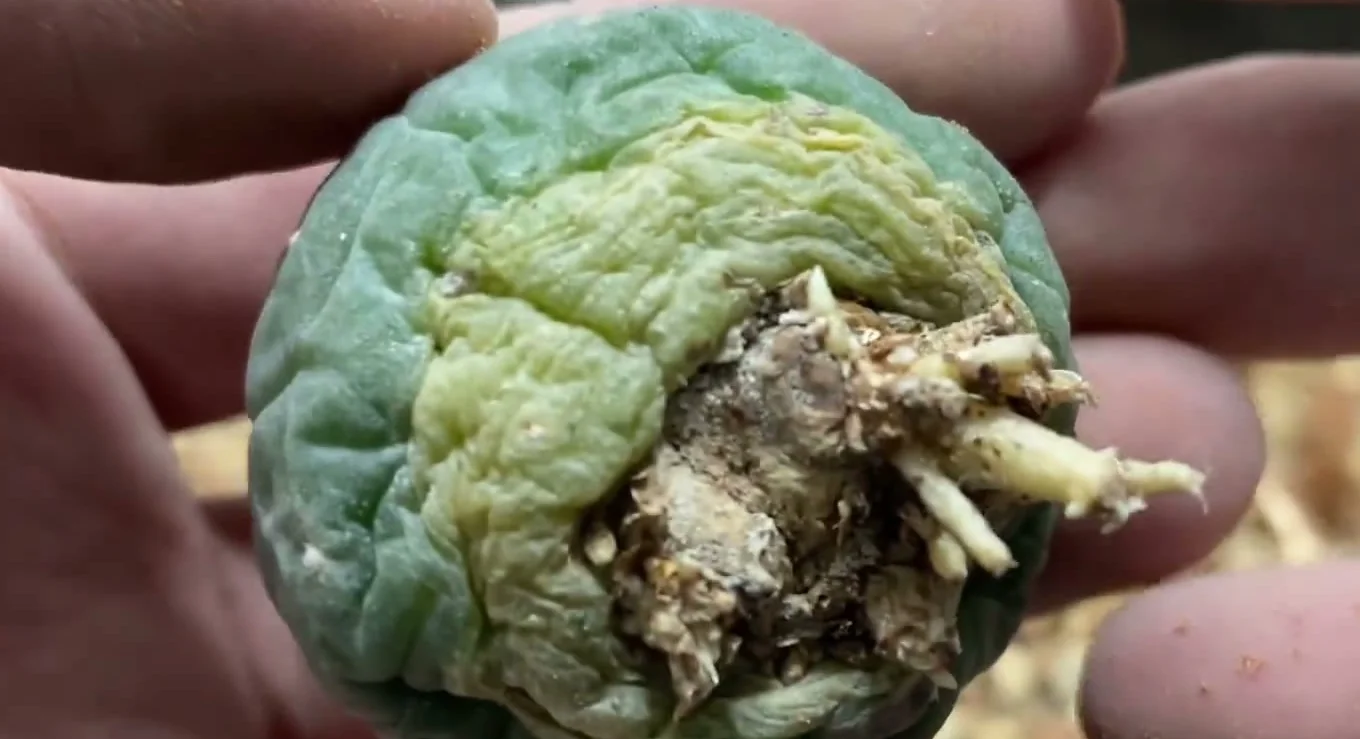
Step 6: Set the cactus in the way its roots need. Steady the body with your fingers, then pick the line that matches what you just saw:
- Trimmed roots: seat the base in the mix with a light poke of the tweezers, then spread the remaining soil around it.
- Long roots: fill the pot halfway first, lower the roots in, then add soil from above.
- Shallow roots: fill the pot, dig a small hole in the surface and set the plant in it.
- Thick roots: put the plant in early, then fill in everything else around it.
Trimmed plants are the quickest of the four, because there are no fine roots to tangle. That’s one of the reasons I like trimming.
Whichever way you go, stop with the base of the stem level with the surface, and don’t bury any of the body.
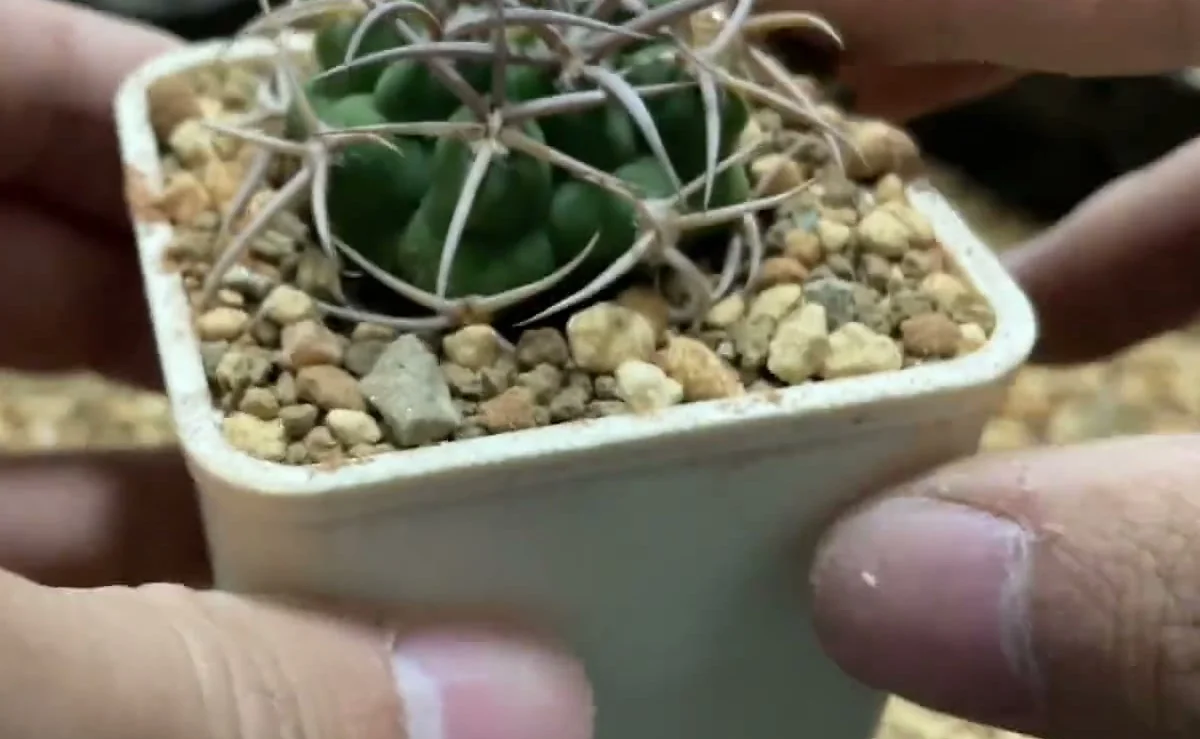
Step 7: Tuck the grit in with tweezers. Hold the plant still with one hand and use the tweezers to move grit into the gaps beside the stem. You can get right up against the body this way without touching the spines.
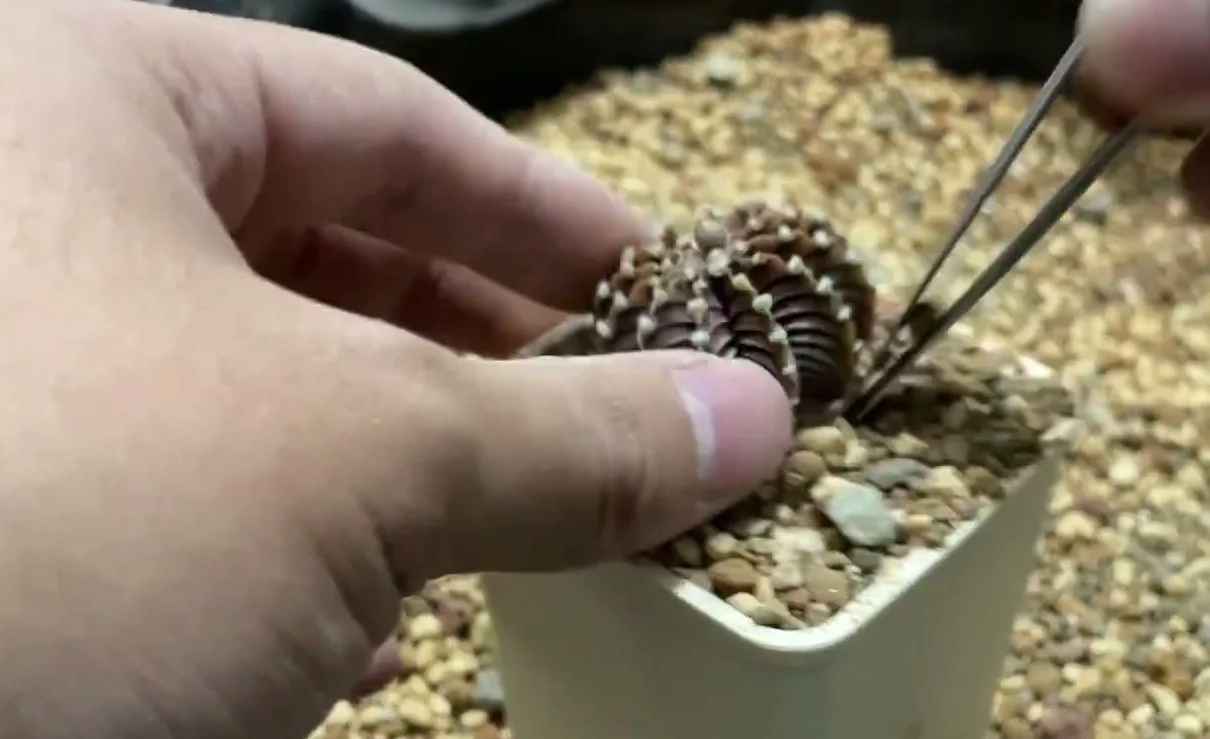
Step 8: Press the surface lightly. Use your fingertips to firm the top of the soil, just enough that the plant stands steady. If you skip this, the soil sinks the first time you water it. Don’t pack it hard, because heavy pressing squeezes out the air gaps that let the mix dry.
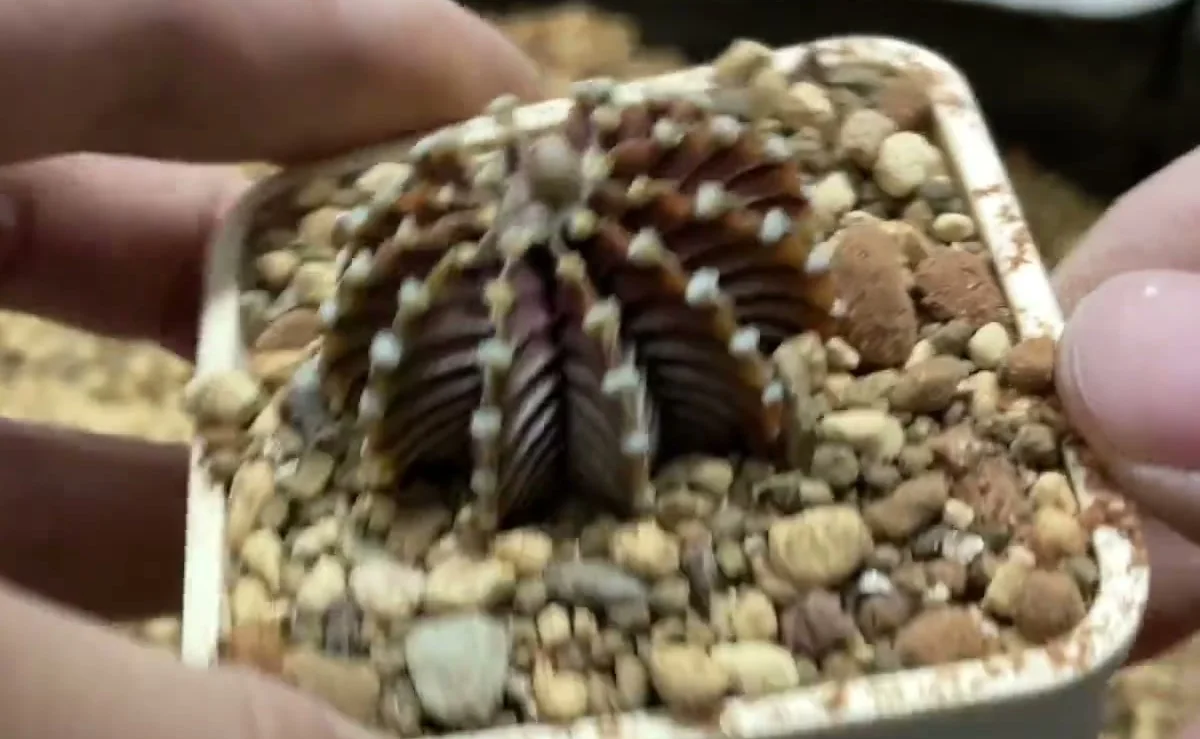
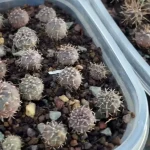
Step 9: Add a top layer if you want one. Sprinkle on small stones or gravel, working around the plant. This part is pure decoration, so it’s fine to skip it. For a cleaner look, I’d use plain akadama, a granular Japanese clay, or lava rock. For a rockier pot, add a few bigger stones and let the plants sit among them.
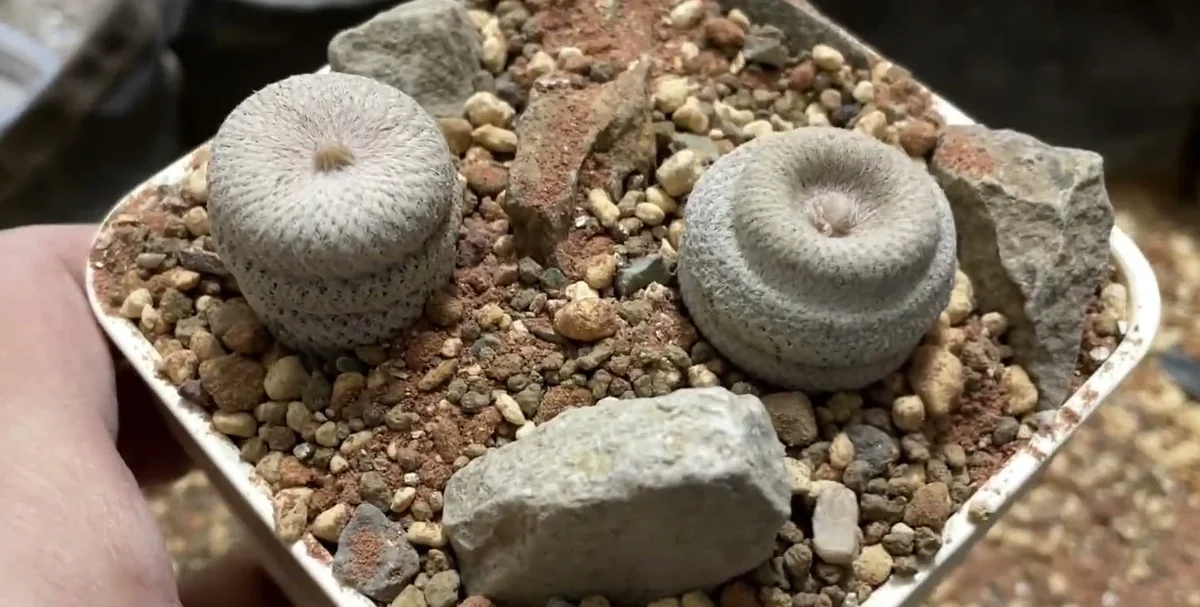
Step 10: Make the last adjustments by hand. Position the final pieces with your fingers around very small plants, and check that each one still stands straight. A pinch of soil patted over the stones looks raw at first, but it blends in after about two months.
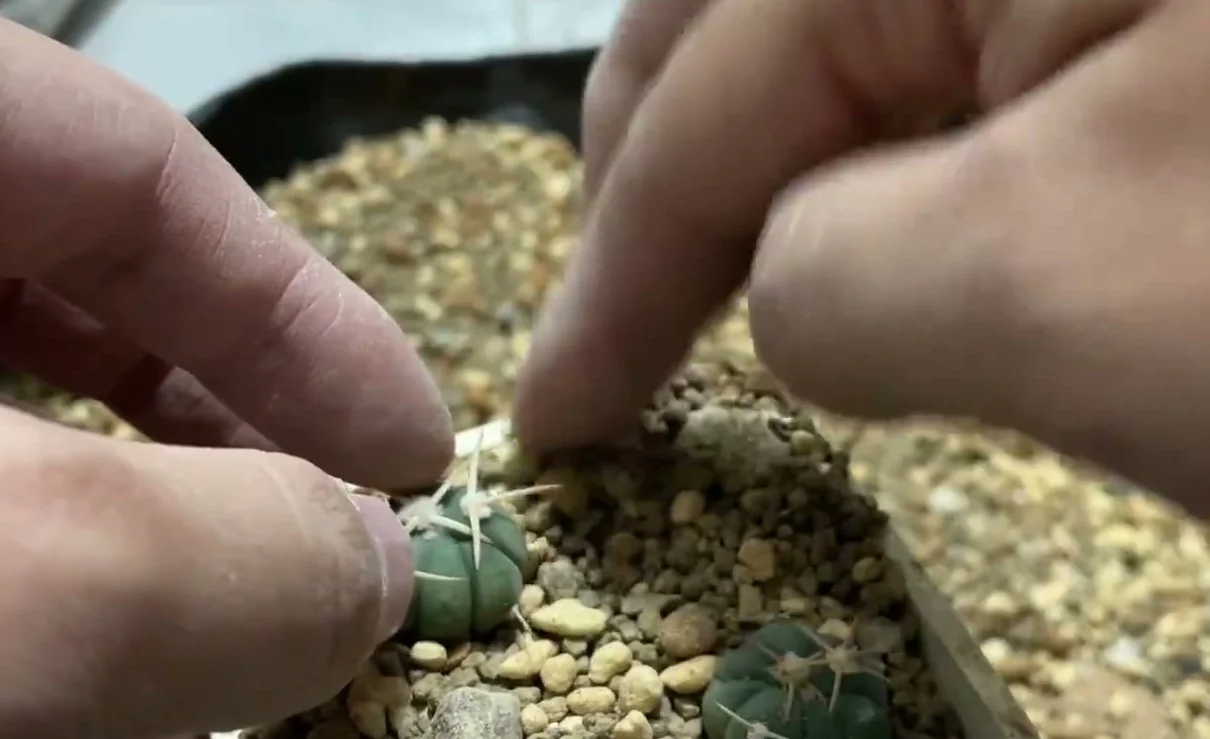
When to water a newly planted cactus
Once the pot is finished, the watering can is the one thing that can undo your work, and the answer comes from the state of the roots rather than the date on the calendar. A trimmed root needs time to dry and callus before it touches wet soil.
Count that time from the last cut, not from planting day.
| State of the roots | First watering |
|---|---|
| Cut or broken, then dried for about a week or more | You can water right after planting |
| Cut only two or three days ago | Don’t water yet. Keep the pot dry until about a week has passed since the cut |
| Cut hard, with a lot of root removed | Wait longer than a week |
| New root tips already growing | Plant it soon and give it a full soak soon after |
The first row can look like it breaks the rule in my repotting guide, where I say to wait about a week. It doesn’t, because the repotted plant goes into its pot on the same day its roots are cut, so all of the waiting happens in the pot.
A plant that dried on a shelf for a week has already done that waiting.
If you can’t remember when the roots were last cut, treat them as freshly cut and wait the week. A thirsty cactus loses very little from waiting, while wet soil on an open wound can start rot.
After that first drink, go by the soil. The full soak, and the checks that tell you a pot has dried, are in how to water a cactus.
Where to put a newly planted cactus
Water is only half of those first weeks, because the plant is also adjusting to new light with roots that aren’t working fully yet.
- Light: start in bright, indirect light with good air movement.
- Sun: add direct sun gradually, starting with morning sun and spreading the move over one to two weeks. The steps are under how to move a cactus into more sun.
- Food: skip fertilizer for the first few months.
After that the plant joins the normal routine, which the cactus care guide follows through light, soil, winter rest and feeding.
Planting several cacti in one pot
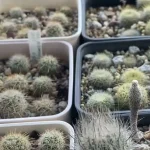
A single plant in a small pot is the easy case, and sharing a pot takes a little more planning. Lay the plants out on the surface before you fill the pot, and check the arrangement from above.
I learned that from a pot I didn’t plan properly. I meant to squeeze three small plants into one square pot, and with all three in, it looked badly lopsided. I gave up, lifted one out and planted it alone in a small pot, which suited it better anyway.
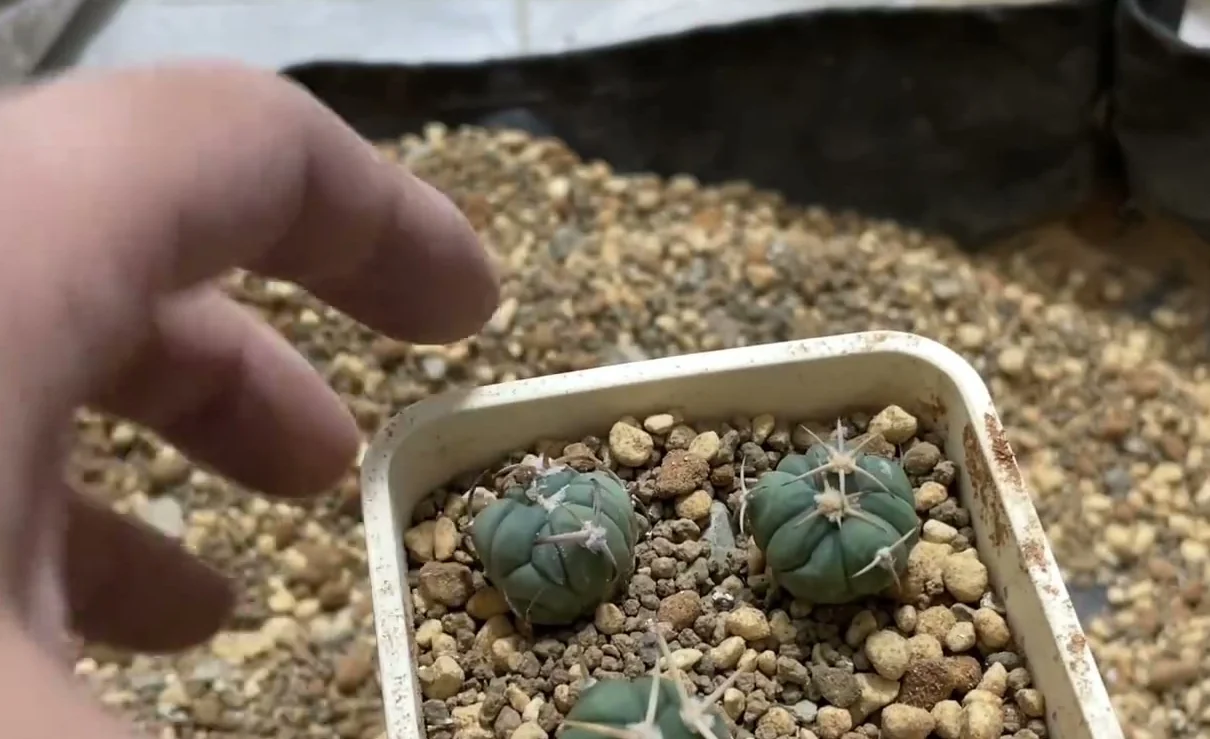
Close planting looks attractive when the sizes and shapes complement each other. Fit the biggest plant first, and sprinkle the stone chips last so they fall around the bodies.
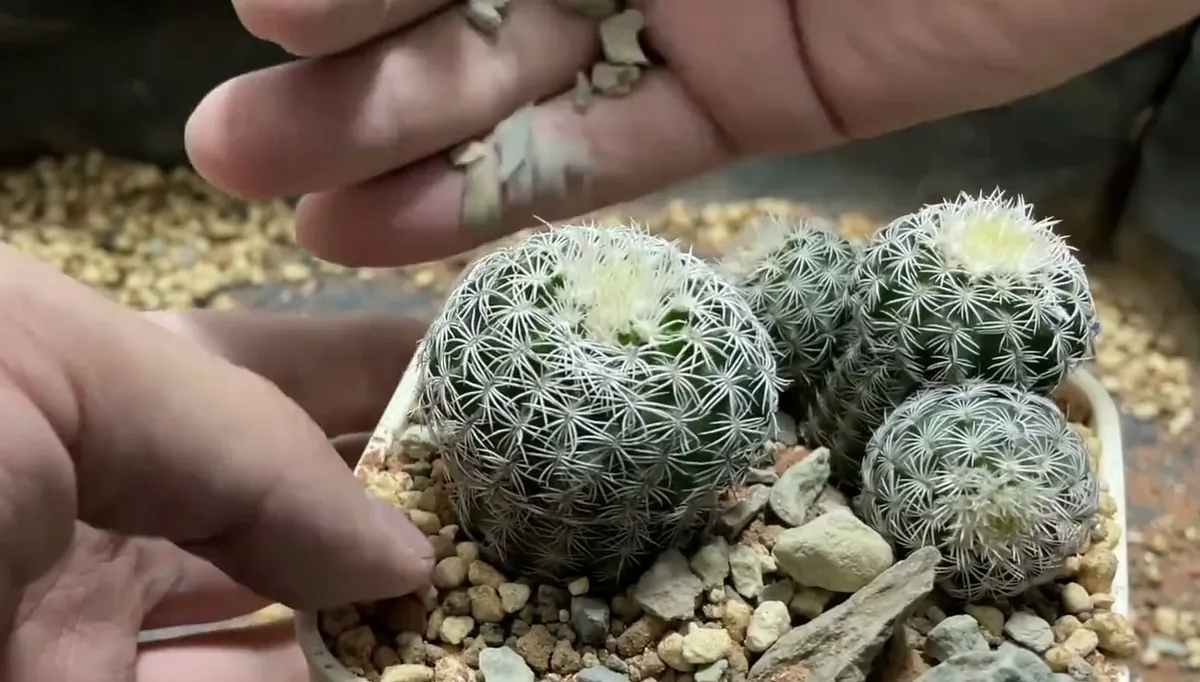
There’s no correct arrangement for any of this. Some of my pots are bare and open, and others are full of rocks. Pick the pot and the top layer that you enjoy seeing.
How to plant a cactus in the ground
Garden soil changes the job, because drainage now has to come from the site instead of from a pot. My cacti all live in pots, most of them on a roof, so I’ve never dug one into a garden. Most of the list below follows Colorado State University Extension’s advice for hardy cacti, and the berm idea comes from Fine Gardening.
- Check your winters. A cactus only belongs in the ground if it can take your cold. My list of cold hardy cacti has published ratings by genus and USDA zone.
- Choose the spot. Pick a place in full sun with a south to west exposure.
- Plant in spring or early summer. Roots need several months to establish before a cold, wet winter.
- Fix the drainage. Sand or sandy loam suits cacti best. On heavier soil, build a raised bed or a berm with plenty of gravel or sand and only a little organic matter.
- Plant high. Set the crown a little above the surrounding soil so water runs away from it.
- Mulch with stone. Use a thin layer of gravel or stone chips, and skip leaves and straw.
- Water by the roots. The table above still applies to the first drink. Once established, a hardy cactus in the ground needs water only in long droughts.
Spines matter more at this size, so lift larger plants with a folded band of newspaper wrapped around the stem, or wear thick gloves.
Cactus planting mistakes that are easy to avoid
Ground or pot, the same few slips cause most of the trouble. Each one has a simple fix.
- Using a pot far bigger than the plant: keep it to about 3/4 in (2 cm) wider than the body, so the mix can dry.
- Burying the stem: stop with the base of the stem level with the soil, and add or remove mix under the plant to get there.
- Skipping the press: firm the surface lightly in Step 8, so the first watering doesn’t drop the soil.
- Watering on a fresh cut: check the day of your last cut against the table before you pick up the can.
- Moving straight into full sun: add direct sun slowly, even if the plant looks tough.
Cactus planting questions
What’s the best time to plant a cactus? Spring or early summer, when roots recover quickly. Most desert cacti slow down or stop growing from late fall to late winter, so a cut root heals more slowly then.
Do cacti grow better in pots or in the ground? Pots are the safer choice wherever winters are wet or freezing, because you control the soil and can relocate the plant. Hardy cacti do well in the ground on a well-drained site.
How do I plant a cactus indoors? Follow the same 10 steps, and don’t skip the drainage hole. Then keep the plant at your brightest window, adding direct sun slowly.
Can I plant a cactus with no roots? A piece with no roots is a cutting, so let the cut dry and root it before you treat it like a planted cactus.
Can you grow a cactus in water? I wouldn’t. A cactus wants gritty soil that dries out, and roots sitting in water for long are an easy way to start rot.
How deep should I plant a cactus? Keep the base of the stem level with the soil surface, with the roots below it. You don’t want any of the body underground.
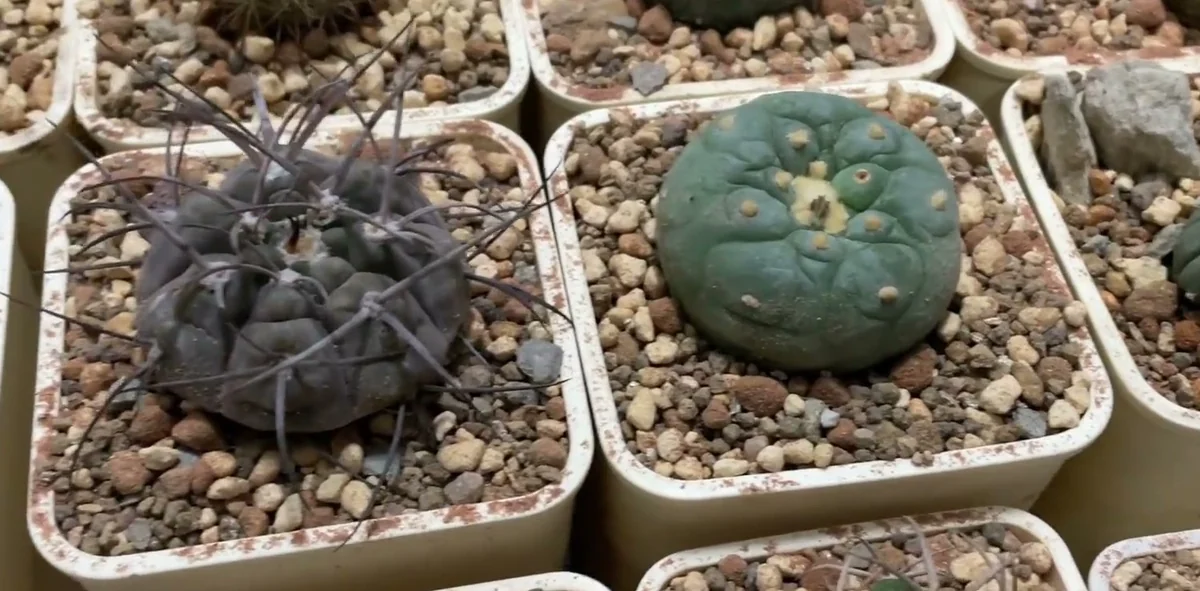
A batch like this goes quickly once the soil is mixed. My other rooftop notes are a click away on the Succulent Primer home page.